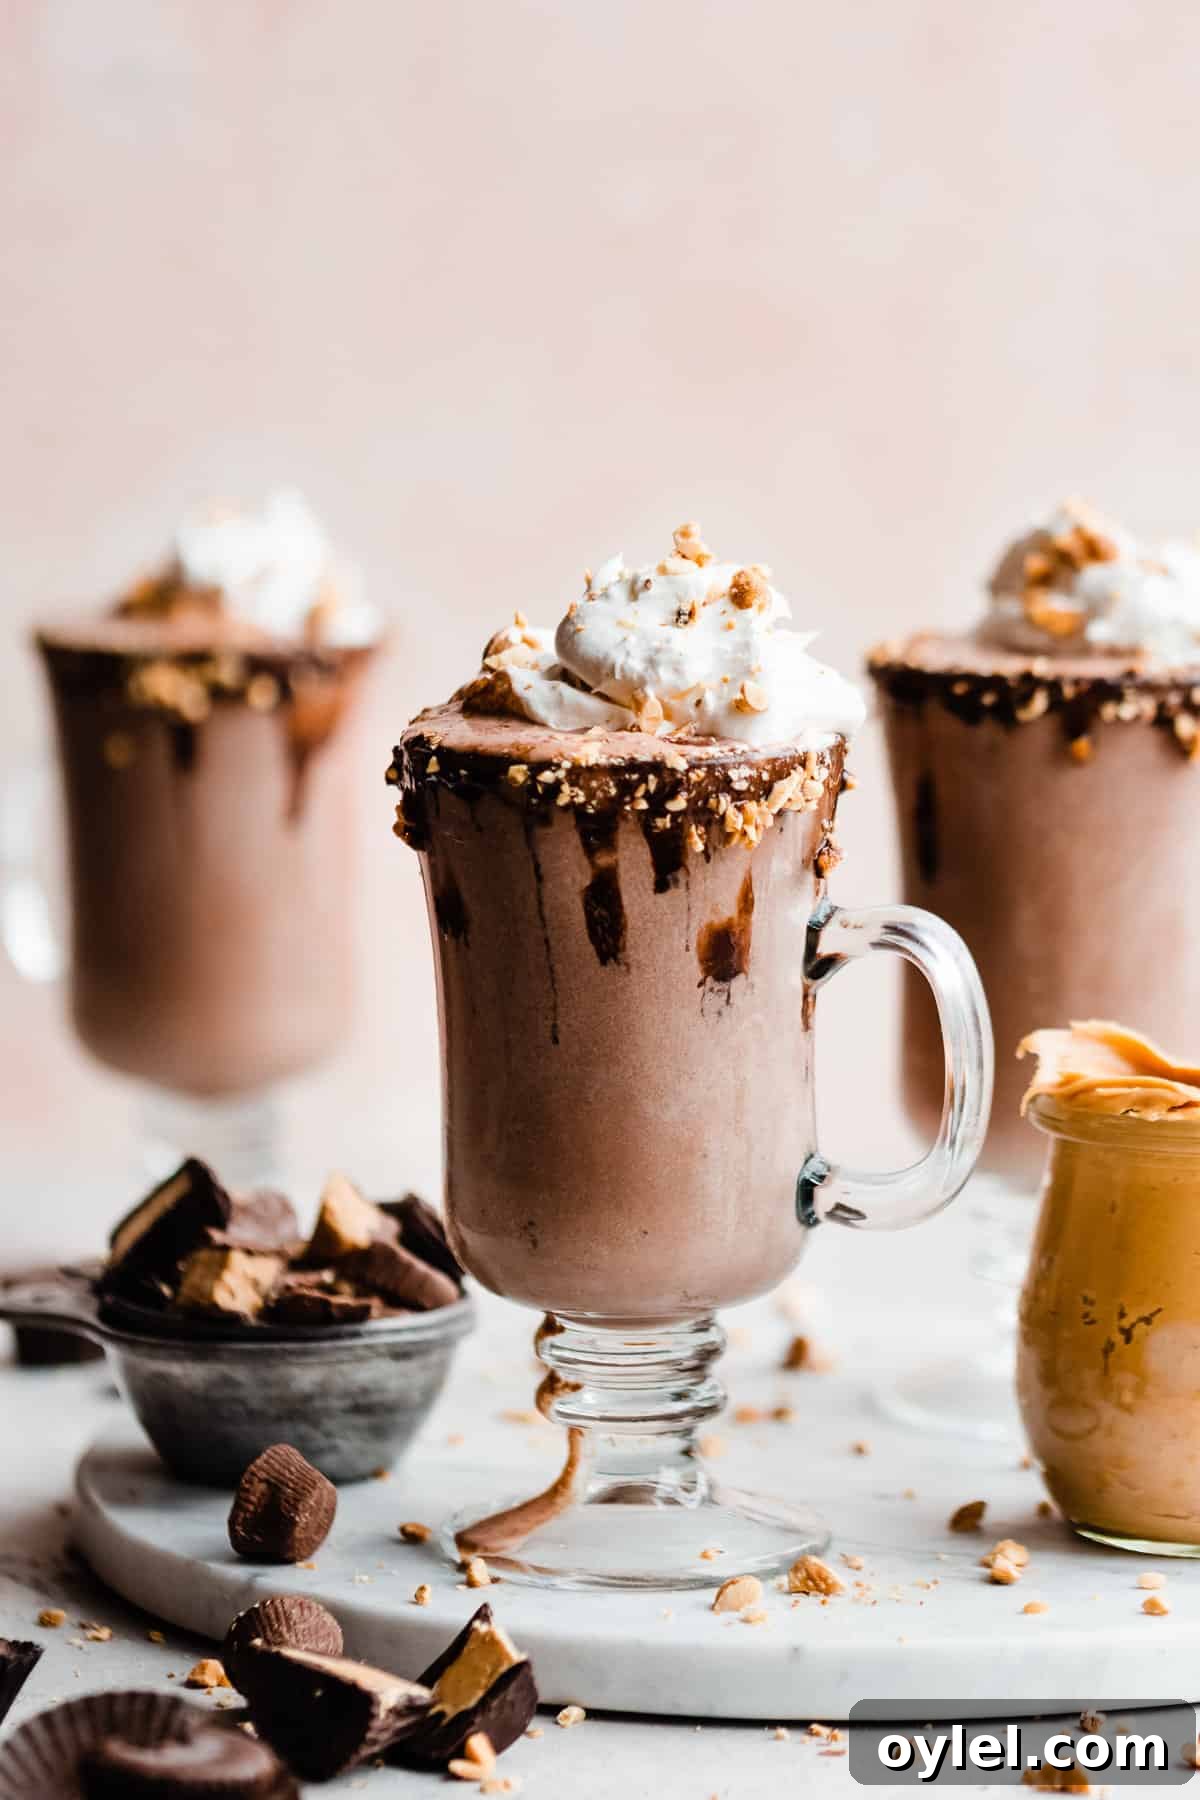
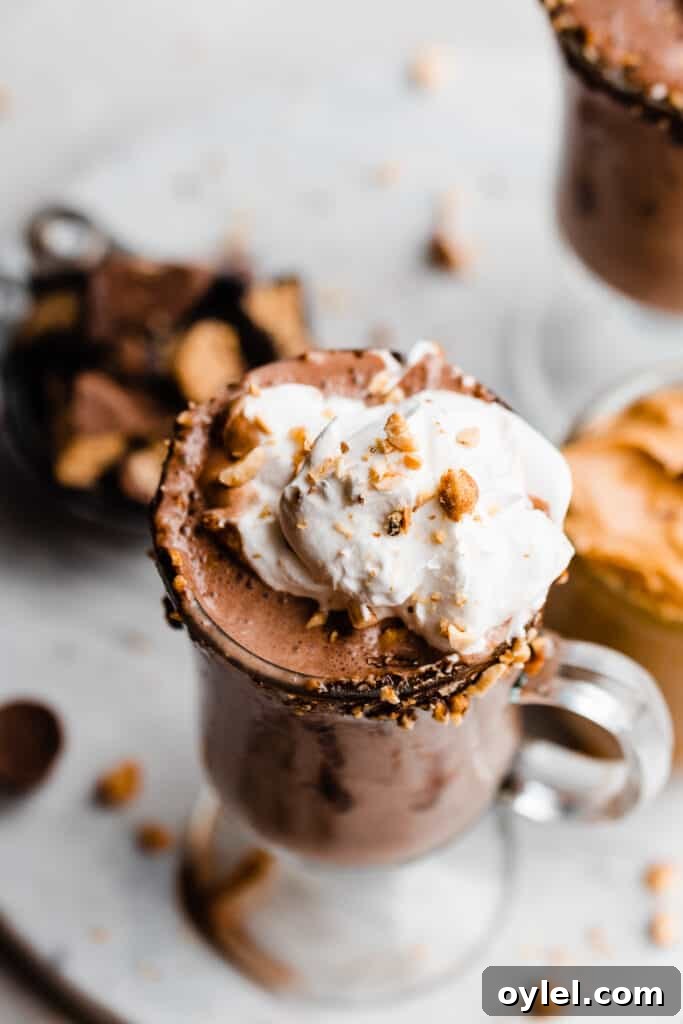
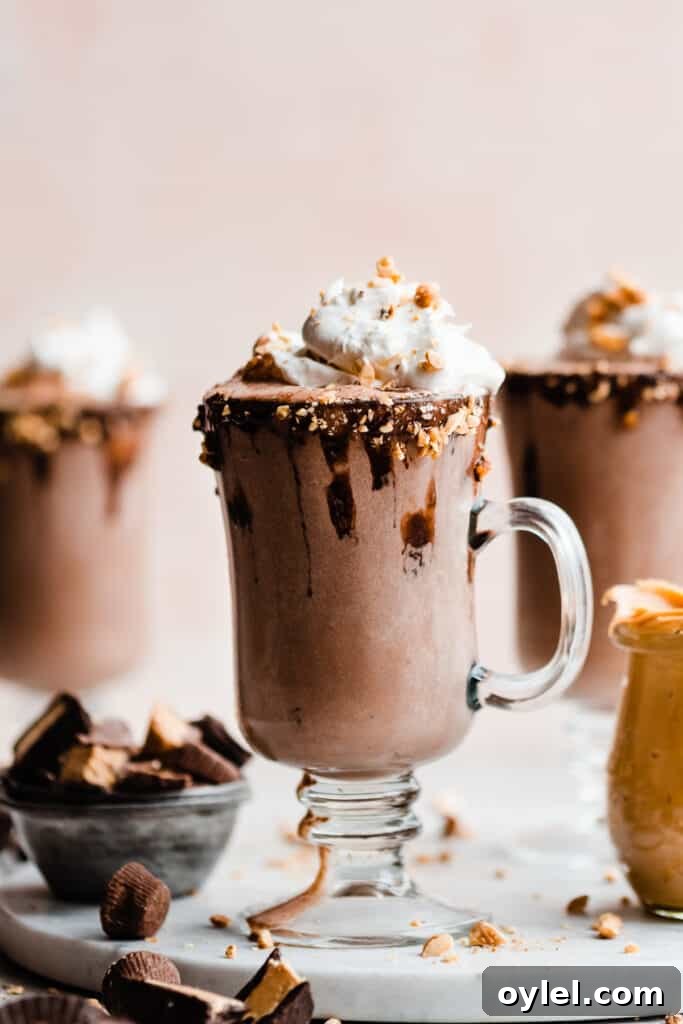
Peanut Butter Chocolate Milkshake is a decadent treat made by blending rich chocolate ice cream with milk and real peanut butter until thick and velvety. Chopped peanut butter cups folded into the shake add texture and extra chocolate-peanut flavor. Serve in glasses with a chocolate-and-peanut rim and top with a generous swirl of whipped cream for the ultimate indulgence.
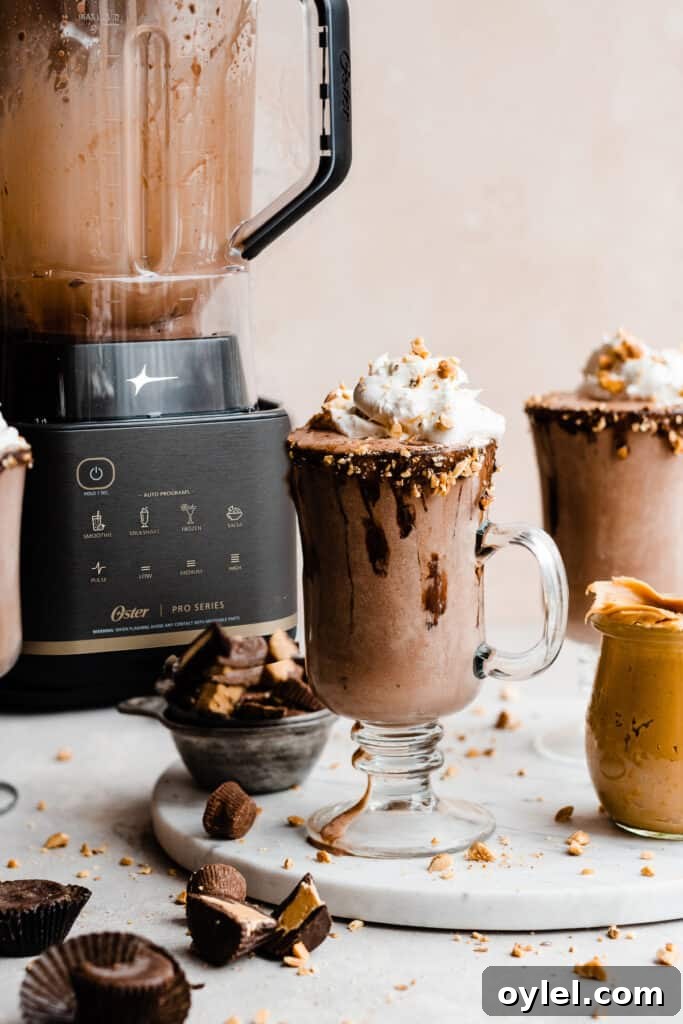
Why you’ll love this Peanut Butter Milkshake Recipe:
- Decadent chocolate flavor – made with creamy chocolate ice cream for a luscious base.
- Real peanut butter – creamy peanut butter is blended into the shake for authentic nutty richness.
- Chunky mix-ins – chopped peanut butter cups stirred in create a satisfying texture and extra candy flavor.
- Simple ingredients – a short pantry-friendly ingredient list makes this easy to prepare anytime.
Ingredient Overview
Full measurements are shown in the ingredients section below. The ingredient list is short and flexible so you can adapt the milkshake to your preferences.
- Chocolate ice cream – any good-quality chocolate ice cream will work. For extra peanut flavor, use a peanut-chocolate variety.
- Milk – whole milk or 2% provides a rich mouthfeel; dairy-free milks like oat or almond are fine for a vegan or dairy-free version.
- Peanut butter cups – chop your favorite peanut butter cups to fold in at the end for texture and bursts of candy flavor.
- Peanut butter – creamy peanut butter blends in smoothly; crunchy or natural peanut butter can be used for more texture and flavor variation.
- Vanilla extract – a small dash brightens the flavors and enhances the chocolate.
Ingredient Substitutions
- Gluten-free: The recipe is naturally gluten-free if the peanut butter cups and any toppings you use are certified gluten-free.
- Dairy-free / Vegan: Substitute dairy-free chocolate ice cream and plant-based milk to make a vegan-friendly milkshake.
- Nut-free options: If you need to avoid peanuts, use almond butter or a seed butter such as sunflower butter instead of peanut butter and choose nut-free candy pieces or chocolate chips.
How to Make this Peanut Butter Chocolate Milkshake
Step 1: Prepare the glasses. If you like a decorative rim, dip the glass rims in chocolate syrup and then into crushed peanuts or cookie crumbs. Place the prepared glasses in the freezer to chill while you make the shake.
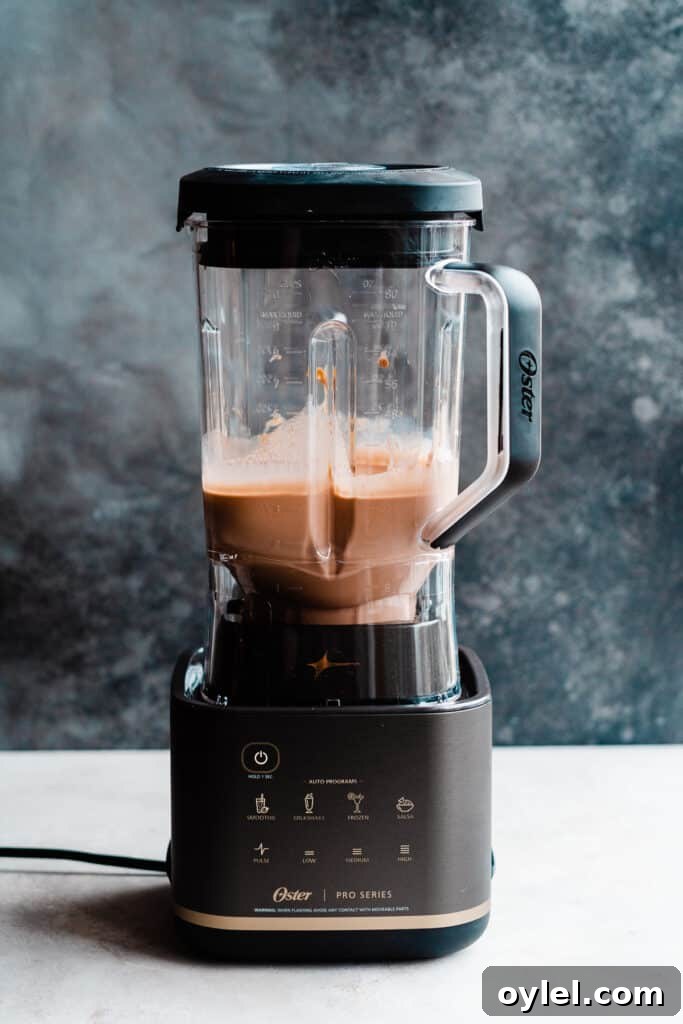
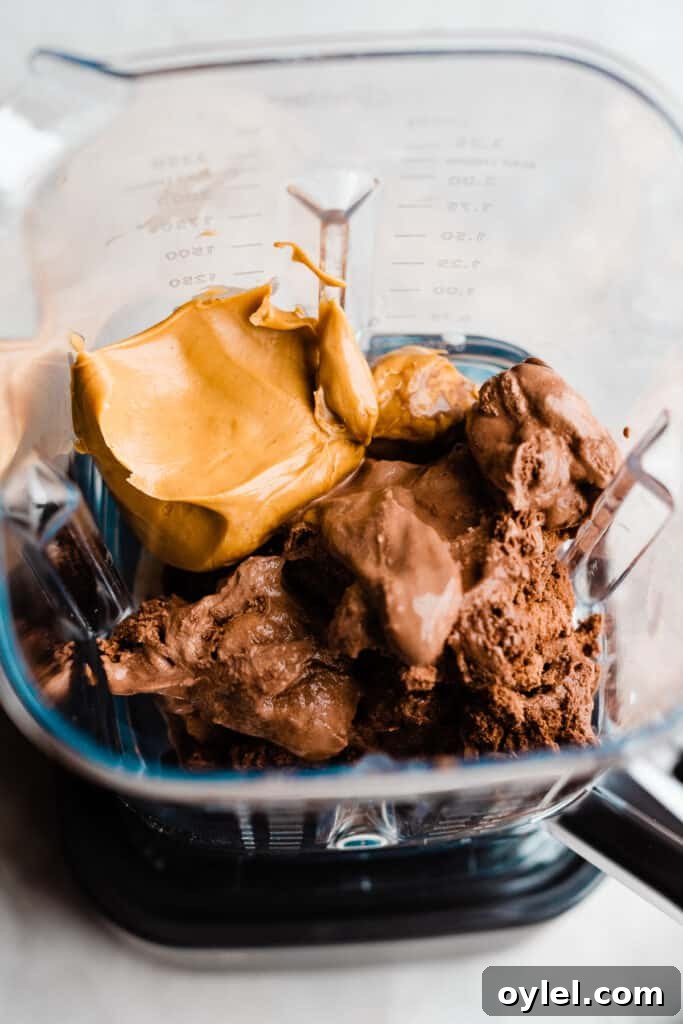
Step 2: Blend the shake. Add milk, chocolate ice cream, and peanut butter to a blender. Blend on a milkshake setting or pulse on medium-high speed until smooth and creamy. If the shake is too thick, add a splash more milk and blend again. If you prefer a thicker texture, use less milk.
Step 3: Add mix-ins and serve. Fold in roughly chopped peanut butter cups by stirring them into the blended shake or briefly pulsing to distribute pieces. Pour the shake into chilled glasses, top with whipped cream and an extra sprinkle of crushed peanuts or chopped peanut butter cups, and serve immediately.
Expert Success Tips
- Keep ingredients cold: Measure the ice cream first and return it to the freezer briefly while you prepare the other ingredients so nothing warms up before blending.
- Control consistency: For a thick, spoonable milkshake use less milk; for a thinner, drinkable shake add more milk a tablespoon at a time.
- Don’t overblend: Blend just until smooth to keep the shake airy and avoid melting the ice cream too much.
- Customize sweetness: Taste before serving and add a splash of maple syrup or a teaspoon of sugar only if you want it sweeter.
Recipe Variations
- Vanilla peanut butter shake: Swap the chocolate ice cream for vanilla if you prefer a milder chocolate presence while highlighting the peanut butter flavor.
- All-peanut version: Use peanut butter ice cream or add extra peanut butter to emphasize the nutty flavor.
- Nut-free alternative: Use sunflower seed butter or tahini in place of peanut butter and choose nut-free candies.
- Extra chocolate texture: Stir in chocolate chips or cocoa nibs if you prefer small chocolate bits instead of peanut butter cups.
Serving and Storing
Serve these milkshakes immediately for the best texture and flavor. If you do have leftovers, pour the extra into a freezer-safe container and freeze; it can be enjoyed later as a quick ice cream treat. Alternatively, re-blend a thawed portion with a splash of milk to restore milkshake consistency. Keep in mind that once blended, the shake will begin to lose its airy texture, so prompt serving is recommended.
Ingredients
- 3 cups chocolate ice cream
- ½ cup creamy peanut butter
- ¾ cup milk (whole, 2%, or preferred dairy-free milk)
- Chocolate syrup (optional, for glass rims)
- ½ cup salted peanuts, chopped (optional, for rims and garnish)
- ½ cup peanut butter cups, roughly chopped
- Whipped cream or Cool Whip for topping
Instructions
- Prep the glasses: Dip glass rims in chocolate syrup, then in crushed peanuts if desired. Chill in the freezer while you blend.
- Blend: Combine milk, ice cream, and peanut butter in a blender. Blend until smooth and creamy, using a milkshake setting or pulsing on medium-high.
- Add mix-ins: Stir in or pulse briefly with the chopped peanut butter cups to distribute pieces through the shake.
- Serve: Divide into prepared glasses, top with whipped cream and extra chopped peanuts or peanut butter cup pieces, and enjoy immediately.
Nutrition (approximate)
Serving: 1 shake. Approximate nutrition per serving: Calories 1601 kcal; Carbohydrates 230 g; Protein 31 g; Fat 65 g; Saturated Fat 23 g; Polyunsaturated Fat 9 g; Monounsaturated Fat 29 g; Cholesterol 13 mg; Sodium 1428 mg; Potassium 1360 mg; Fiber 12 g; Sugar 136 g; Vitamin A 131 IU; Vitamin C 1 mg; Calcium 282 mg; Iron 5 mg. Nutrition information is automatically calculated and should be used as an estimate.
Did you make this recipe? Snap a photo and leave a comment!
Share your version on social media and tag your photos so others can see how you served your milkshake.