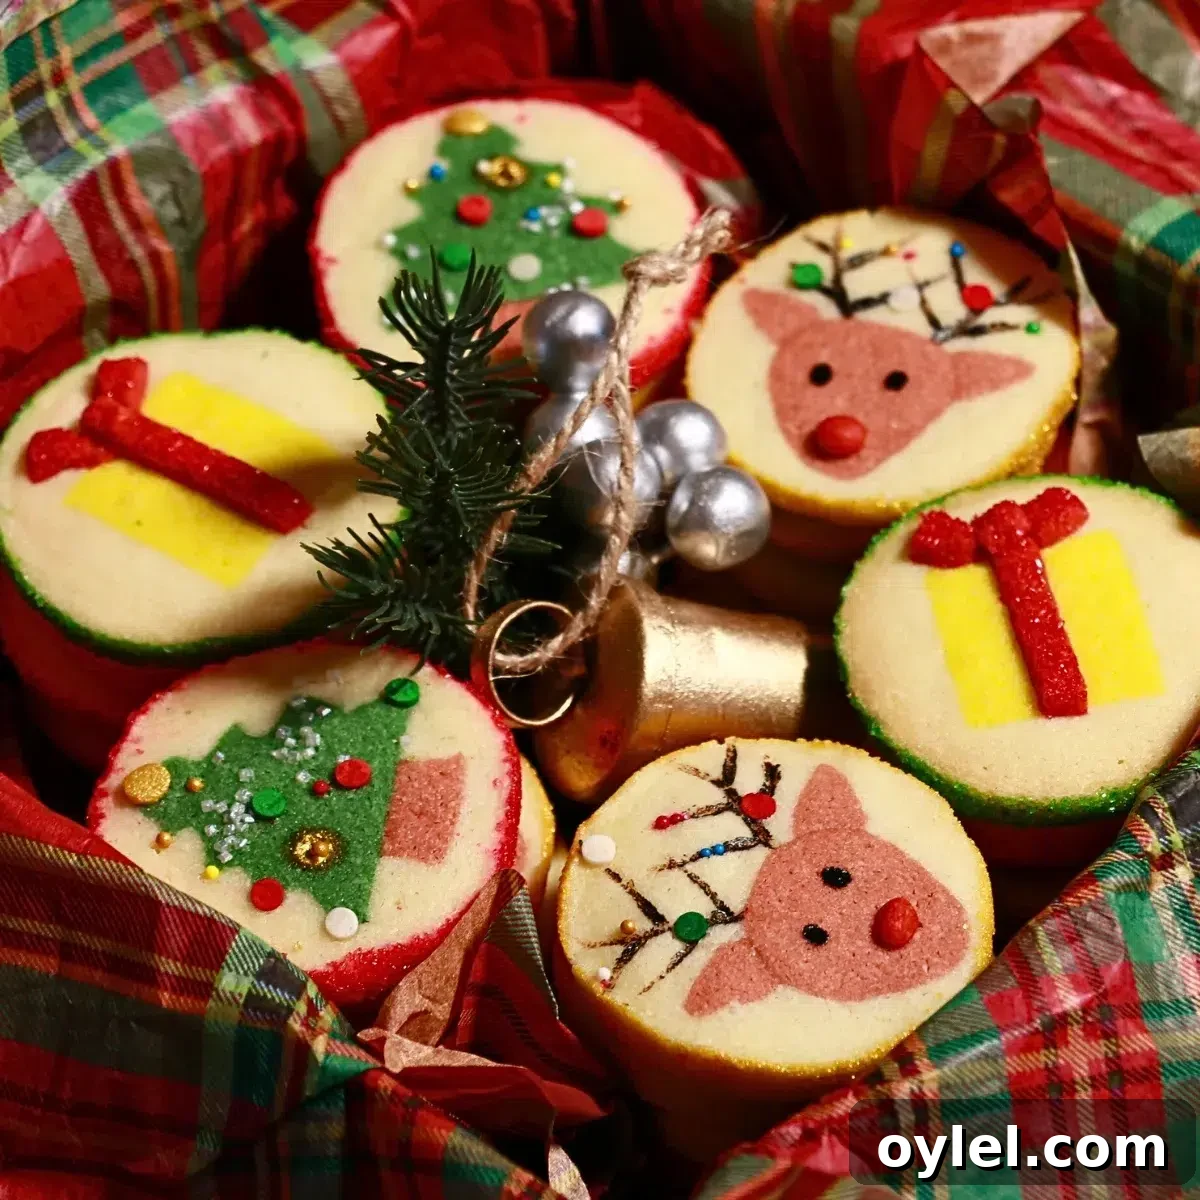
I’m sharing tips & tricks to make 3 kinds of cute slice-and-bake Christmas cookies: Christmas tree, reindeer, and present box. Share them with friends and family to spread holiday joy!

Last year I shared my first slice-and-bake Christmas cookies — Santa cookies, Santa boot cookies, and wreath cookies. This post is part two and focuses on three new designs:
- Christmas tree cookies
- Reindeer cookies
- Present box cookies
I’ll walk you through a straightforward slice-and-bake method so you can create adorable, gift-ready cookies that are perfect for the season.
Let’s get started! 🎄
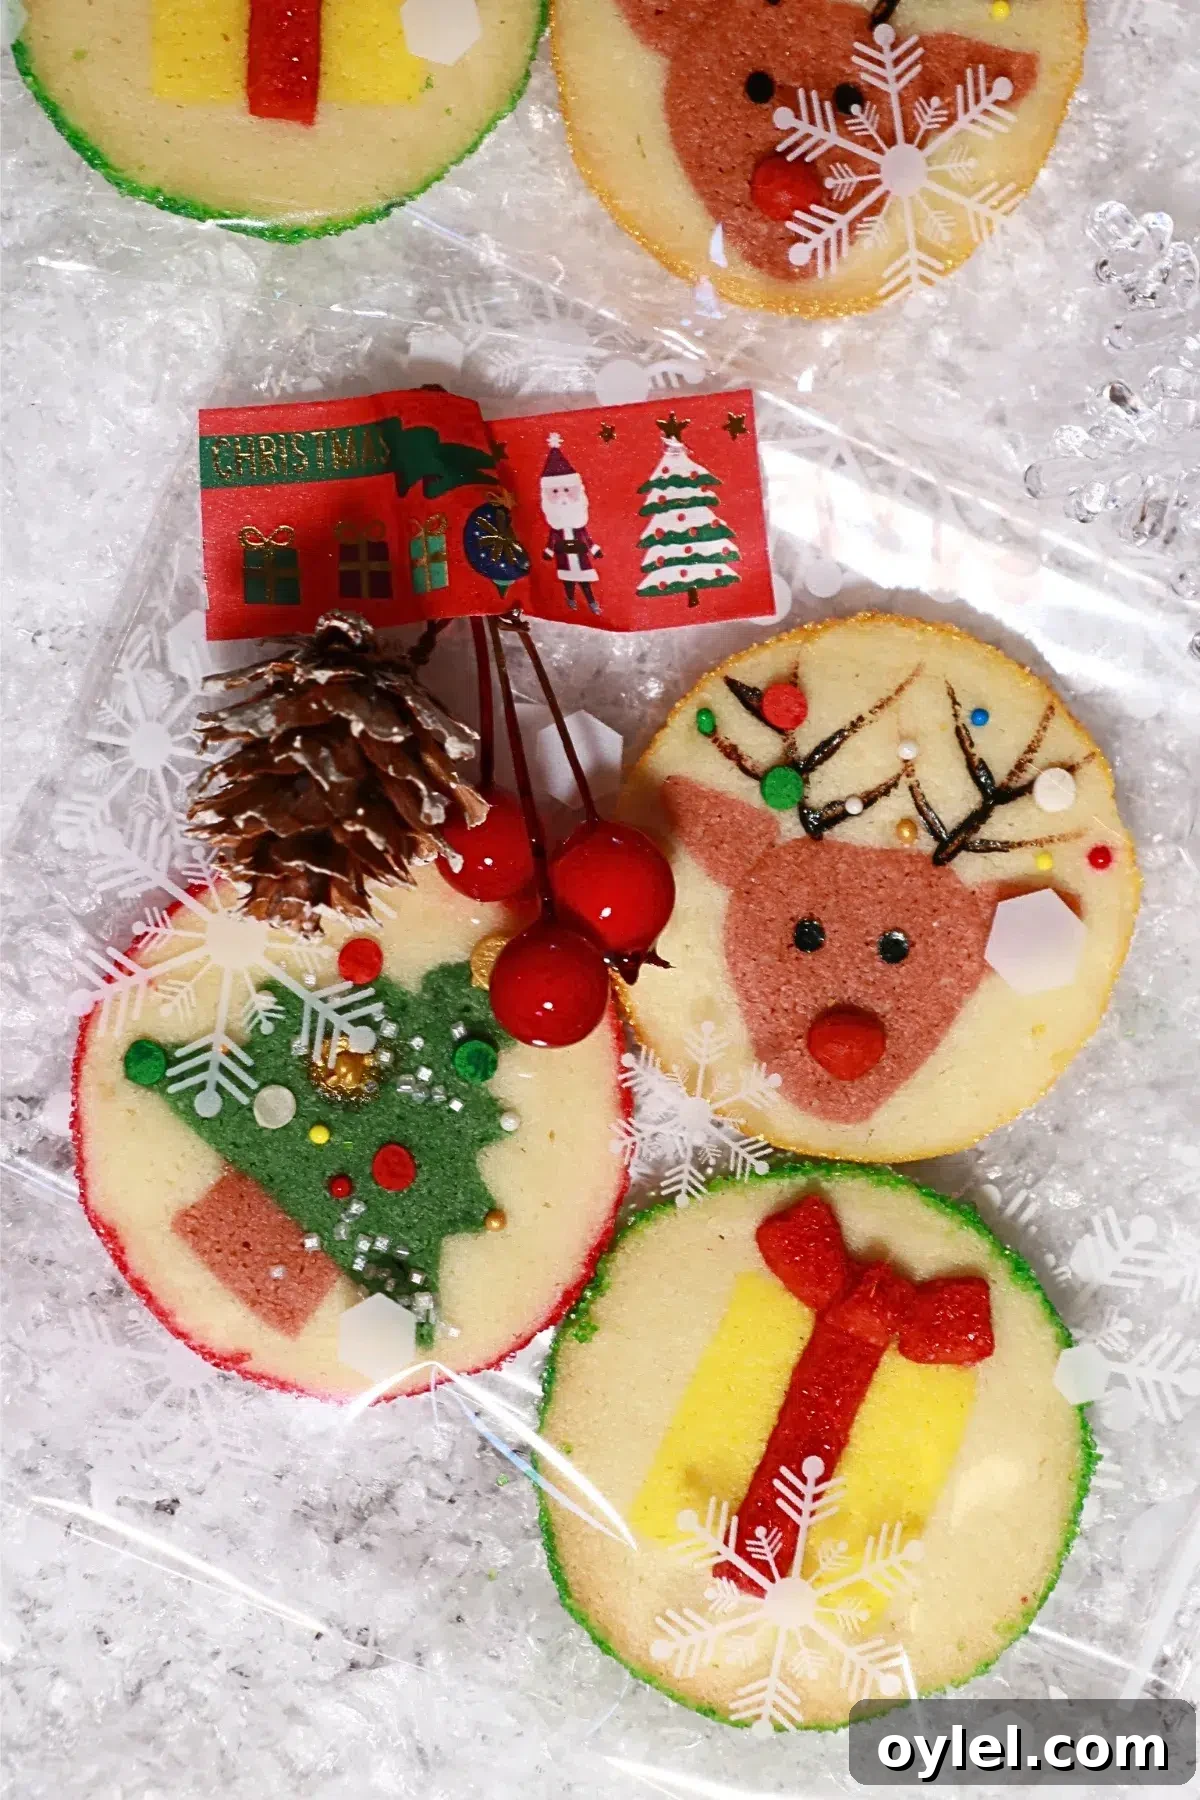
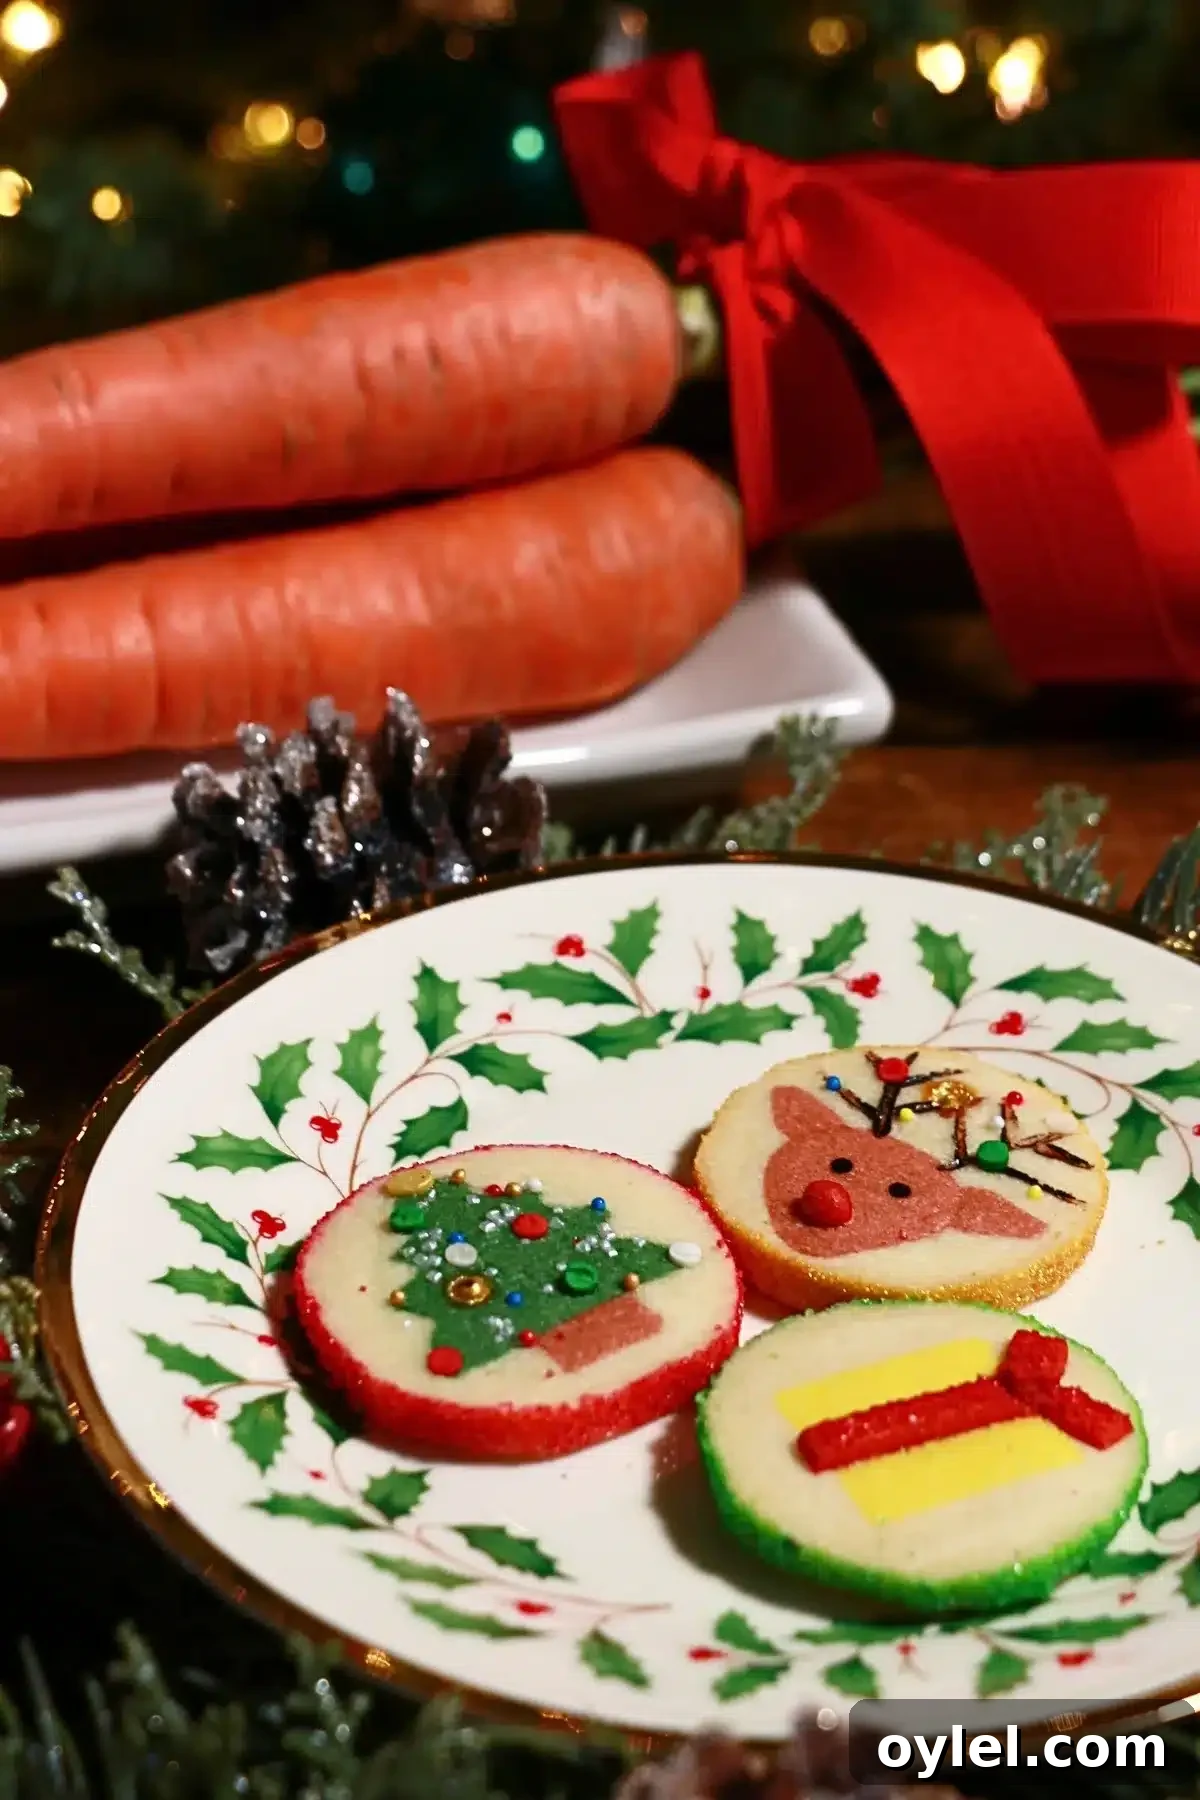

VIDEO: Watch How To Make the Slice & Bake Christmas Cookies
A step-by-step video tutorial demonstrates each technique and timing. Search for the video titled “SLICE & BAKE! Christmas Cookies (Reindeer, Gift box & Christmas tree cookies)” on YouTube to follow along. If you enjoy video tutorials, consider subscribing to the creator’s channel for more baking tips.
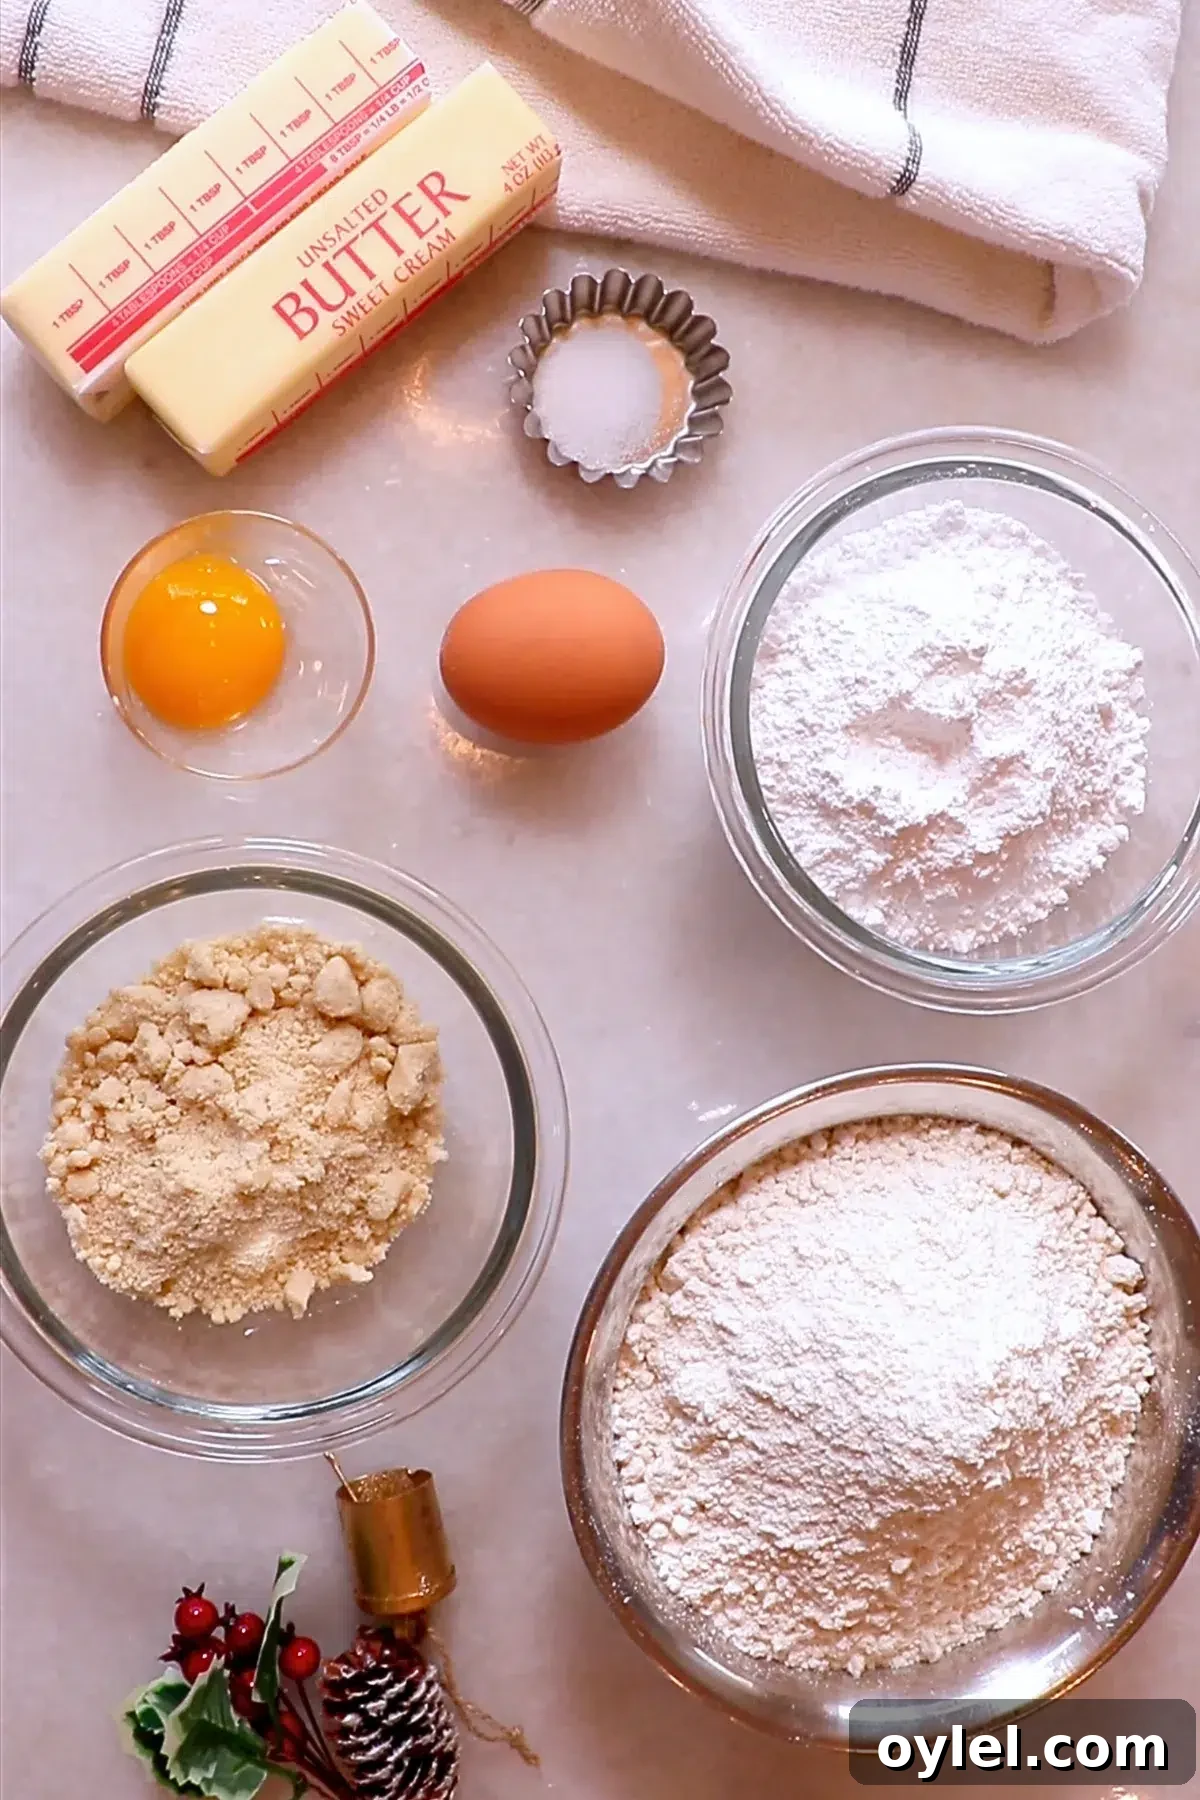
What’s in the Slice-and-Bake Christmas Cookies?
The Dough
- Unsalted butter — soft so it blends easily.
- Powdered sugar — gives a crumbly, flaky texture compared to granulated sugar.
- Salt
- Whole egg
- Egg yolk — save the white for egg wash.
- Cake flour
- Almond flour — adds tenderness and reduces crunch for a more crumbly bite.
Egg Wash
- Egg white
- Water — mix equal parts egg white and water for brushing.
Decorations
- Food colorings — green, brown, yellow, red (use any colors you prefer).
- Sprinkles — optional, for extra festive detail.
How To Make the Slice-and-Bake Christmas Cookies
These step-by-step tips highlight important details to help your cookies come out clean and colorful.
Step 1: Make the Cookie Dough
Prepare one batch of icebox cookie dough using the ingredients listed above. Measure by weight if possible for best results.
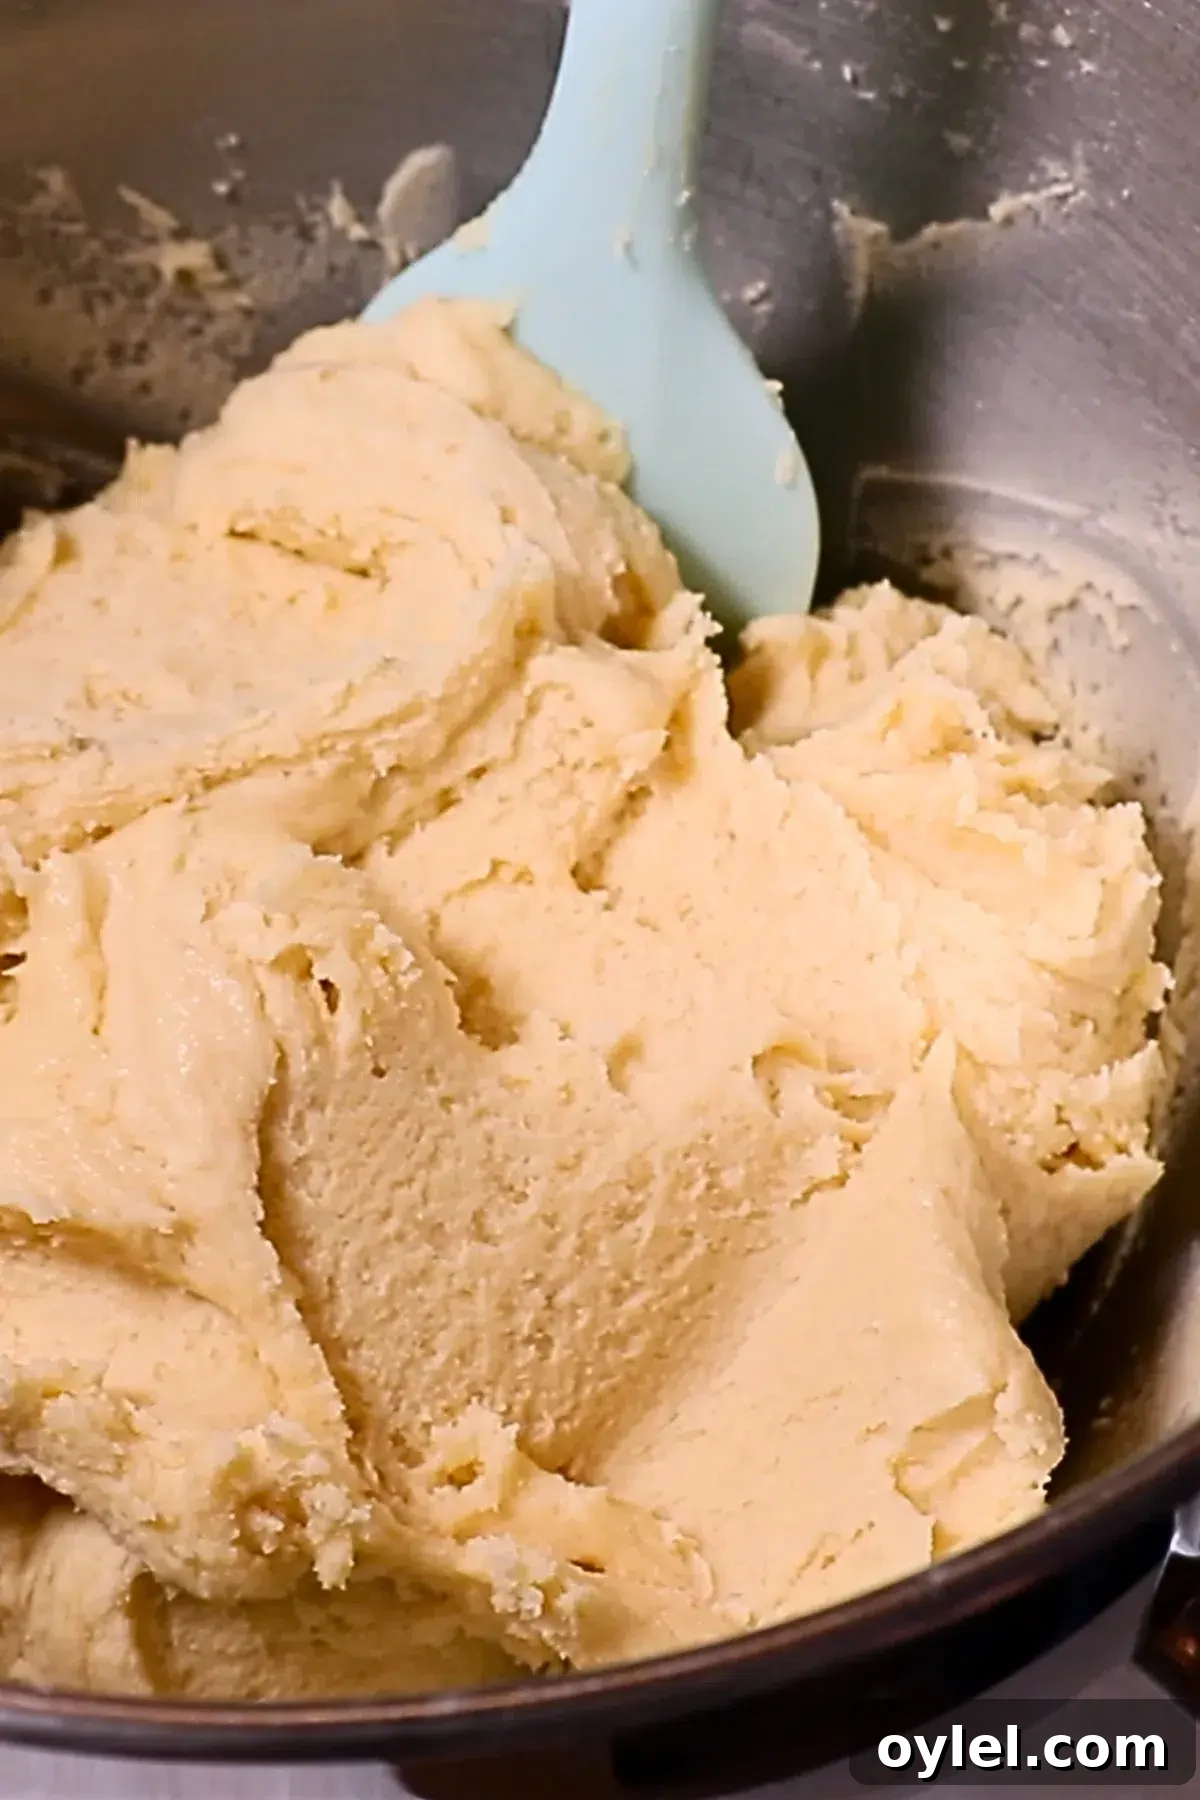
Step 2: Color the Dough
Reserve about two-thirds of the whole dough (about 580 g from 880 g) as plain dough to wrap the designs later. From the remaining third (about 300 g), divide into three 100 g portions and color them yellow, brown, and green. Take a tiny piece from the reserved plain dough and color it red for small details like reindeer noses or present ribbons.
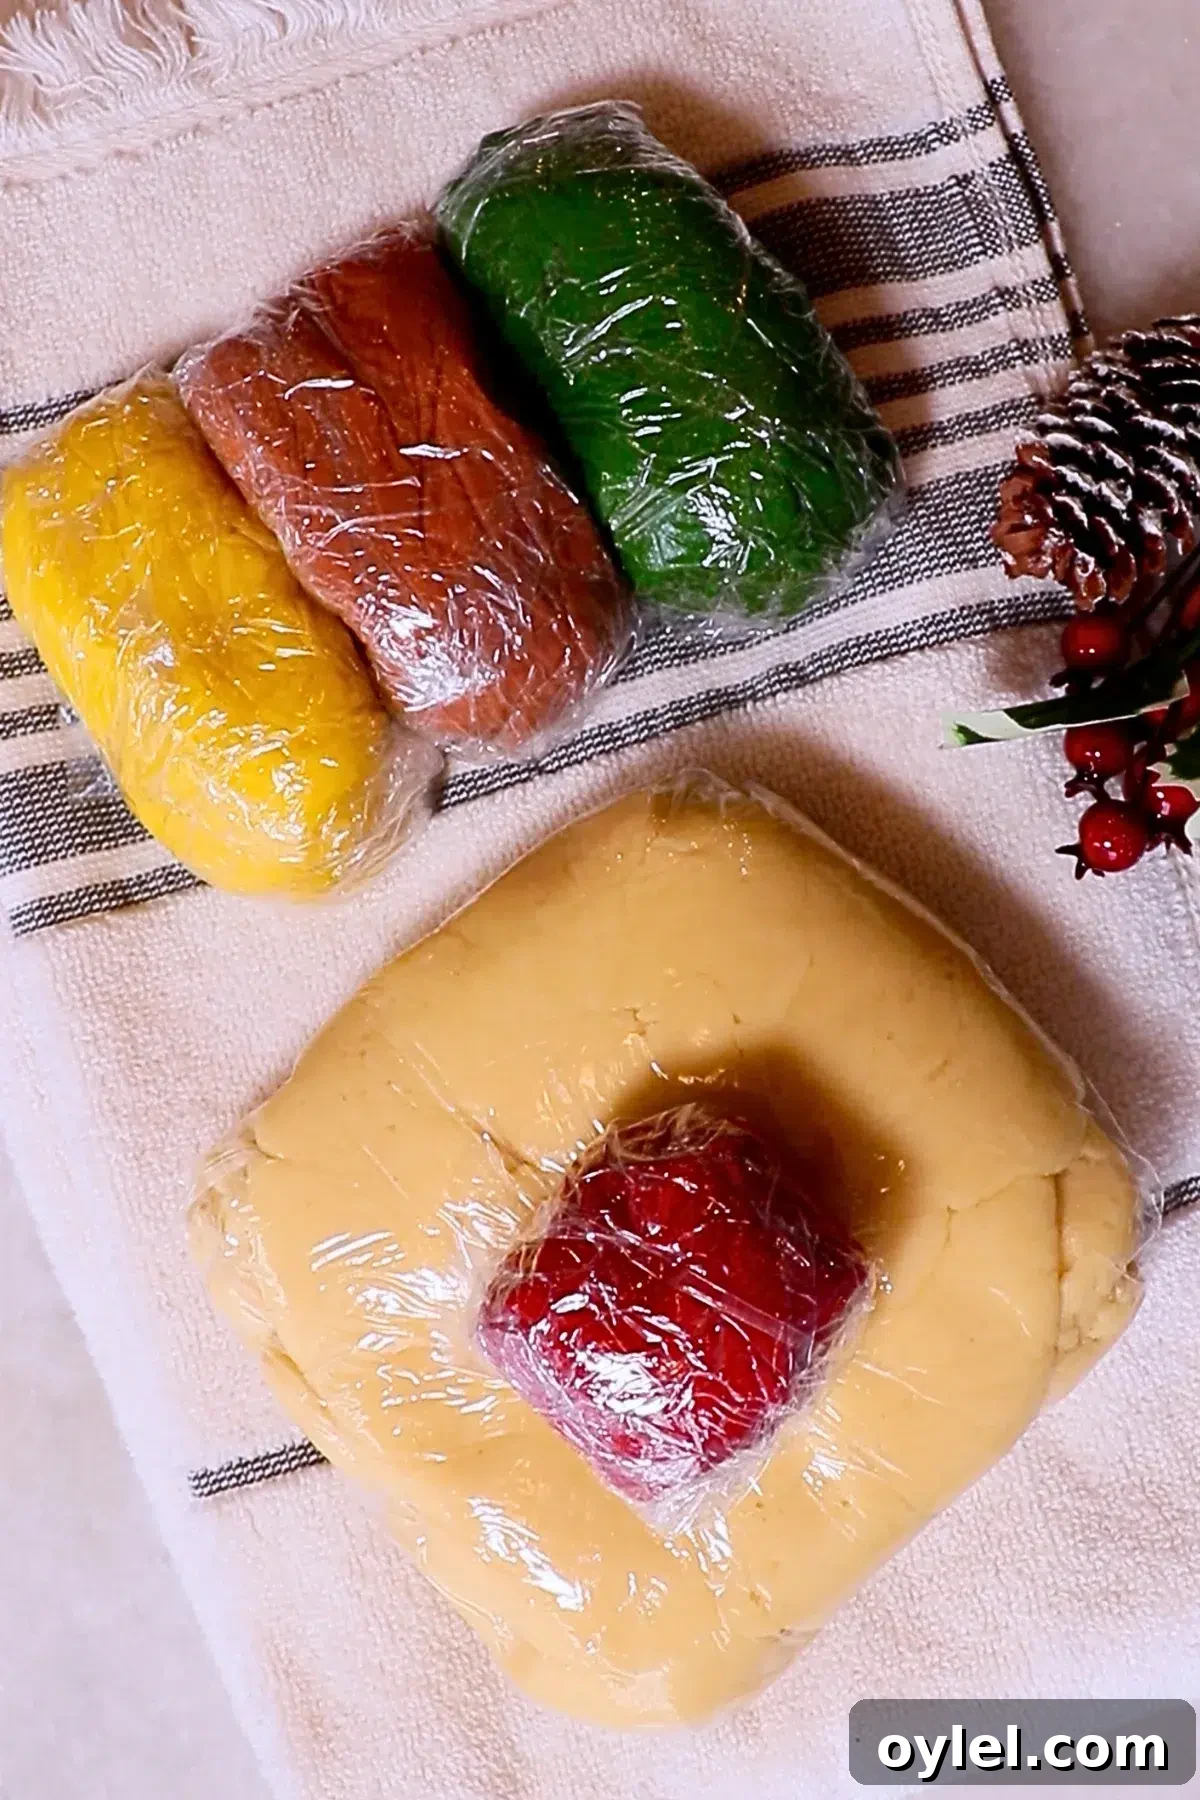
- If a color looks too pale after baking (for example, yellow), choose a deeper shade before baking so it remains visible.
- Add a touch of brown to green dough if you want a deeper forest-green tone.
Step 3: Shape Each Dough
Christmas Tree
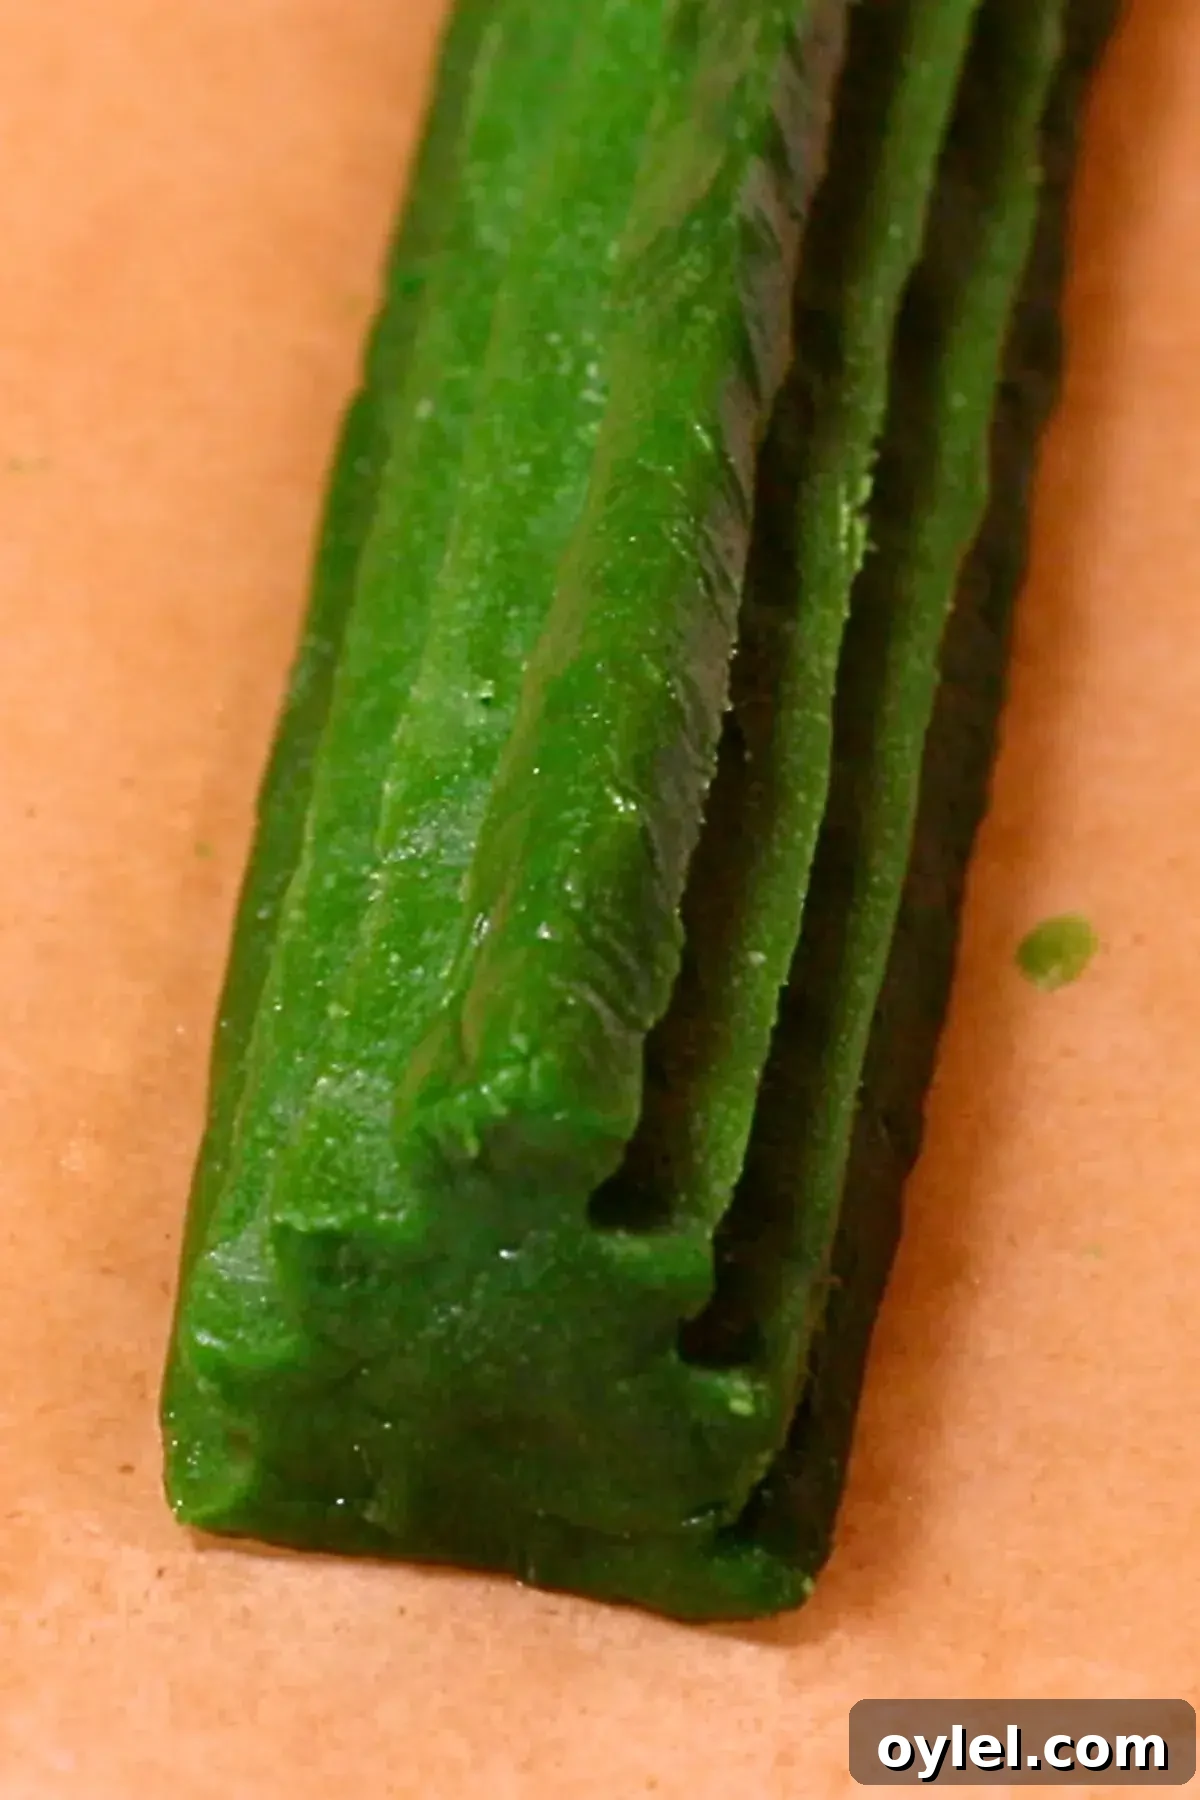
- Form the green dough into a triangular log: width & height about 2.5 cm (1 in), length about 15 cm (6 in).
- Freeze until firm.
- Use a tool with a sharp corner (a star cutter or similar) to press and curve the surface, creating zigzag branches.
- Form a thin brown rectangle for the trunk (2.5 cm high, 15 cm long), freeze, then trim the sides to about 1 cm width.
- Use a little egg wash to attach the trunk to the green tree and freeze again so the shape holds.
Reindeer
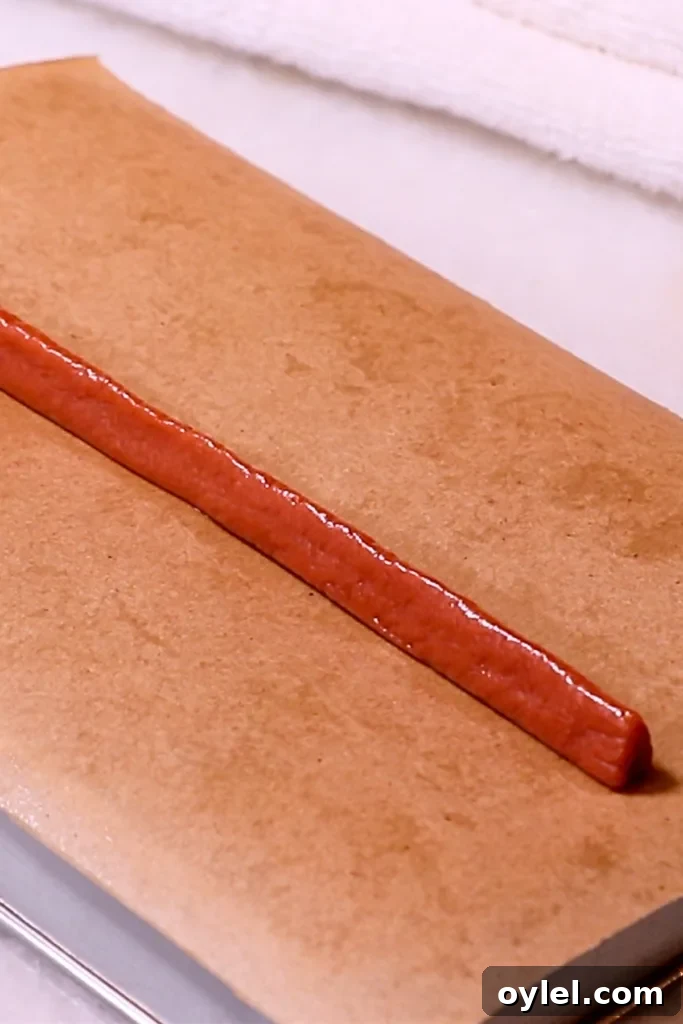
- Make a brown log about 15 cm (6 in) long and freeze.
- Slice and shape portions into a reindeer face about 1.5 cm wide by 2 cm high.
- Create small ears from leftover brown dough, about 0.6 cm high; freeze them.
- Attach ears to the head with a dab of dough and egg wash, then freeze.
- Reserve a tiny red piece for the nose and use black coloring for eyes and brown for antlers when decorating.
Present Box
- Shape yellow dough into a square log: 2 cm x 2 cm cross-section, 15 cm (6 in) long, then freeze.
- Trim for clean straight edges and freeze again.
- Thinly roll leftover red dough for ribbon stripes, or keep decoration simple if you’re short on time.
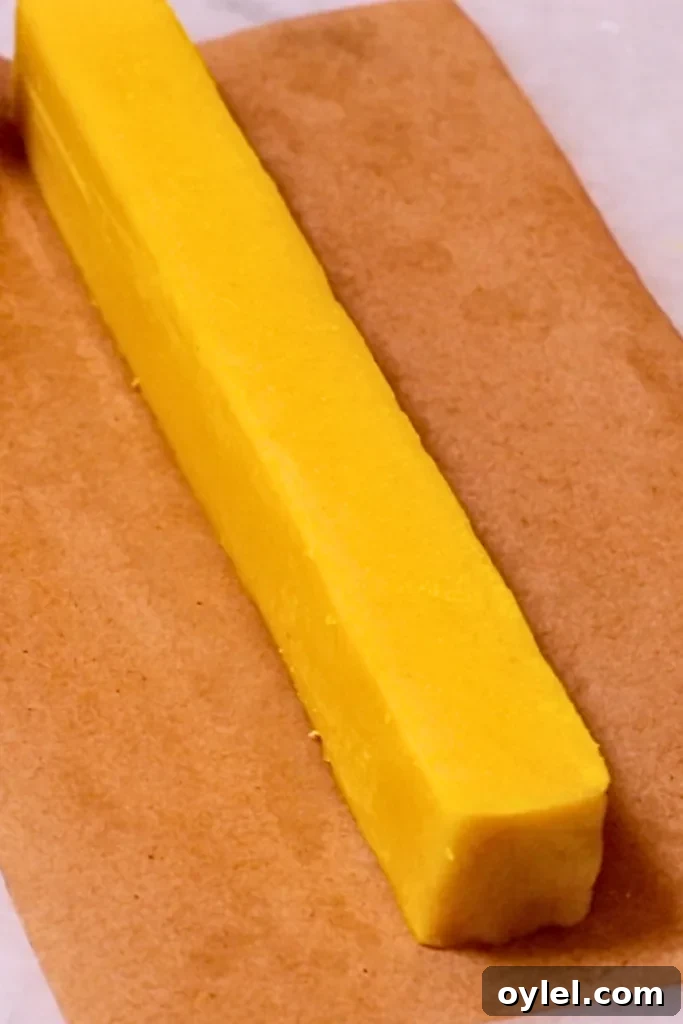
- For the Christmas tree zigzags, you can curve deeply or keep shallower, more frequent cuts—both look lovely.
- Whenever the dough softens, freeze it again. Keeping shapes firm prevents smudging while you work.
Step 4: Cover Each Design with Plain Dough
Divide the reserved plain dough into three pieces and wrap each shaped design. Aim for logs about 15 cm long and roughly 4 cm in diameter. Work with chilled, firm designs to avoid distortion.
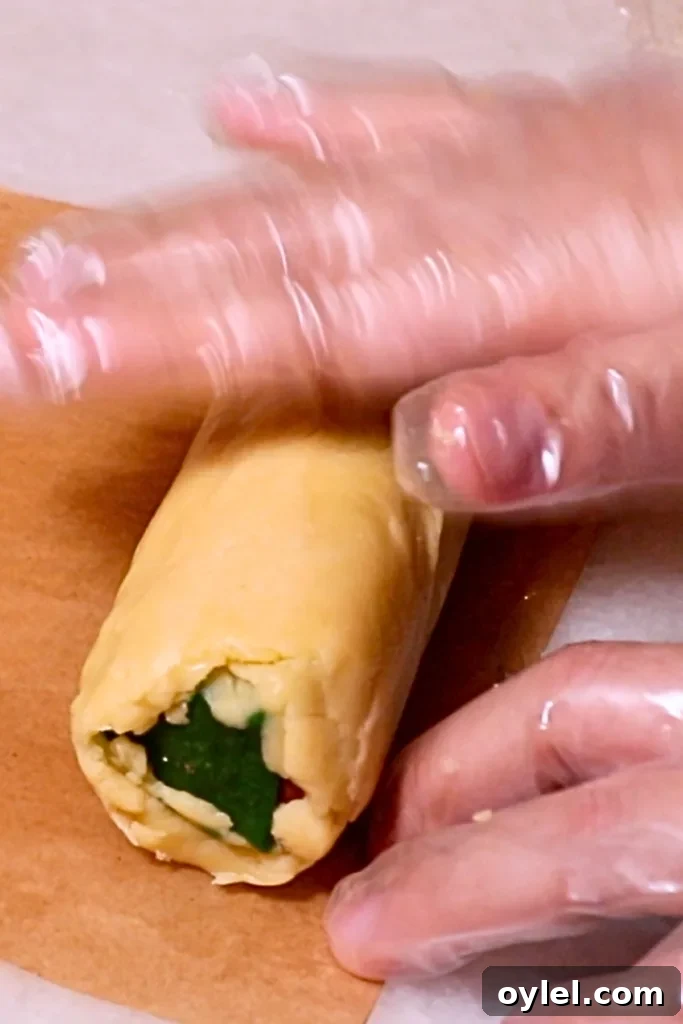
- If you’re worried about softening, first wrap designs with a thin layer of plain dough, freeze, then finish the outer layer.
- If making these with children, don’t stress about exact dimensions—fun and creativity matter most.
- A vegetable peeler is handy for shaving off thick spots and redistributing dough to achieve uniform logs.
Step 5: Slice the Logs
Brush the log surface with egg wash, press sprinkles on if desired, and slice into 5 mm (about 0.2 in) rounds. Use a very sharp knife and a firm, chilled log for clean slices.
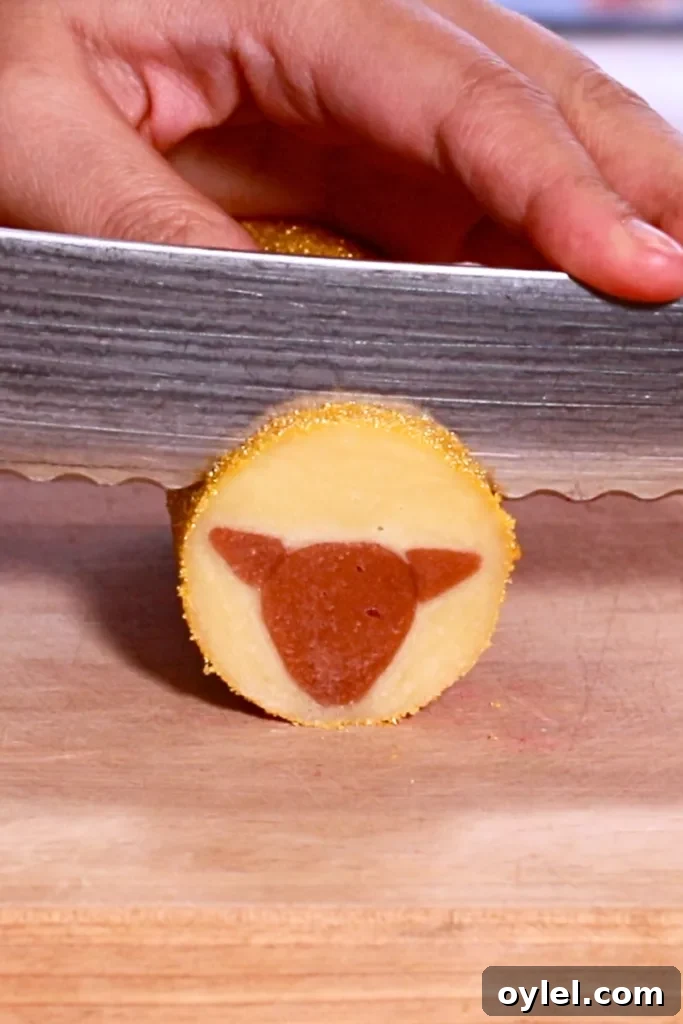
- Frozen logs cut cleanly; if the log warms while slicing, pop it back in the freezer.
- Thicker slices spread more during baking; keep slices thin for better shape retention.
Step 6: Decorate
Use the red dough for tiny reindeer noses. Roll any remaining colored dough very thin, brush with egg wash, press sprinkles, and slice thin strips to create ribbon accents for present boxes. Paint eyes and antlers with food coloring or use tiny sugar pearls or nonpareils for detail.
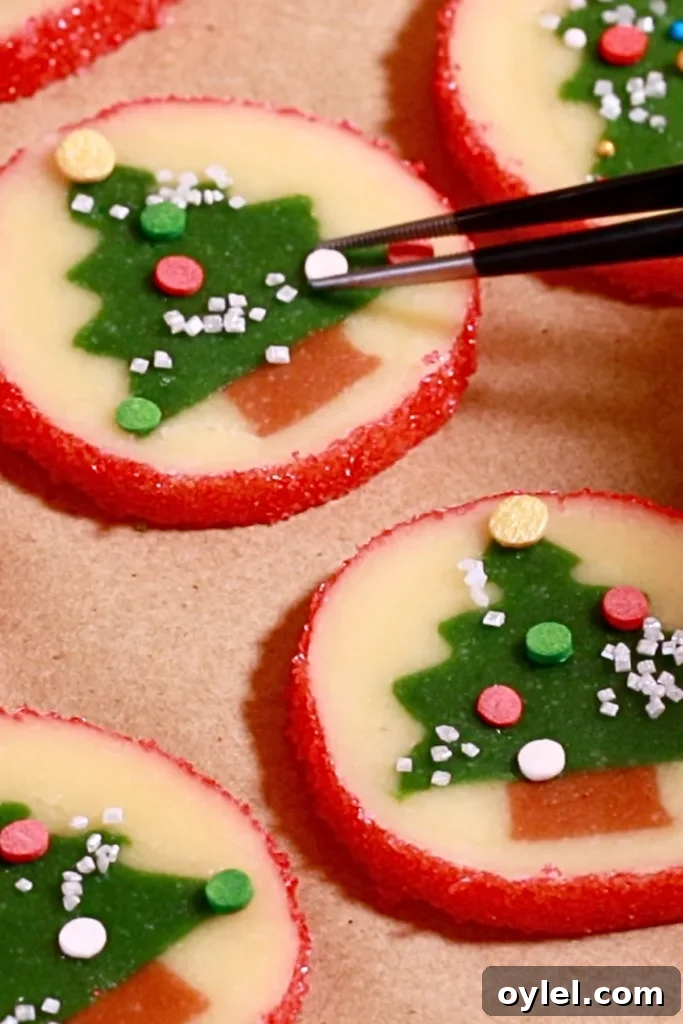
If you’re short on time, keep decorations simple—these cookies are charming even with minimal detail.
Step 7: Bake
Bake at 350°F (176°C) for about 7 minutes. Then reduce the oven to 330°F (165°C) and bake for another 5–7 minutes, or until the edges are just slightly toasted. Avoid over-baking to preserve vibrant colors.
Chill the Dough Before Baking
Keep slices well chilled or refrigerated until just before baking to minimize spreading. Freezing the logs between steps yields the best results.


Uses for Slice-and-Bake Christmas Cookies
Enjoy these cookies in many ways:
- As a festive Christmas cookie box
- Party treats for kids
- Small gift bags for neighbors or coworkers
- Snacks for Christmas parties and family gatherings
You can also revisit the earlier slice-and-bake set (Santa, Santa boots, and wreath cookies) and mix designs from both posts for a colorful cookie box.

Frequently Asked Questions
Store cooled cookies in an airtight container at room temperature for 4–5 days or in the refrigerator for a few weeks. If gifting, include a small desiccant packet (silica gel) in the box to absorb moisture and help keep the cookies crisp.
Dough can be refrigerated up to 4 days or frozen for several months. Thaw or soften slightly before shaping if frozen.
One batch yields about 50–60 cookies when sliced in 5 mm (0.2 in) intervals from 15 cm × 4 cm logs.
More Christmas Cookie Recipes
If you enjoy these, try other festive cookie ideas such as gingerbread cookies, multi-design cookie boxes, or easy Santa-shaped cookies for variety and holiday gifting.
Did you try the recipe?
Please leave honest feedback in the comment section. I’d love to hear how you served these cookies to friends and family this season.
Thank you! – Aya

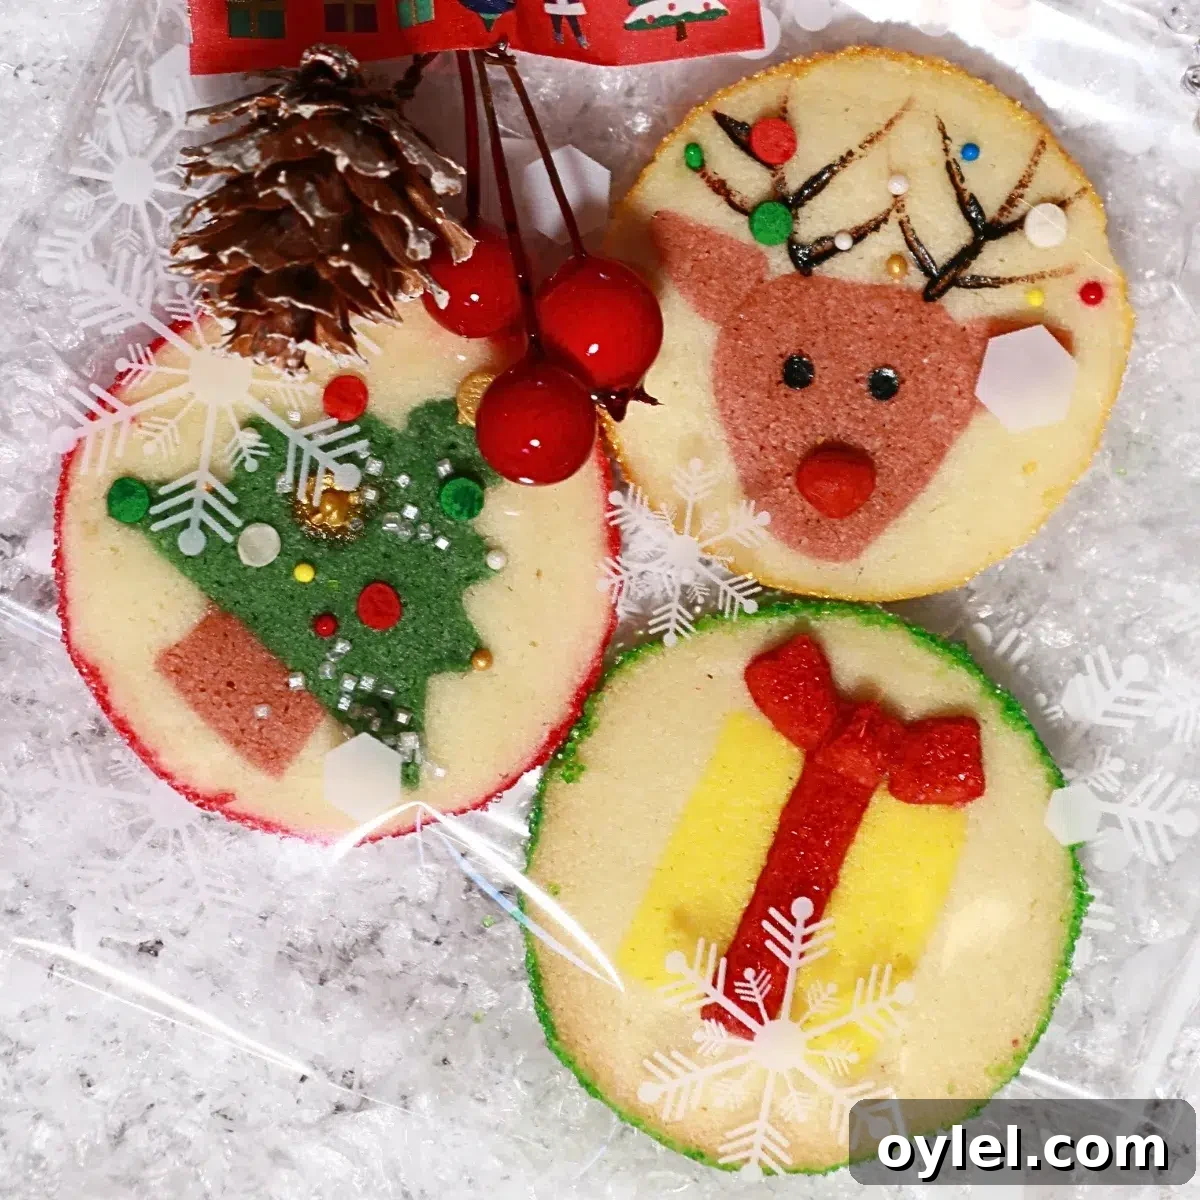
Slice and Bake Christmas Cookies (Christmas Tree, Reindeer, and Gift Box)
Equipment
Method
Nutrition
Notes
Video
Refer to the video tutorial titled “SLICE & BAKE! Christmas Cookies (Reindeer, Gift box & Christmas tree cookies)” on YouTube to watch this recipe in action.
Ingredients
- 226 g unsalted butter (softened)
- 160 g powdered sugar
- ¼ teaspoon salt
- 1 whole egg
- 1 egg yolk (save white for egg wash)
- 350 g cake flour
- 70 g almond flour
- Some egg white
- Some water (mix equal parts with egg white)
- Food colorings (your choice)
- Sprinkles (optional)
NOTE: For best results, measure ingredients by weight. Cup measurements are provided as a convenience.
Equipment
- Stand mixer with paddle attachment (or bowl with whisk and spatula)
- Whisk (to mix flours)
- Spatula
- Plastic wrap (to wrap dough)
Method
- Make one batch of icebox cookie dough using the ingredients listed in the Cookie Dough section.
- Set aside about two-thirds of the dough for wrapping. Color the remaining third into yellow, brown, and green (about 100 g each) and reserve a tiny red piece for details.
- Create the Christmas tree, reindeer, and present box shapes as described above, freezing between steps to keep shapes firm.
- Wrap each design in plain dough to form logs roughly 15 cm × 4 cm. Brush with egg wash, press sprinkles, and slice into 5 mm rounds.
- Add small finishing details: red noses, ribbon strips, and painted eyes or antlers with food coloring. Bake at 350°F (176°C) for ~7 minutes, lower to 330°F (165°C) and bake another 5–7 minutes until edges are slightly toasted. Chill dough before baking to minimize spread.
Notes
Storage: Store in an airtight container at room temperature for 4–5 days or refrigerate for a few weeks. For gifting, include a small desiccant packet to help keep cookies crisp.
Make-ahead: Dough can be refrigerated up to 4 days or frozen for several months. Thaw and soften slightly before shaping.
Nutrition
Per cookie (approximate): Calories 73 kcal; Carbohydrates 9 g; Protein 2 g; Fat 5 g.
Tried this recipe?
Let us know how it went in the comments.