Today I’m sharing how I organize our kids’ school work—projects, drawings, tests, and anything else they bring home—so you can keep the special pieces without getting overwhelmed.
Do you feel like you have a ton of school stuff?
Kids bring home papers, artwork, homework, tests and more. If your house feels overrun by schoolwork, you’re not alone. I was a teacher, so I love being organized, but I also want my children to know their efforts are valued.
With four kids, I needed a system that was simple, consistent, and easy to maintain. Over the years I developed a routine that helps us display current favorites, save meaningful items, and reduce clutter without guilt.
Yes—kids bring home a lot. Having a predictable process makes it manageable.
How my system started
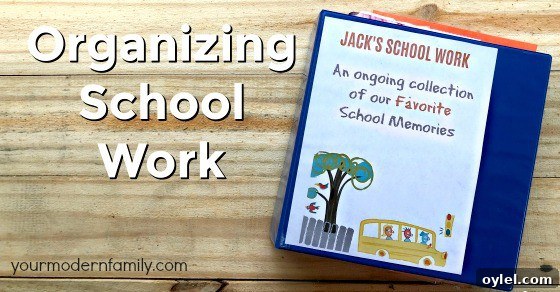
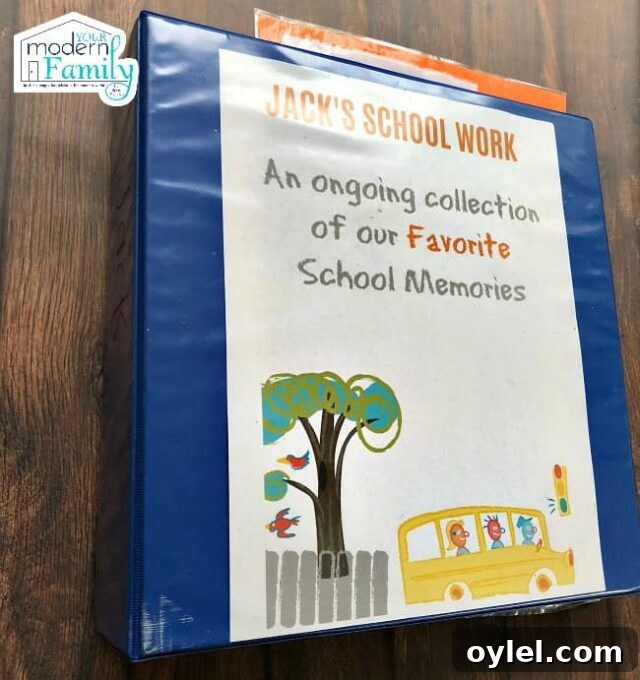
When my son began preschool the artwork and papers started arriving in earnest. As more children started school, the volume grew. Inspired by a friend’s idea, I purchased a few supplies: large binders, clear plastic sleeves, Sharpies for labeling, and simple cover sheets for each grade. Each child gets a binder in their favorite color, clearly labeled on the spine.
Tip: Use a sturdy binder to save favorite work. Consider giving it to your child later as a keepsake.
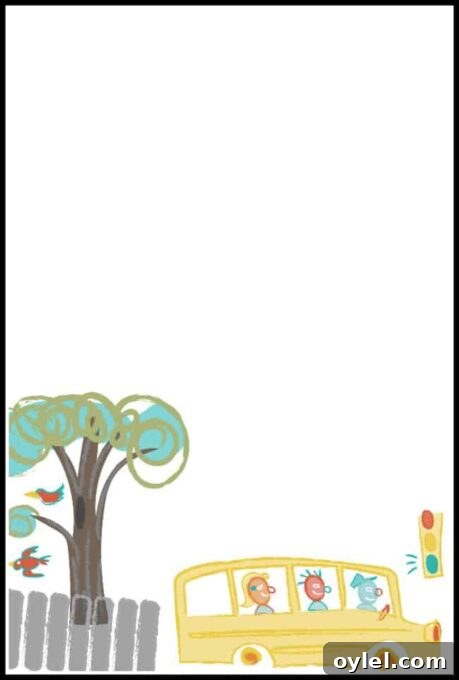
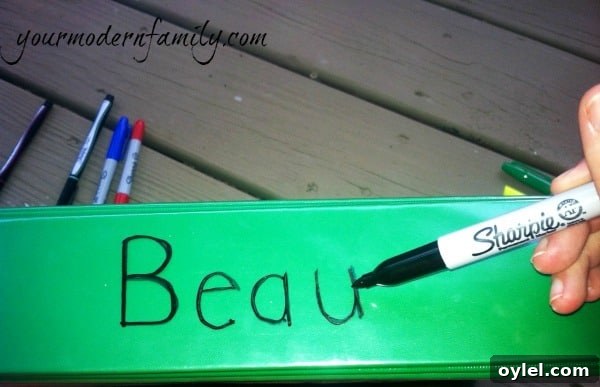
I buy the widest binders available and fill them with protective sleeves. I label the spine with a Sharpie so it won’t rub off. Cover pages list the child’s name and grade years to make the binder easy to navigate.
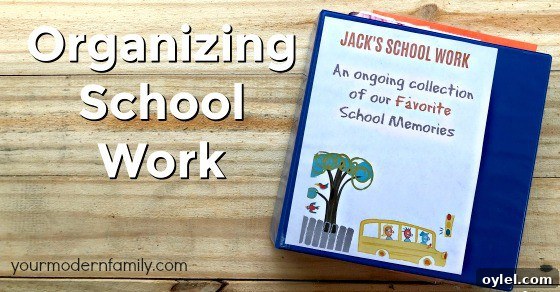
Once the cover sheets are printed and the binders labeled, we’re ready to process incoming work.
Write their name on the spine and use the first pages for early keepsakes like first drawings. Reserve the last pages for milestones such as graduation programs.
Daily routine for handling school papers and artwork
Day One: Display
The first day an item comes home, each child chooses a favorite to display on the refrigerator or a designated display area. Each child has a magnet or spot so their work is showcased briefly.
Day Two: Rotate
On the next day, replace the displayed piece with the new favorite. We keep only one displayed item per child at a time. This keeps the display fresh and limits accumulation.
Ongoing: Review
As new items arrive, decide together whether the piece is a temporary display, worth saving in the binder, or ready to be handled another way.
What to keep in the binders
Only truly meaningful items go into the binder: report cards, special letters, first stories, notable artwork, certificates, and preschool diplomas. I place earlier items at the front and more recent ones toward the back, creating a chronological keepsake.
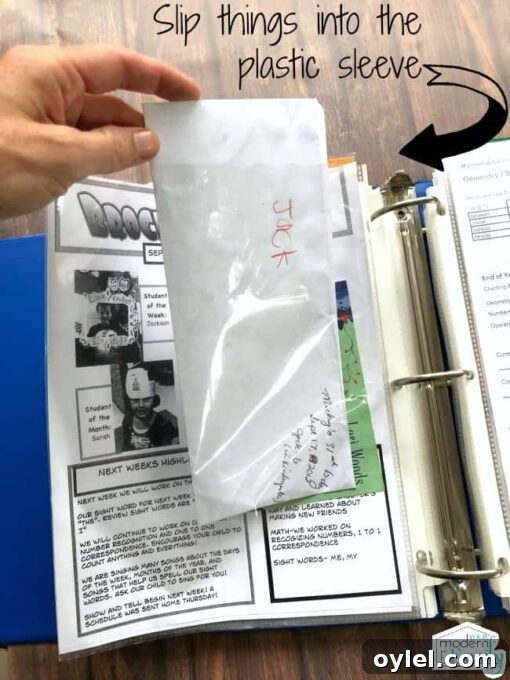
Include first paintings and important mementos. You might also add small media like a CD or flash drive with photos, tucked into a sleeve.
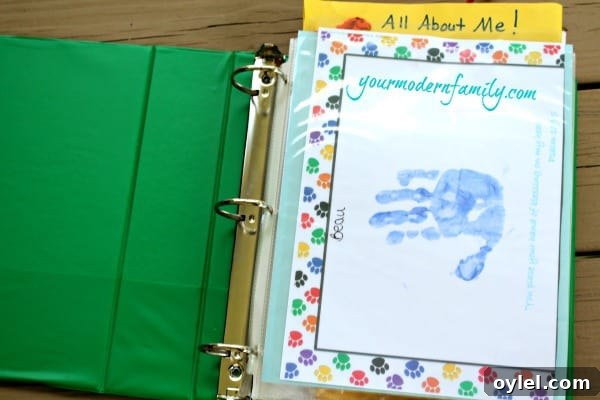
Examples of what to include
- Report cards and progress notes
- First story of the year or significant written work
- Special paintings or drawings
- Family portrait drawings or holiday projects
- Mother’s/Father’s Day questionnaires or poems
- Certificates like Student of the Month
- Preschool diplomas and end-of-year notes
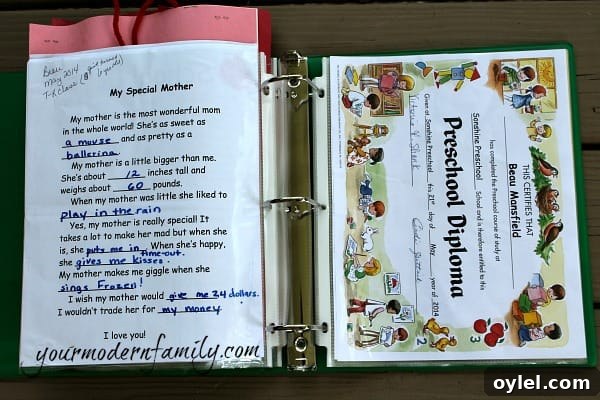
Decide what feels important to your family—this binder will one day be a meaningful gift to your child, so make it count.
What to do with papers you don’t keep
You have several practical options for papers you decide not to add to the binder:
1) Mail to family
Send special items to relatives as cards or included with a birthday or holiday package. Kids enjoy choosing what to send.
2) Recycle
After reviewing and celebrating the work, place extra papers in the recycling bin. Out of sight helps avoid ongoing clutter.
3) Use an app
Digitize artwork with a simple photo app that stores images of art and schoolwork. Many apps let you share access with grandparents and other family members.
4) Create a photo book
Photograph artwork and compile the images into a thin photo book. This reduces physical volume while preserving memories. You can make one book per year or per school stage.
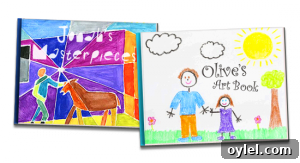
I hope this guide helps you find a simple, sentimental, and manageable way to organize your child’s school work and artwork.
If you want more organizing tips, look for posts about organizing kids’ art supplies and preserving school memories.