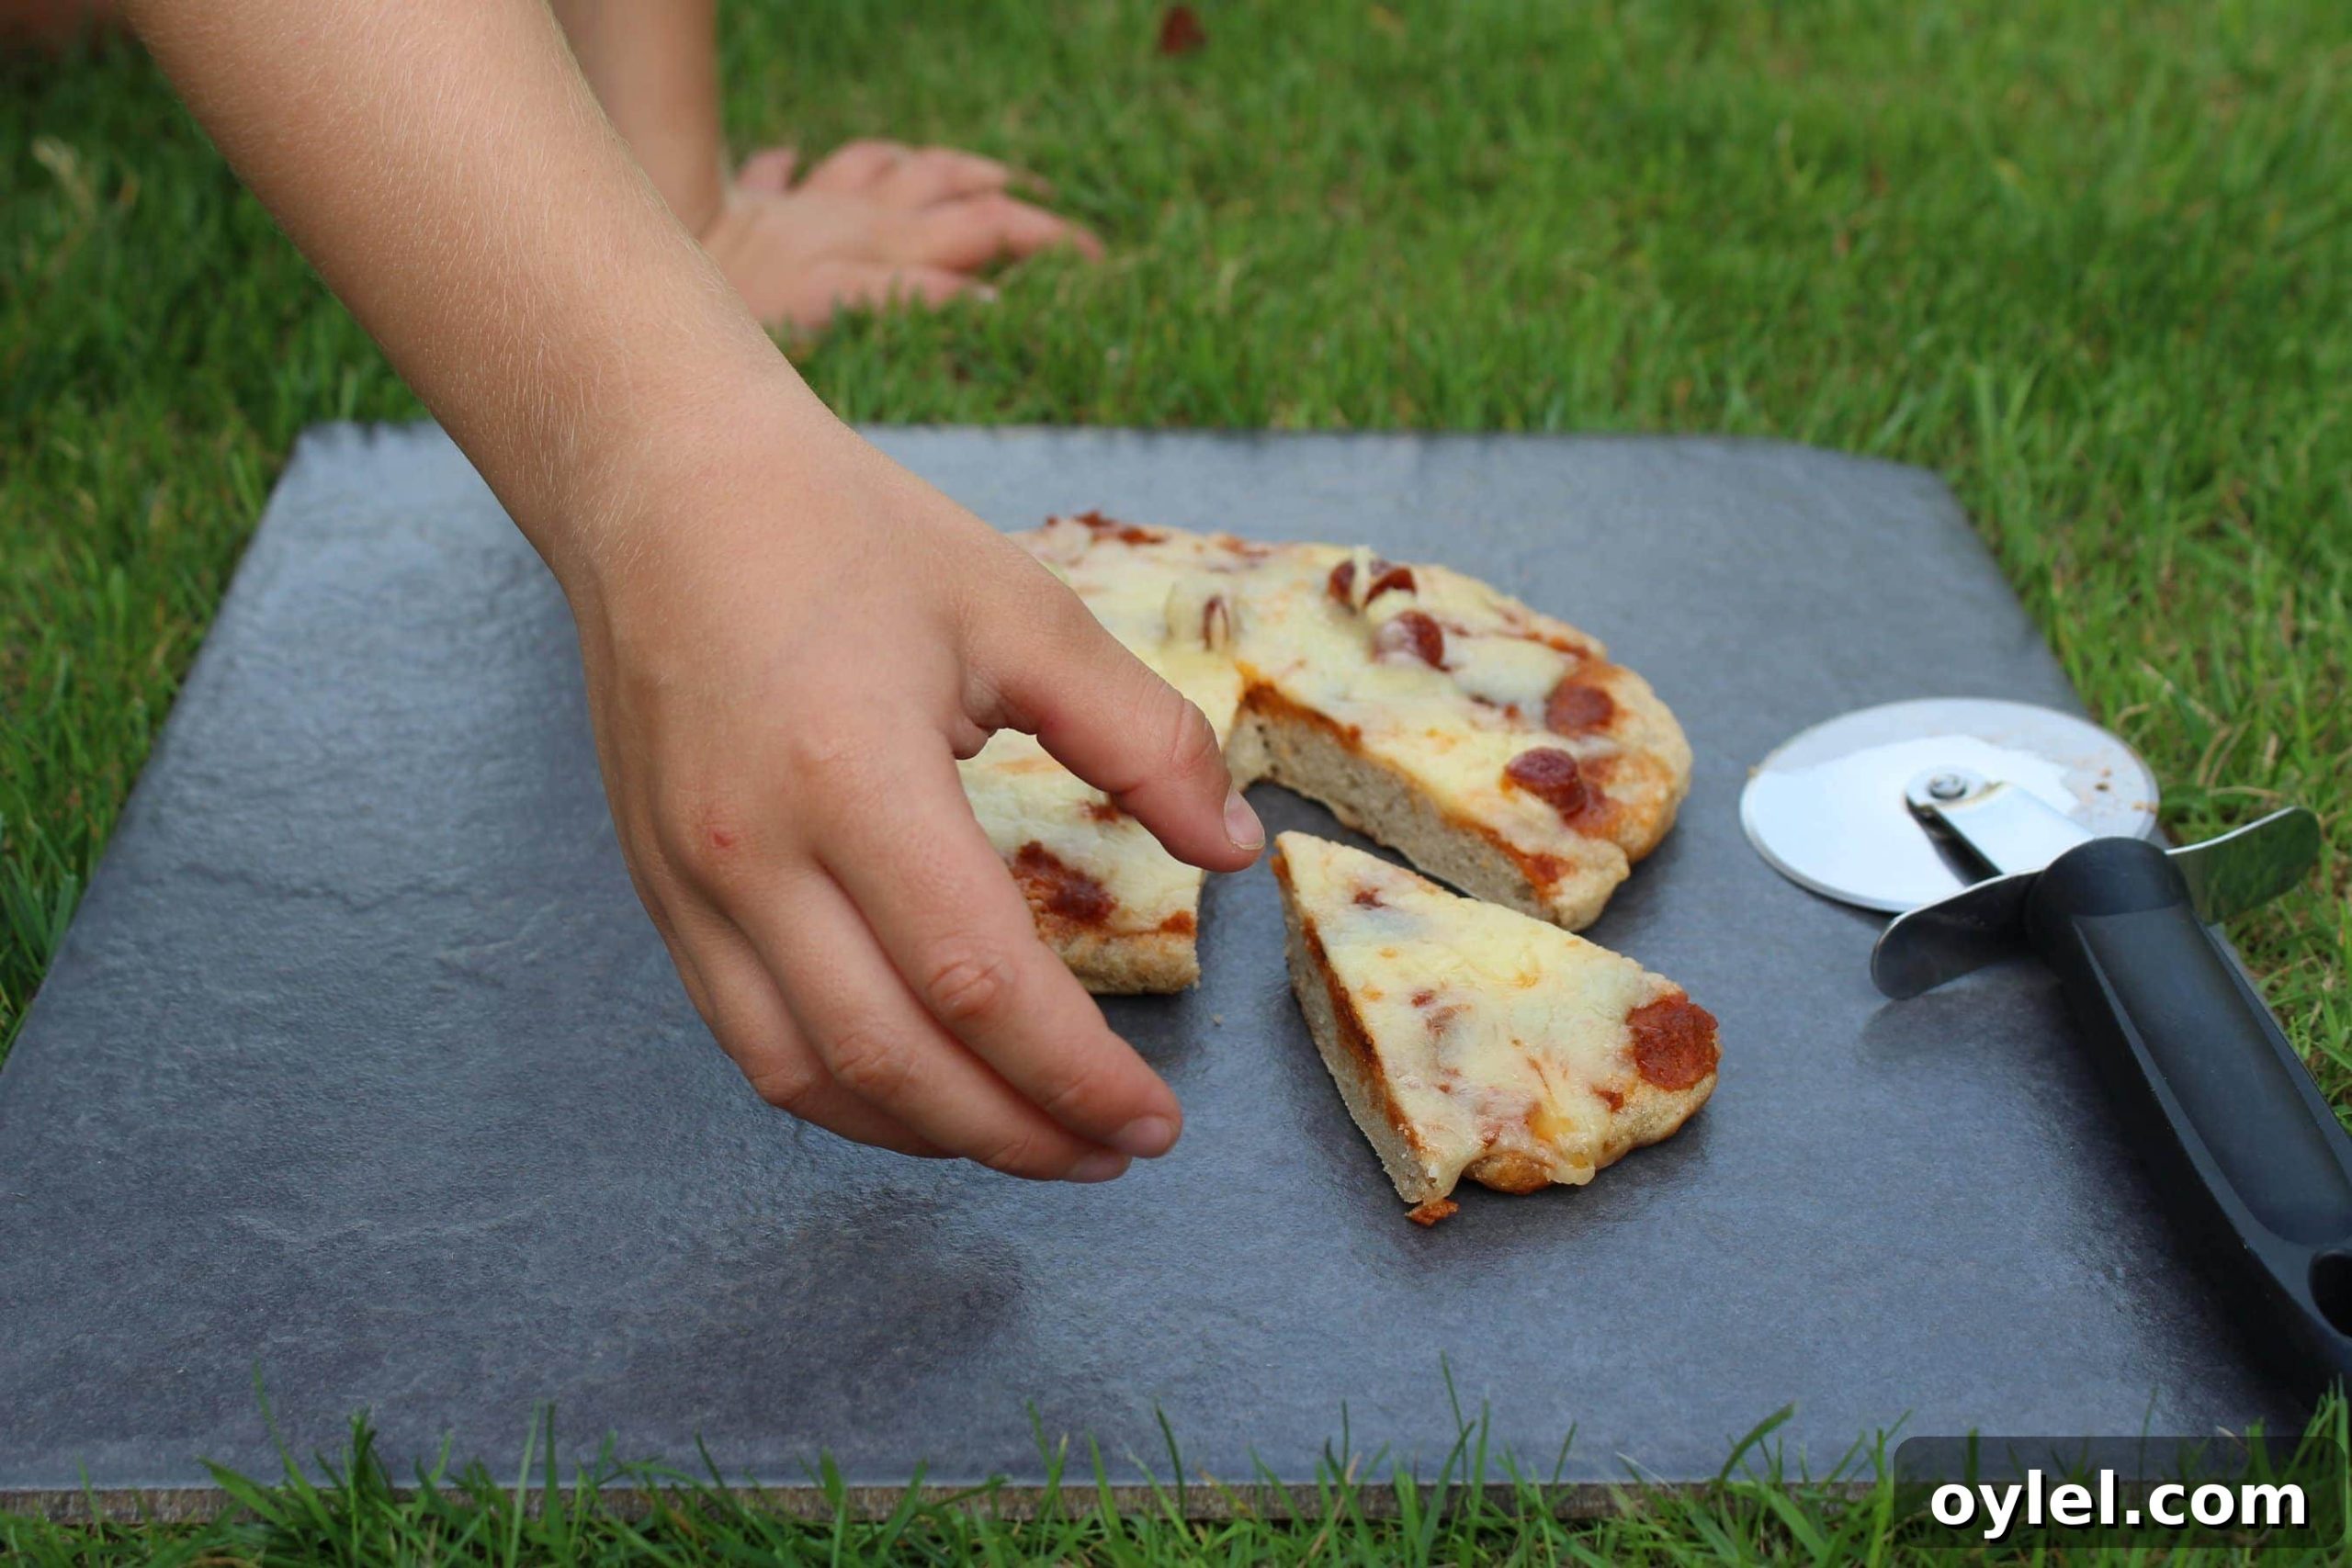
This frying pan pizza is quick and simple to make and is gluten free, making it suitable for people with coeliac disease or anyone avoiding gluten. I developed the recipe for camping when an oven isn’t available, but it’s equally useful at home.
This post contains affiliate links. As an Amazon Associate I may earn from qualifying purchases.
The story behind my frying pan pizza
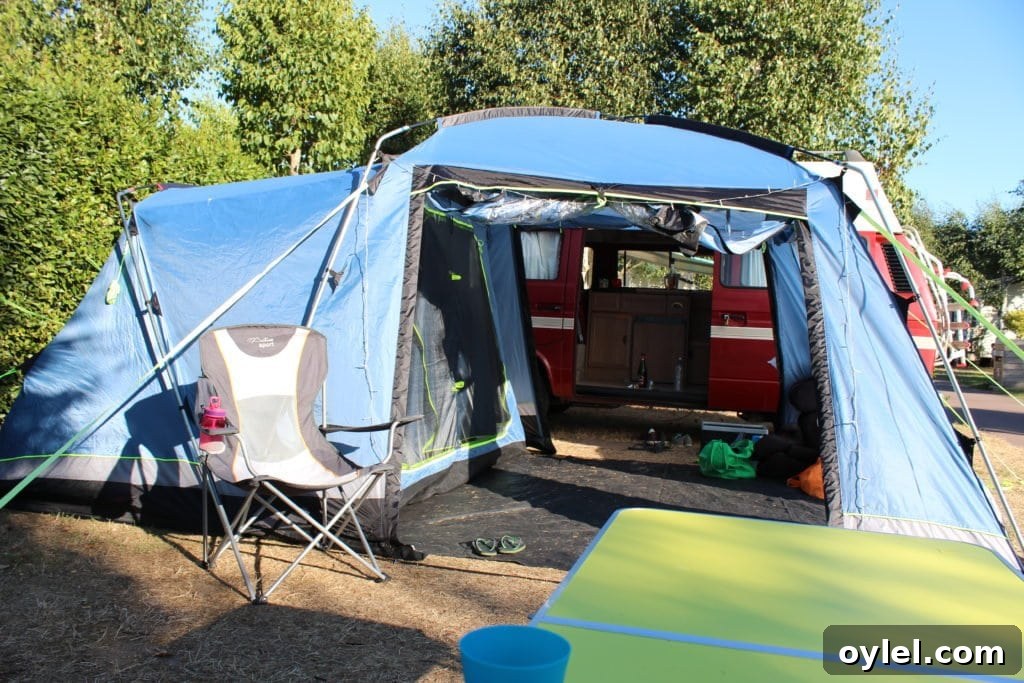
I’m back from a long break and still holding on to summer memories. We spent two weeks away in our camper van, Rosie, and although family holidays always include a fair share of squabbles, the good moments stick with me. The kids and I had a proper escape from screens and routines: no social media, no emails, and no website work. It felt restorative even if the return to normal life means a mountain of catch-up.
One thing that kept coming up on our campsite was pizza. Nearly every family ordered a takeaway at some point, and I found myself craving one too. Because we’re gluten- and dairy-free much of the time, I wanted an easy solution that worked without an oven – something I could cook on the camping stove or even on a portable ring in the van. That’s how this frying pan pizza recipe was born: practical, forgiving and delicious whether you’re traveling or simply don’t want to fire up a full oven at home.
Rosie became our tiny mobile kitchen and the perfect place to test this idea. I experimented until I had a dough that rises reliably and a cooking method that gives a nicely browned base and melted topping. It’s simple enough for children to help with and versatile enough for all kinds of toppings: tomato sauce and cheese, a spoonful of pesto and roasted veg, or a meatier option like ham or chorizo if you eat them.
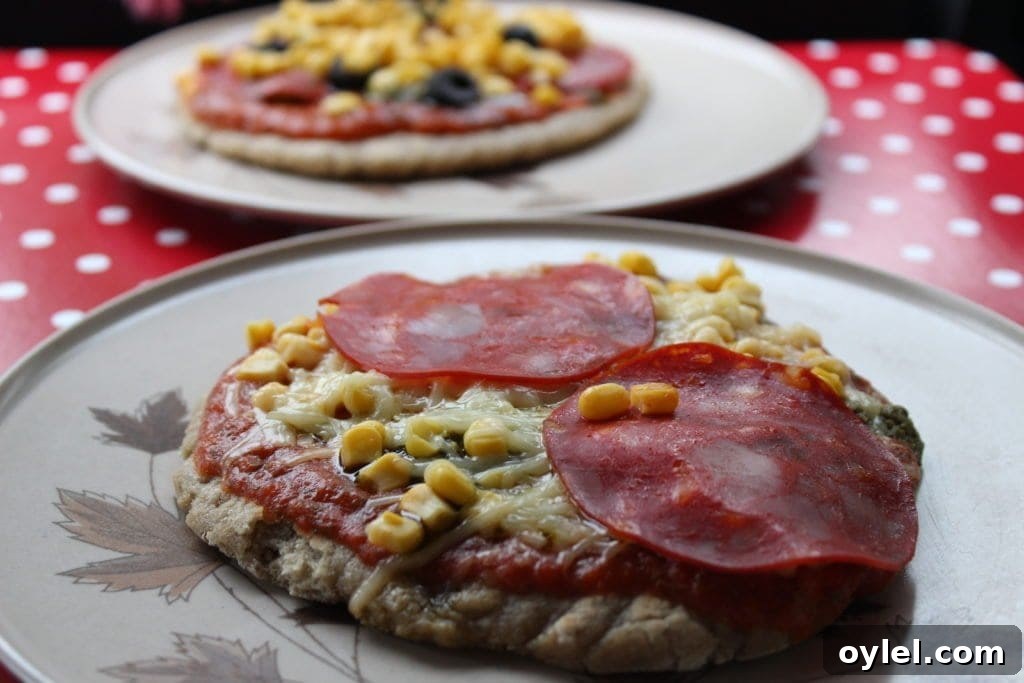
Taken in the old girl ‘Rosie’ herself!
How do you make gluten free pizza dough?
The dough is deliberately straightforward. It’s an adaptation of a Dan Lepard-style approach but tailored for gluten-free flours. You combine the dry ingredients, add the wet, and knead until you have a soft, non-sticky dough. The dough benefits from an hour’s rest to rise — a great excuse to sit in the sunshine with a book while it does its work.
If the weather is cool, you can keep the bowl somewhere warm to help the dough rise; campers often tuck the bowl under a jacket or keep it near a warm cooker. One of my kids, Roo, once read for an hour while the dough ‘incubated’ on her lap and proudly presented a perfectly risen ball when she was done. A little patience at this stage makes a big difference to the texture.
How do you cook a frying pan pizza?
When the dough has risen, divide it into four equal pieces and shape each into a ball. Flatten each ball on a sheet of tin foil to about 15cm in diameter — the foil makes it easy to transfer the base into a hot frying pan without tearing it.
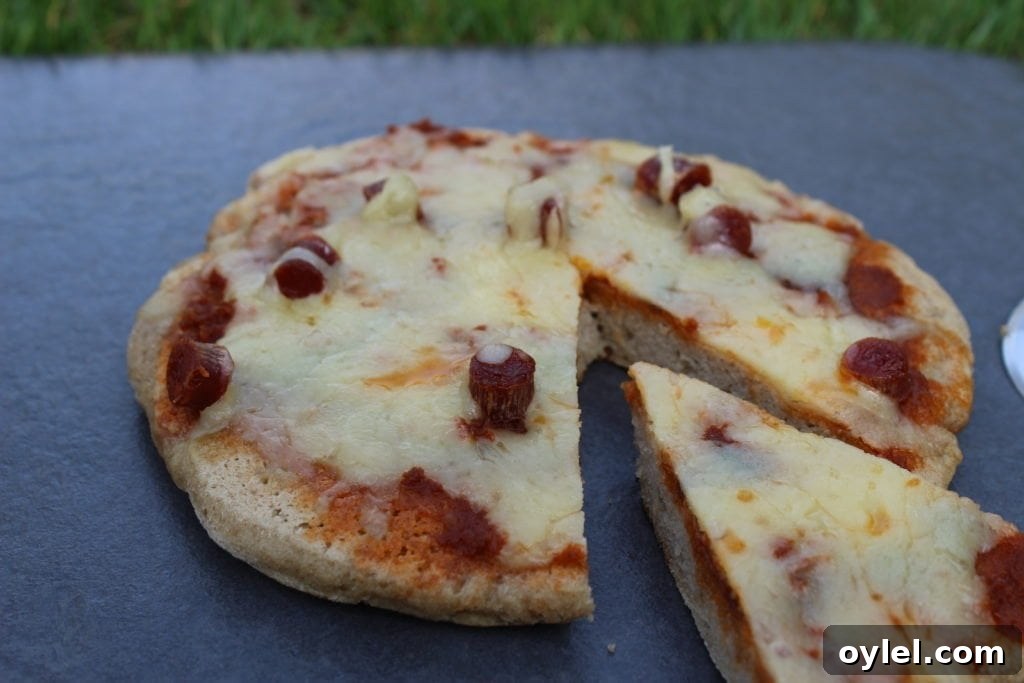
Heat a small frying pan over medium heat. Slide a base (foil removed) into the pan and cook for about three minutes on the first side. Flip the base over, add your sauce and toppings, then cook for another two to three minutes. If you’re using cheese, cover the pan with a saucepan lid to trap heat and encourage the cheese to melt evenly. If the cheese needs a little more time, take the pan off the heat and leave it covered for a minute or two — the residual heat will finish the job.
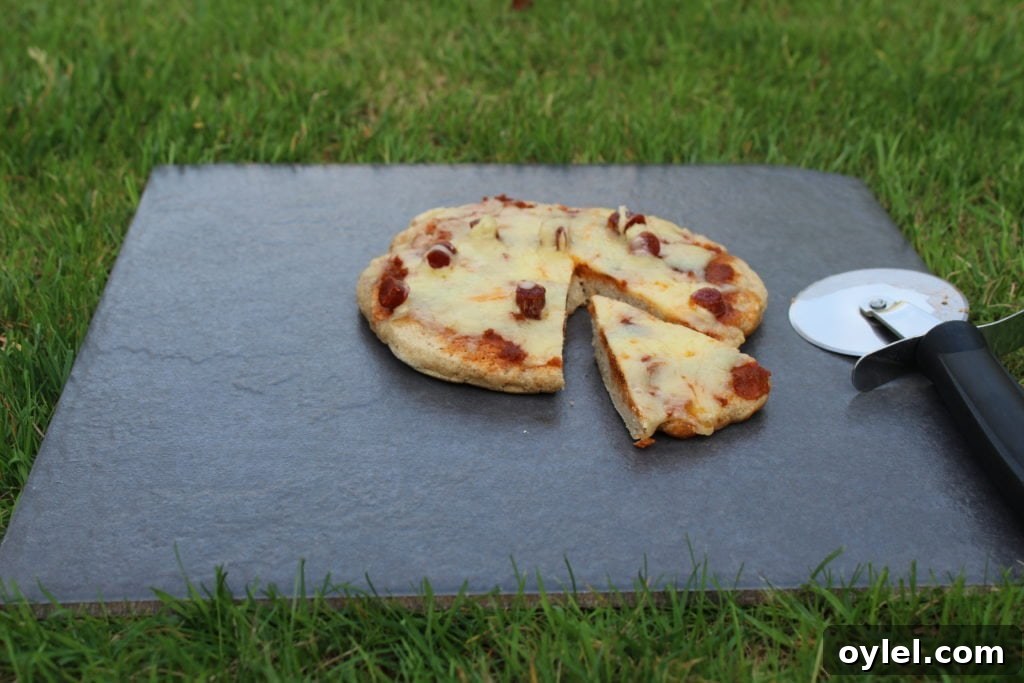
The result is a crisp-ish base with bubbly topping, made without an oven and with minimal fuss. Because the recipe uses a wholegrain rice and gluten-free flour blend, even a vegan topping without cheese still provides some protein and fibre to make the meal more satisfying.
Pin the recipe so you don’t lose it!
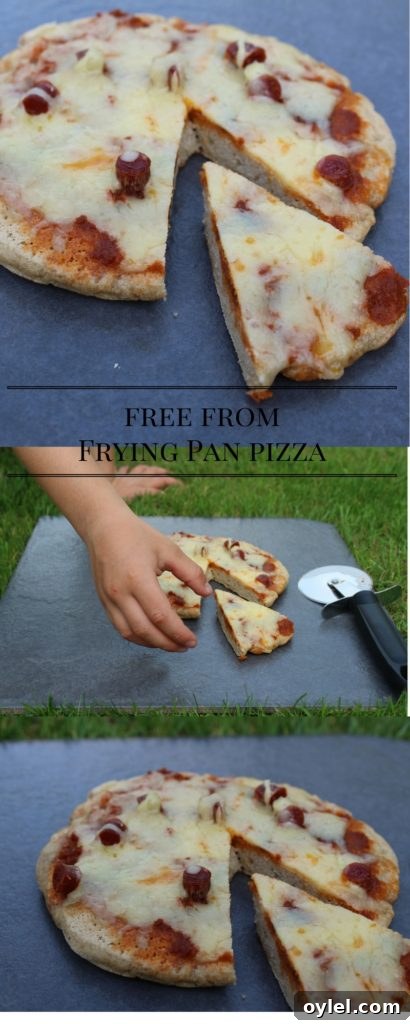
Frying Pan Pizza Recipe (Gluten Free)
Summary: Gluten-free, egg-free, nut-free, soya-free and sugar-free. Can be dairy-free if you omit the cheese.
Ingredients
- For the base:
- 350 g plain Free From Fairy flour (or your preferred gluten-free plain flour blend)
- 1 1/2 tsp psyllium husk powder (or 2 tsp xanthan gum)
- 1 tsp fast acting dried yeast
- 1/2 tsp sea salt
- 1 tbsp virgin olive oil
- 270 ml warm water (filtered or bottled if preferred)
- For the topping: your choice of pesto, tomato sauce, vegetables, ham, chorizo, grated cheese, or any combination you like.
Instructions
- Place the dry ingredients into a large bowl and stir to combine.
- Add the wet ingredients, then use a clean hand to bring everything together until a soft dough forms. Continue kneading until the dough is smooth and no longer sticky.
- Cover the bowl with clingfilm and put it somewhere warm for about 1 hour to rise.
- Cut the dough into four pieces.
- Take one piece, roll it into a ball, then flatten it into a circle on a piece of tin foil until it is around 15cm in diameter. Repeat with the remaining pieces.
- Preheat a small frying pan over medium heat.
- Transfer a pizza base into the pan (use the foil to help flip it, then peel the foil away).
- Cook for about 3 minutes, then flip the base over.
- Add your chosen toppings. If you are using cheese, cover the pan with a lid to help the cheese melt, and cook for a further 2–3 minutes.
- If the cheese hasn’t fully melted, remove the pan from the heat and leave it covered for a minute or two to allow residual heat to finish melting the cheese.
- Repeat with the remaining bases and serve while hot.
Notes
Nutrition data below refers to the base only. Resting the dough is important for texture — if you are short on time, allow at least 40–50 minutes for some rise, but an hour gives the best result.
Nutrition (Approx per base)
Calories: 362 kcal | Carbohydrates: 68 g | Protein: 7 g | Fat: 6 g | Saturated Fat: 1 g | Sodium: 291 mg | Potassium: 111 mg | Fiber: 5 g | Sugar: 1 g | Calcium: 1 mg | Iron: 9 mg
I shared this recipe with my fellow food bloggers while we were on the road. It’s proof that tasty, gluten-free meals can be made with minimal equipment and that camping cooking doesn’t have to be complicated.