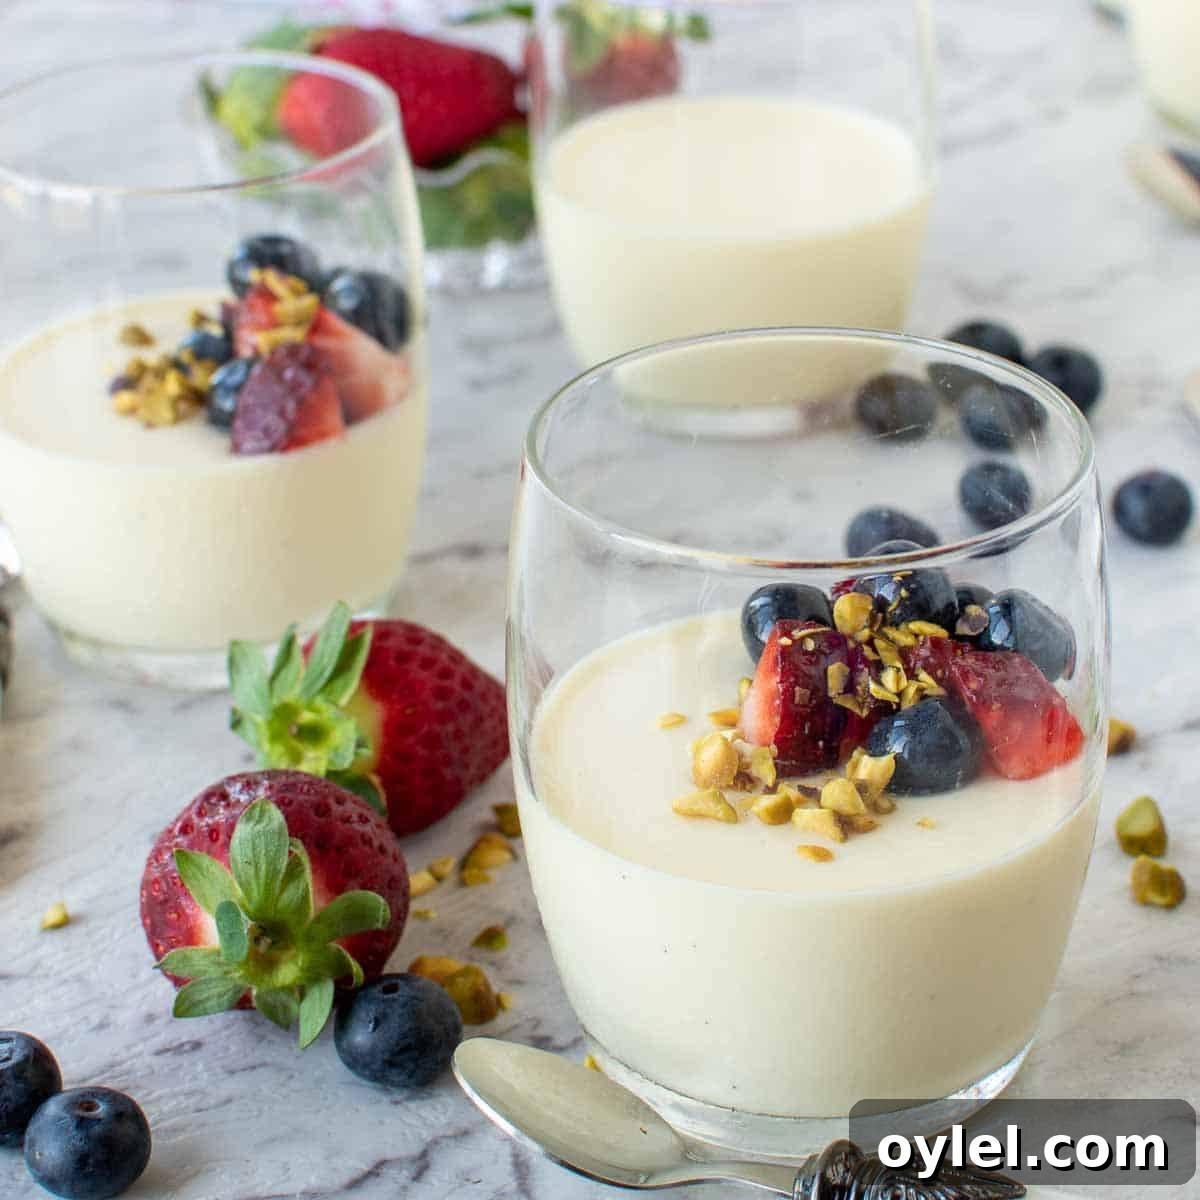
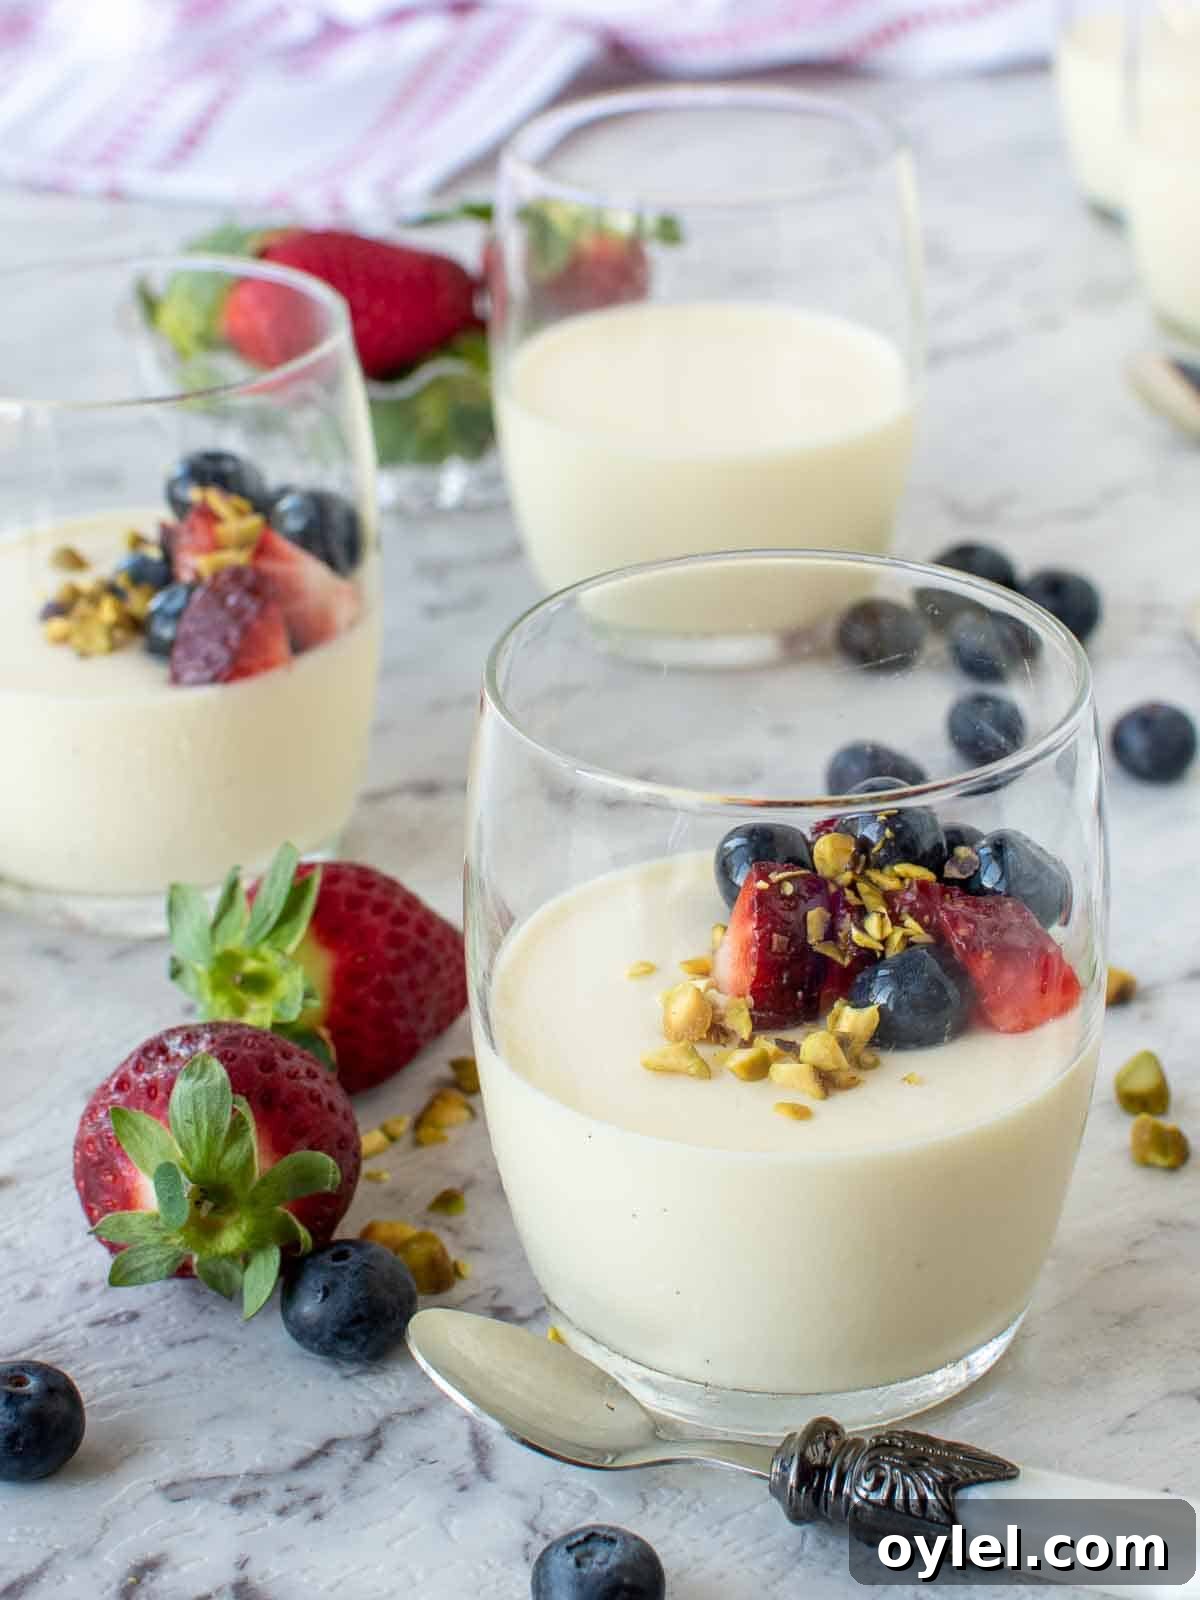
This Italian panna cotta recipe is silky and indulgent without feeling overly heavy. The warm, floral notes of real vanilla pair beautifully with fresh fruit or a bright fruit coulis, making this dessert a versatile choice for dinner parties, holidays, or a simple weeknight treat.
If you want a reliable make-ahead dessert that looks elegant but is easy to prepare, panna cotta is an excellent option. It’s practically foolproof, requires only a few pantry ingredients, and can be prepared ahead so you’re not rushed when guests arrive.
Ingredients
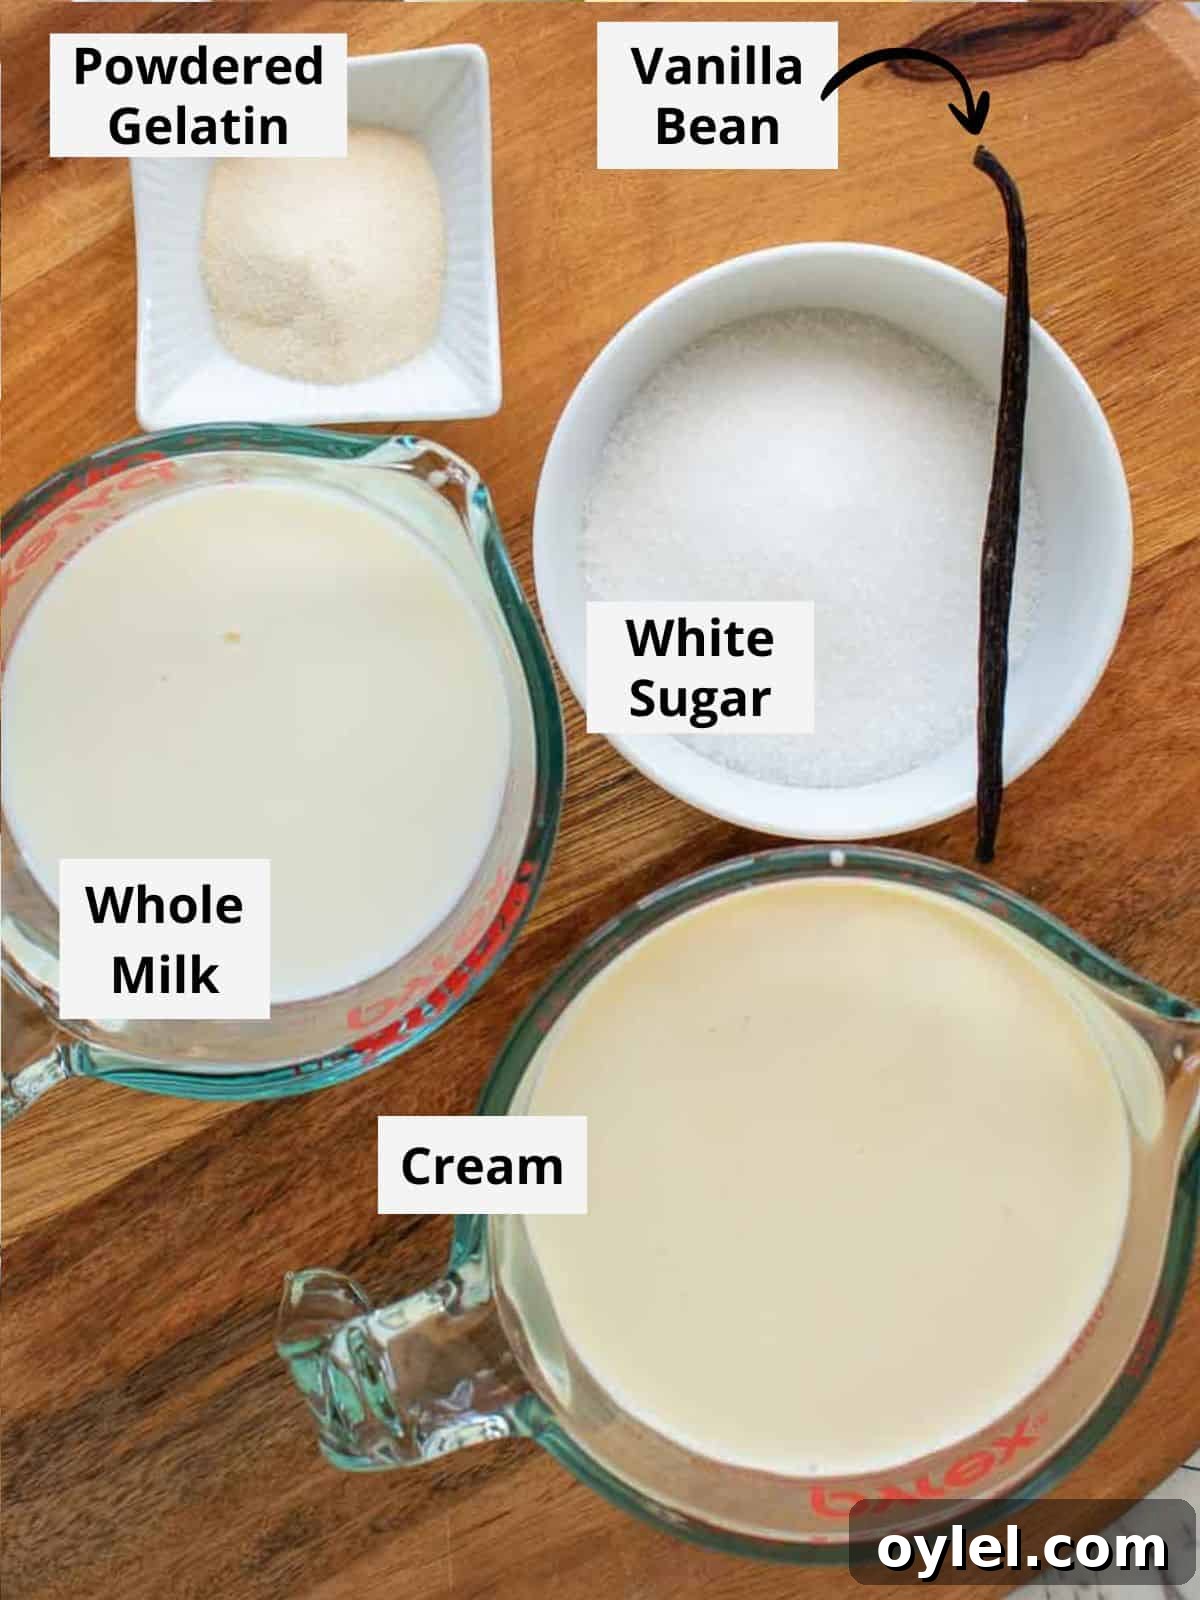
The name panna cotta means “cooked cream” in Italian, and cream is the star of this dessert. To avoid an overly heavy or oily mouthfeel, this version combines heavy cream with whole milk for a balanced texture and lighter finish.
- 2½ cups (600 ml) heavy cream (35% butterfat), without additives
- ½ cup (120 ml) whole full-fat milk
- ½ cup (100 g) granulated white sugar
- 2½ teaspoons unflavored powdered gelatin (platinum strength)
- 2 tablespoons water (to bloom the gelatin)
- 1 vanilla bean, split and seeds scraped (or 3 teaspoons vanilla extract)
- Pinch of salt
Instructions
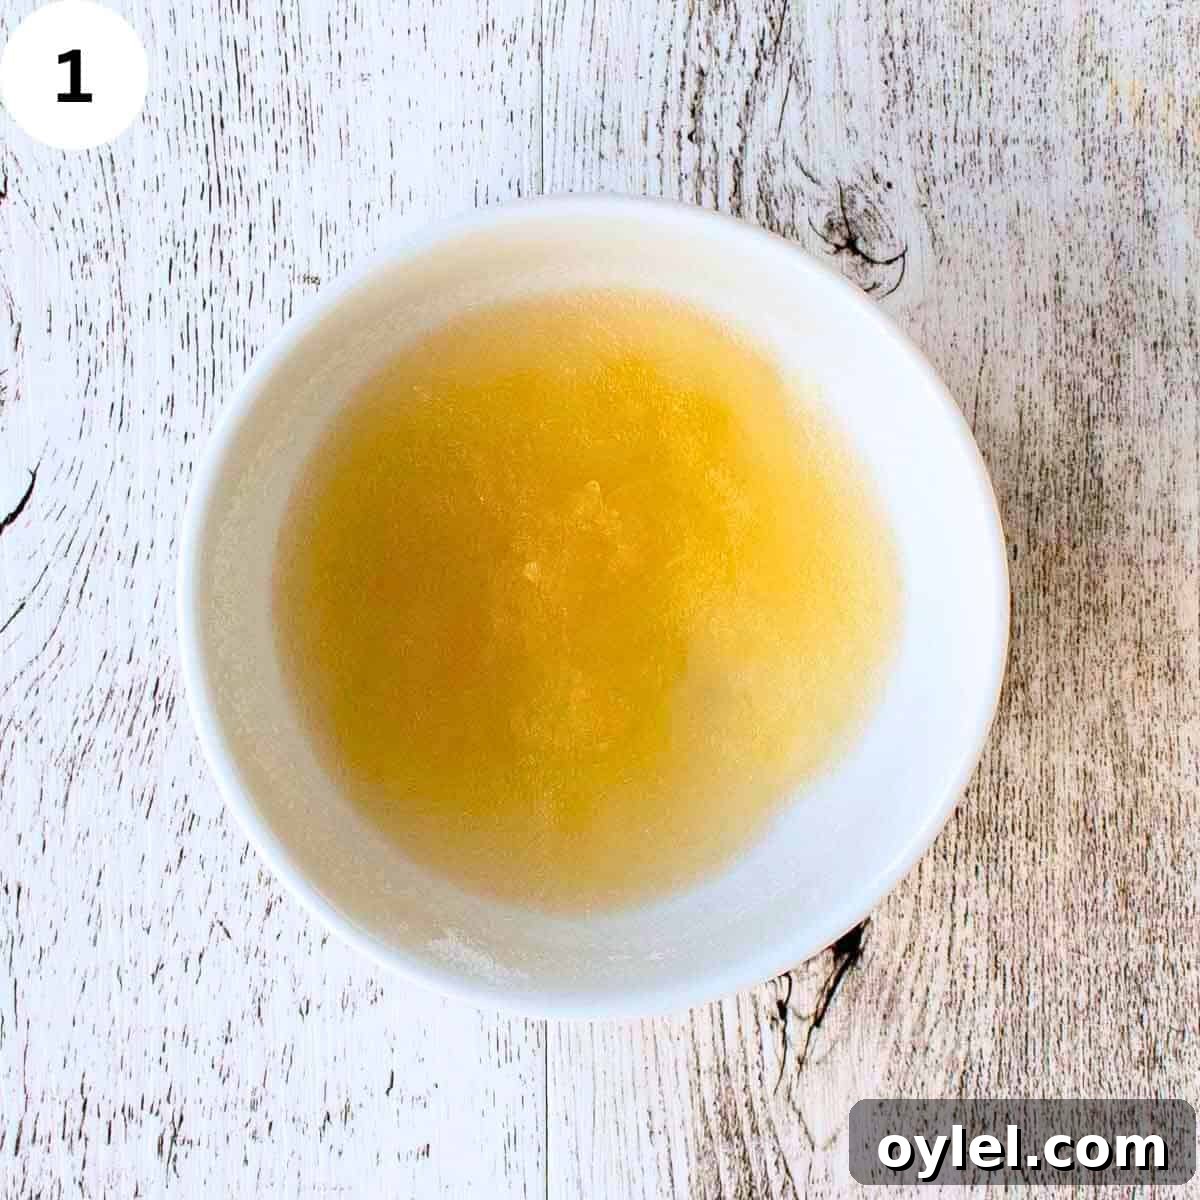
- Pour the water into a small bowl and sprinkle the powdered gelatin evenly over the surface. Stir to combine and leave for 5–10 minutes so the gelatin can soften and bloom.
- While the gelatin is blooming, split the vanilla bean lengthwise and scrape out the seeds with the back of a knife or a teaspoon.
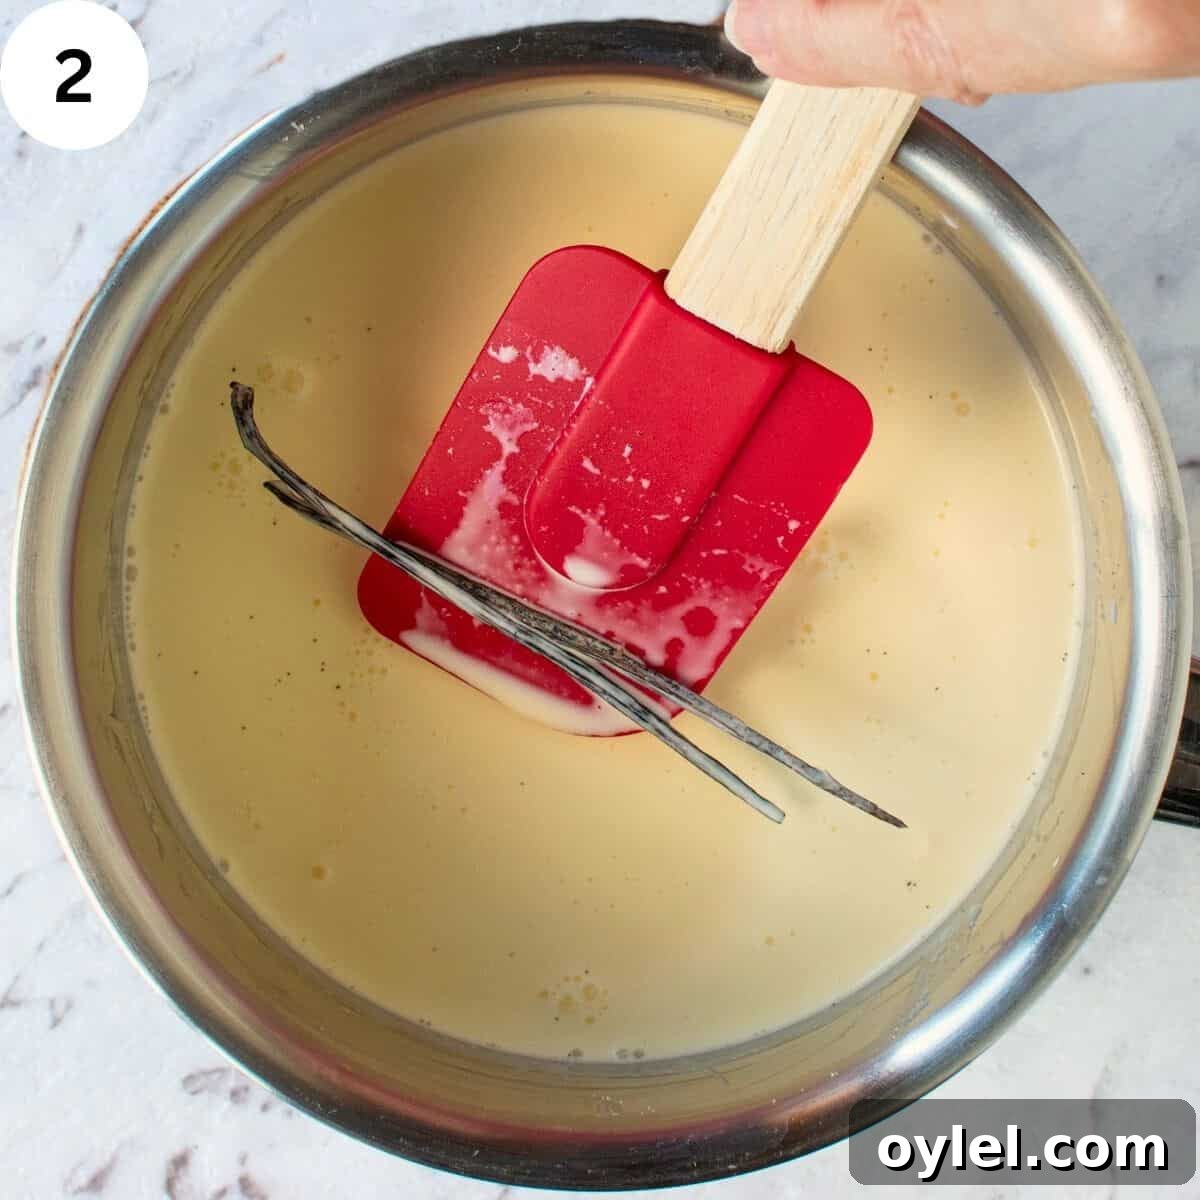
- In a medium saucepan, combine the heavy cream, milk, sugar, pinch of salt, the vanilla seeds and the pod. Gently warm the mixture over medium heat, stirring to dissolve the sugar. Do not allow the liquid to come to a rolling boil; once it reaches a gentle simmer with a few bubbles, remove from the heat.
- Cover the pan and let the mixture steep for about 5 minutes to develop the vanilla flavor.
- Remove the vanilla pod, then whisk the bloomed gelatin into the hot cream mixture until fully dissolved. If needed, return to very low heat briefly and stir constantly—do not boil the gelatin, or it will lose its setting ability.
- Pour the mixture through a fine sieve into a jug to remove any solids and ensure a smooth texture.
- Allow the liquid to cool in the refrigerator until it is cold but still pourable, stirring occasionally to prevent separation. This step helps avoid a skin forming and keeps the texture even.
- Divide the mixture evenly among 6–8 serving glasses or moulds.
- Cover each glass lightly with plastic wrap and refrigerate for at least 4–6 hours, or overnight, until completely set.
- Serve chilled with fruit, sauces, or chopped nuts as desired.
Substitutions
- Milk: use lower-fat milk if you prefer a lighter panna cotta.
- Sweetener: replace granulated sugar with mild-flavored honey, pure maple syrup, coconut sugar, or agave to change the sweetness profile.
- Vanilla: if you don’t have a vanilla bean, use 3 teaspoons of vanilla extract for a good substitution.
- Gelatin: if using a different brand or strength, follow the manufacturer’s guidance for the correct amount to set the same volume of liquid.
Variations
- Tangy: substitute the milk with natural or Greek yogurt for a slightly tart panna cotta.
- Light: omit the cream and use only whole milk for a much lighter version.
- Dairy-free: use coconut cream and coconut milk to make a coconut panna cotta with a tropical flavor.
Tips for Success
- Always bloom powdered gelatin in cold water first; it should swell and thicken before being added to warm liquid.
- Heat the cream and milk gently—do not boil. A gentle simmer is enough to infuse the vanilla and dissolve the sugar.
- Add gelatin to the cream mixture off the heat and whisk until completely dissolved. Returning it to very low heat is fine if needed, but avoid boiling.
- Strain the finished mixture into a jug to remove the vanilla pod and any solids for a silky result.
- Chill the mixture until cool but still pourable before dividing into serving glasses to avoid setting too quickly and creating an uneven texture.
- Cover the glasses while chilling to prevent a film from forming on the surface.
FAQ
Yes. Panna cotta must set, so it’s ideally made the day before serving. It keeps well in the refrigerator for several days.
How should I store panna cotta?
Store covered in the refrigerator. Wrap each serving glass with plastic wrap or use airtight containers to prevent absorbing odors.
How long will panna cotta keep?
It is best served within 24 hours for optimal texture, but properly stored leftovers can last 3–4 days. Note that the dessert may firm up further over time.
Can panna cotta be frozen?
No. Desserts set with gelatin usually lose their texture when frozen and thawed, so freezing is not recommended.
Serving suggestions
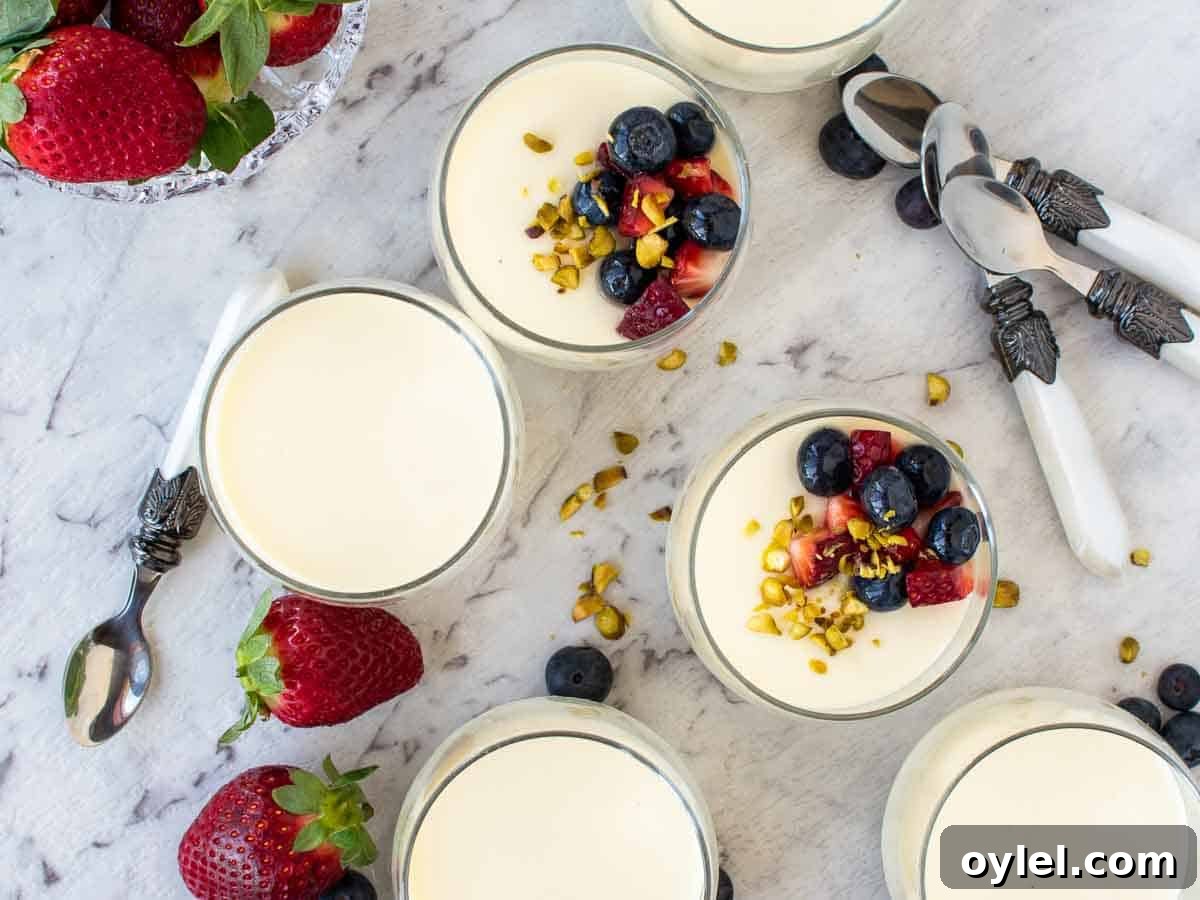
Fresh fruit and fruit sauces complement the creamy vanilla flavor perfectly. Try any of the following ideas:
- Macerated berries: toss halved strawberries and whole blueberries with a little sugar and let them sit to draw out juices. Spoon over the set panna cotta and sprinkle with chopped pistachios.
- Fruit coulis: a bright strawberry or raspberry coulis adds color and acidity.
- Layered sauce: add a spoonful of cherry or mixed berry sauce for a festive touch.
- Simple garnish: finish with a few fresh berries, a mint leaf, or a dusting of crushed amaretti biscuits for added texture.
Recipe yield and times: Serves 6. Prep time about 20 minutes, cook time about 5 minutes, and setting time 4–8 hours (overnight recommended).
Made this recipe? If you tried it, consider leaving a star rating and a brief review so others know how it turned out for you.
This updated post was first published in February 2011.