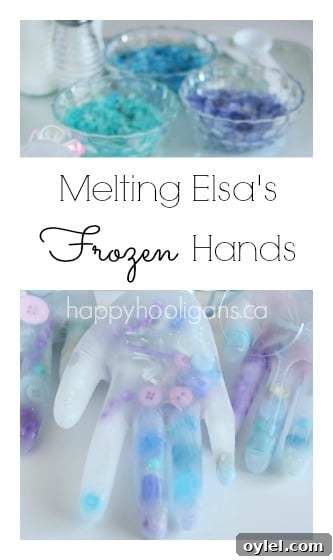
This Melting Elsa’s Frozen Hands activity is a wonderful mix of science, sensory play, and imaginative fun — perfect for Frozen fans and curious kids alike. It’s an easy hands-on experiment you can prepare with a simple latex glove and craft-room odds and ends. Children enjoy filling the glove, watching it freeze into a frosty hand, and then experimenting with different ways to melt the ice and free the treasures inside.
We’ve been enjoying a lot of Frozen-themed activities lately, and this frozen hand experiment quickly became a favourite in our daycare. It’s simple to prepare, encourages fine motor skills, and introduces basic science concepts like freezing, melting, and how salt speeds up ice melting.
Prep and materials
Gather items from your craft supplies and kitchen. You’ll need:
- latex gloves
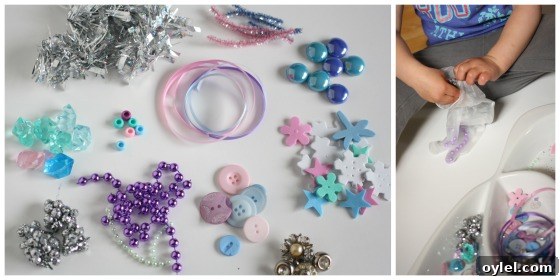
- assorted small craft items in pinks, purples and blues (beads, buttons, foam shapes)
- tinsel or shredded garland
- plastic crystals or glass vase fillers
- cut-up mardi gras beads or small decorative beads
- metallic pipe cleaners and curling ribbon
- water
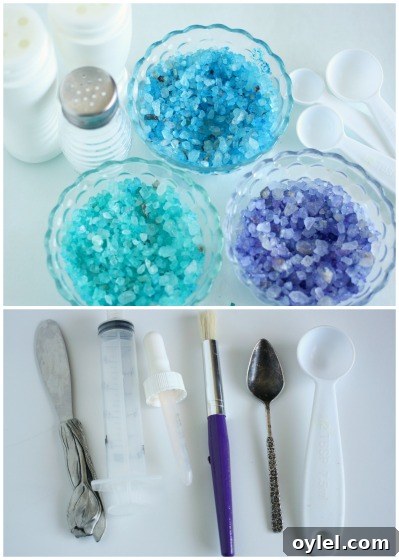
- driveway salt (coloured with a few drops of food colouring in a bowl)
- table salt (in a shaker)
- small spoons and scoops
- pate knives and paint brushes for excavation
- syringes, medicine droppers and turkey basters for squirting water
- shallow pans or baking dishes
- a bowl of room-temperature water
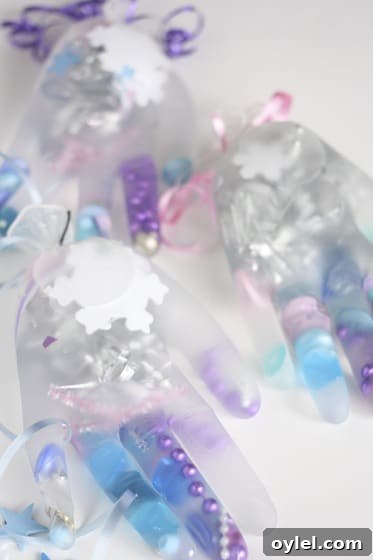
The preparation is as engaging as the activity itself: children drop small treasures into the glove, which is great fine-motor practice. Once the glove is partially filled with items, add water to fill the fingers and palm, then secure the wrist with a twist tie. Add a length of curling ribbon at the top for decoration if you like. Place the prepared gloves on a baking sheet and freeze overnight. Before freezing, spread the fingers so the ice separates and the glove will be easier to remove once frozen.
After freezing, run each glove under a light flow of very cold tap water and use scissors to cut away the latex carefully. Gently slide the latex off the ice form, working slowly to avoid breaking the fingers. Cold water can help release any stubborn bits of glove clinging to the ice.
Set up the melting station
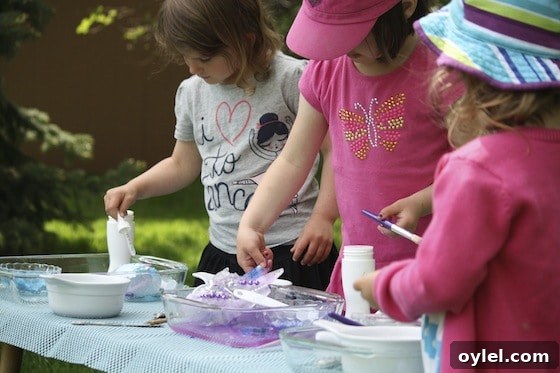
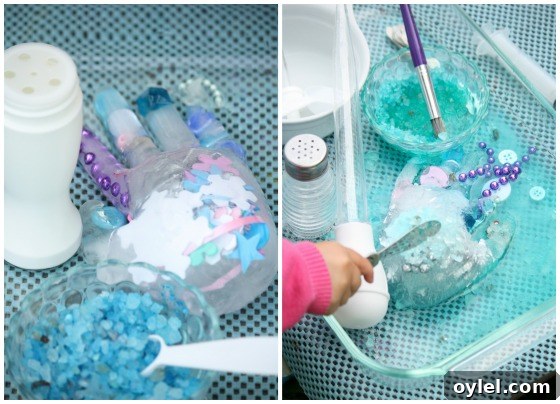
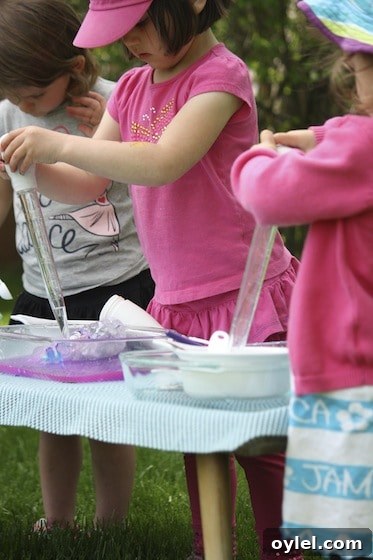
We set our activity outdoors on a small table, but you can easily do this indoors on a tray or in the sink. Give each child a shallow dish containing a frozen hand and a selection of tools for excavating: small spoons, pate knives, paint brushes, syringes and turkey basters. Place a bowl of driveway salt coloured with food colouring, a shaker of table salt, and a bowl of room-temperature water within reach.
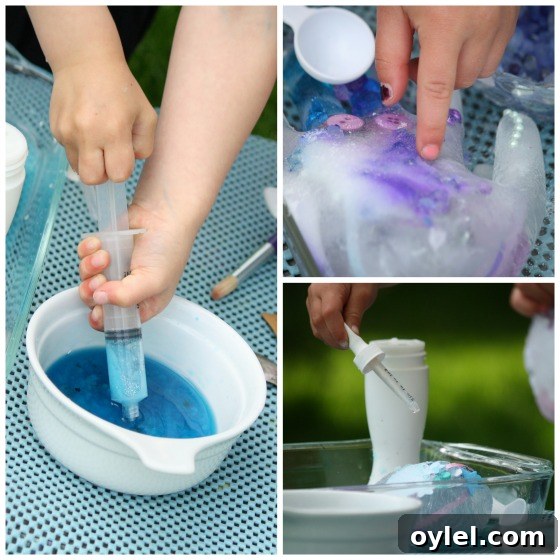
The children loved experimenting with different strategies: sprinkling coloured driveway salt on the ice, shaking table salt into crevices, squirting warm (not hot) water from syringes and basters, and using spoons and pate knives to chip away at the ice. Salt lowers the freezing point of water, so the salted areas began melting faster. Using water and tools helped them excavate the small treasures embedded in the frozen hands.
Turkey basters and syringes are excellent for developing coordination and muscle control — children practiced drawing water into the tool and aiming squirts to melt targeted spots on the ice. Even the youngest participants caught on quickly and delighted in squirting streams of water across the table.
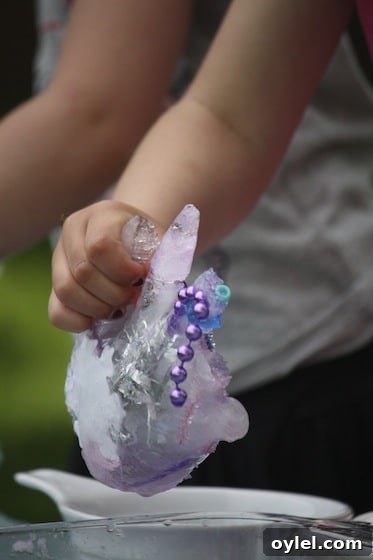
As the ice softened, kids dug and scraped until they freed the beads, ribbon and crystals. The activity kept them engaged for about an hour, offering repeated opportunities to test different techniques and observe the effects. It’s a hands-on way to explore cause and effect while having sensory-rich play.
The final reward — the reveal of the treasures — is always exciting. Children practice patience, persistence and problem solving as they work to free the items. It’s a perfect activity for a warm morning or an indoor sensory table on a cooler day.
Tips and safety
- Use room-temperature or slightly warm water for squirting tools — avoid hot water so children don’t get burned.
- Supervise cutting when removing latex and when children use small tools.
- Pre-cut any sharp bits from pipe cleaners and ribbon before adding them to the glove.
- Space the fingers in the glove before freezing so the ice separates and is easier to remove.
This Melting Elsa’s Frozen Hands activity is a simple, inexpensive way to combine craft time, sensory play, and a basic science lesson. Kids love the process from filling the glove to the final discovery of frozen treasures — and adults enjoy watching their curiosity and skills grow.
Follow the Hooligans on Facebook for more playful preschool ideas and activity inspiration.