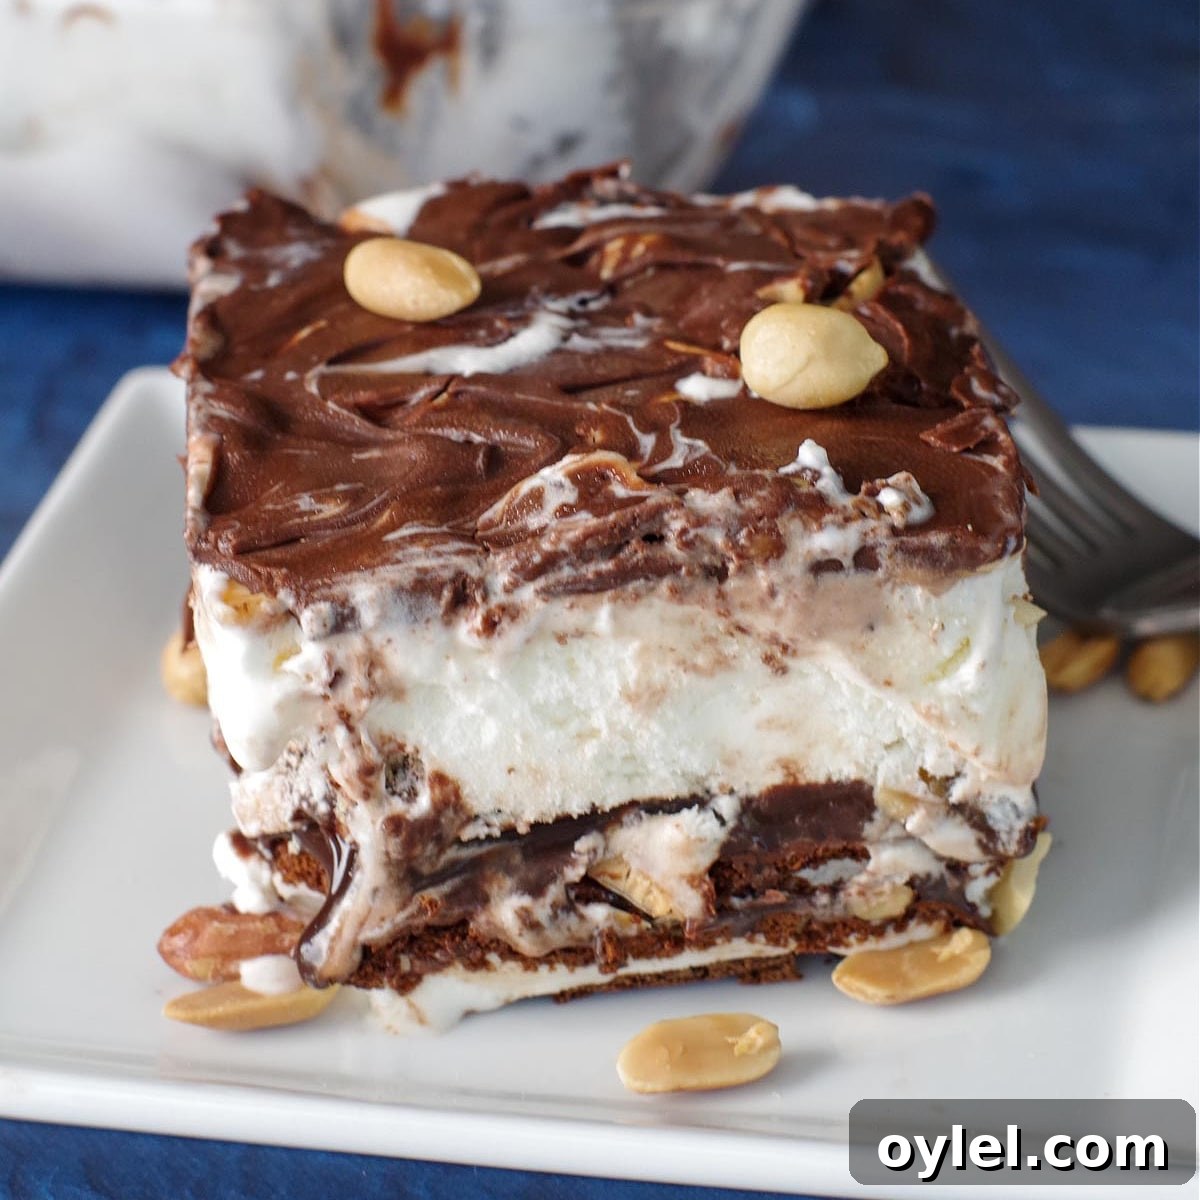
If you want an incredibly easy ice cream cake that tastes just like a Dairy Queen Buster Bar, you’ll love this Easy Buster Bar Ice Cream Cake. Fast and fuss-free, it layers ice cream sandwiches, hot fudge sauce, vanilla ice cream, chopped peanuts, and chocolate magic shell for a nostalgic, crowd-pleasing dessert that’s perfect for summer gatherings.
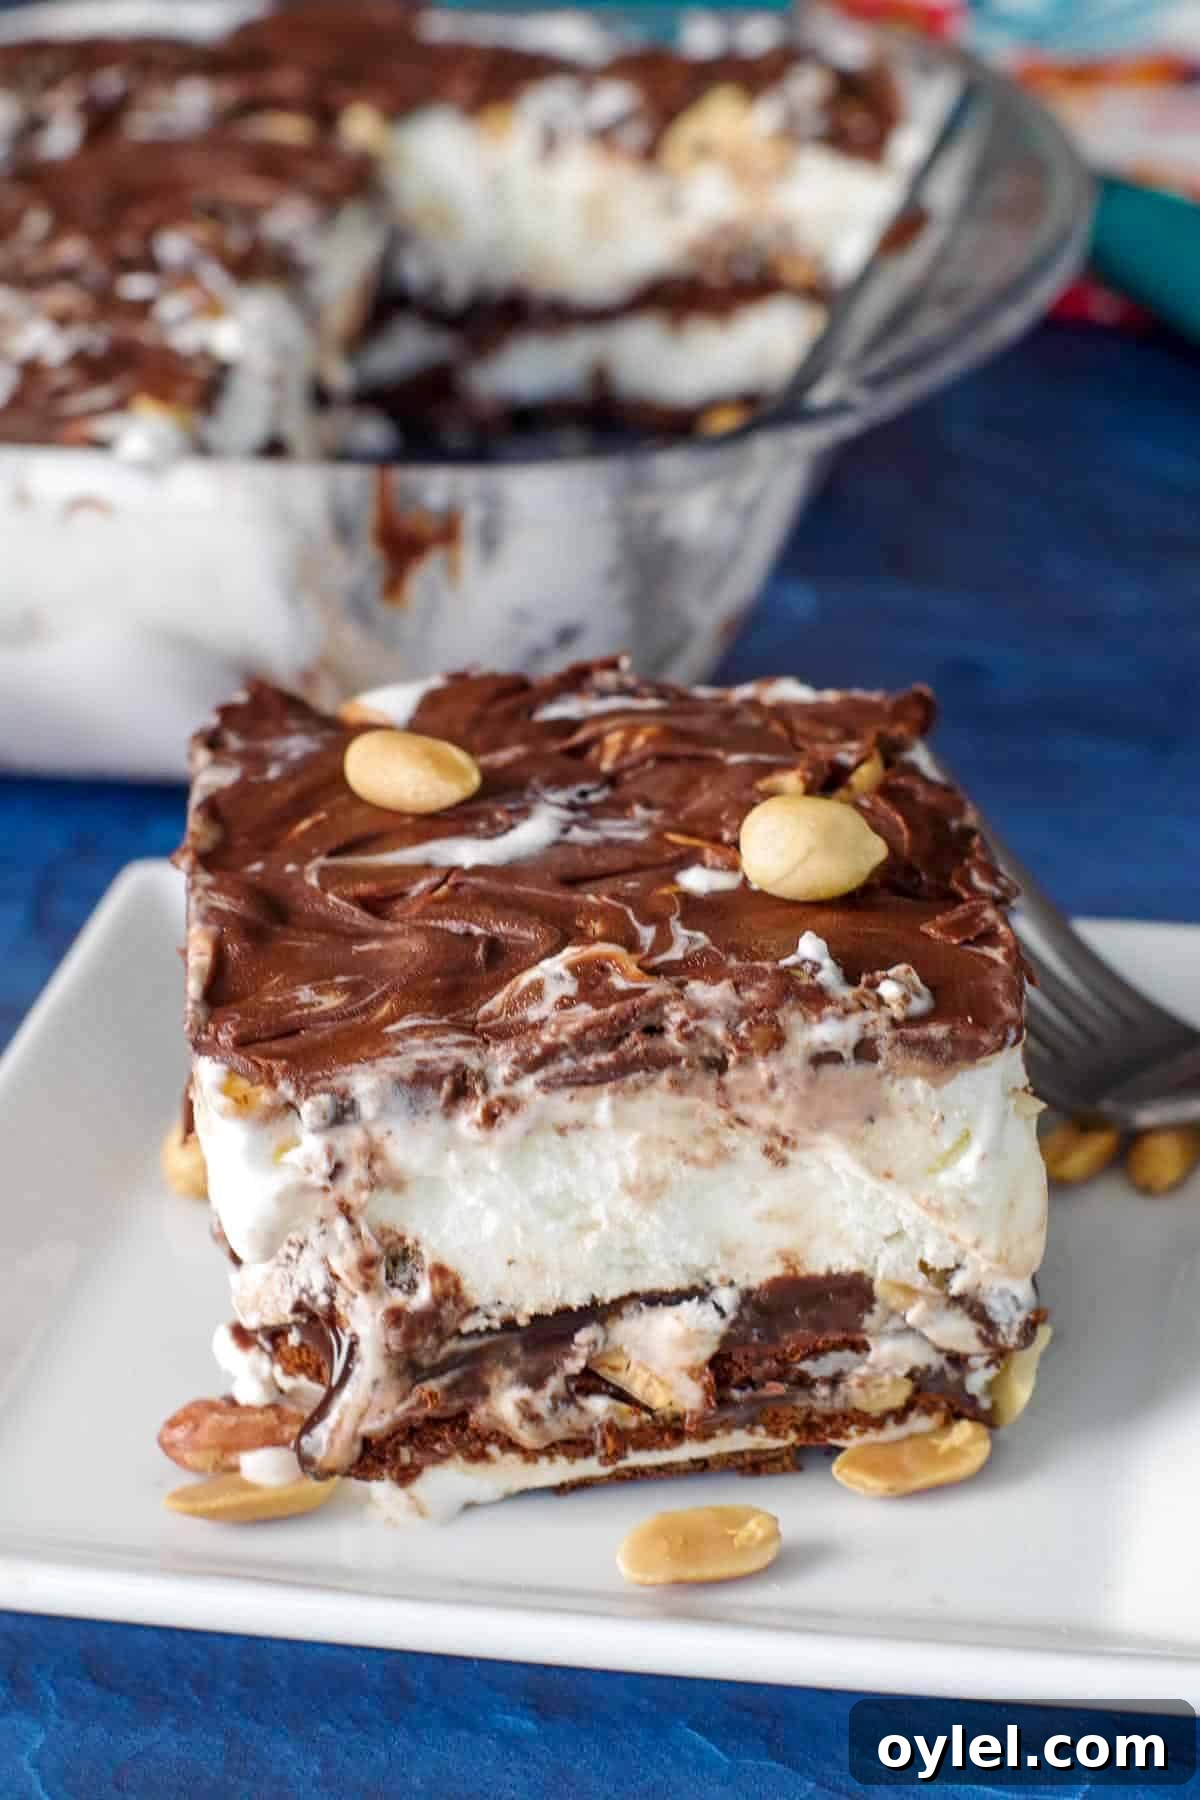
This ice cream sandwich cake is ideal for hot days and potlucks. It’s inspired by classic Dairy Queen flavors but much quicker to assemble than layered homemade ice cream cakes. Serve after simple BBQ mains and salads for an effortless, beloved summer finale.
Why We Love This Recipe
This cake delivers the crunchy chocolate-and-peanut finish of a Buster Bar with minimal effort. Using ice cream sandwiches speeds assembly, while hot fudge and magic shell recreate the classic textures: gooey chocolate, creamy vanilla, and crisp, crackly topping. It’s simple to scale and travels well frozen for parties.
🥘 Ingredient Notes
You only need a few components to make this dessert:
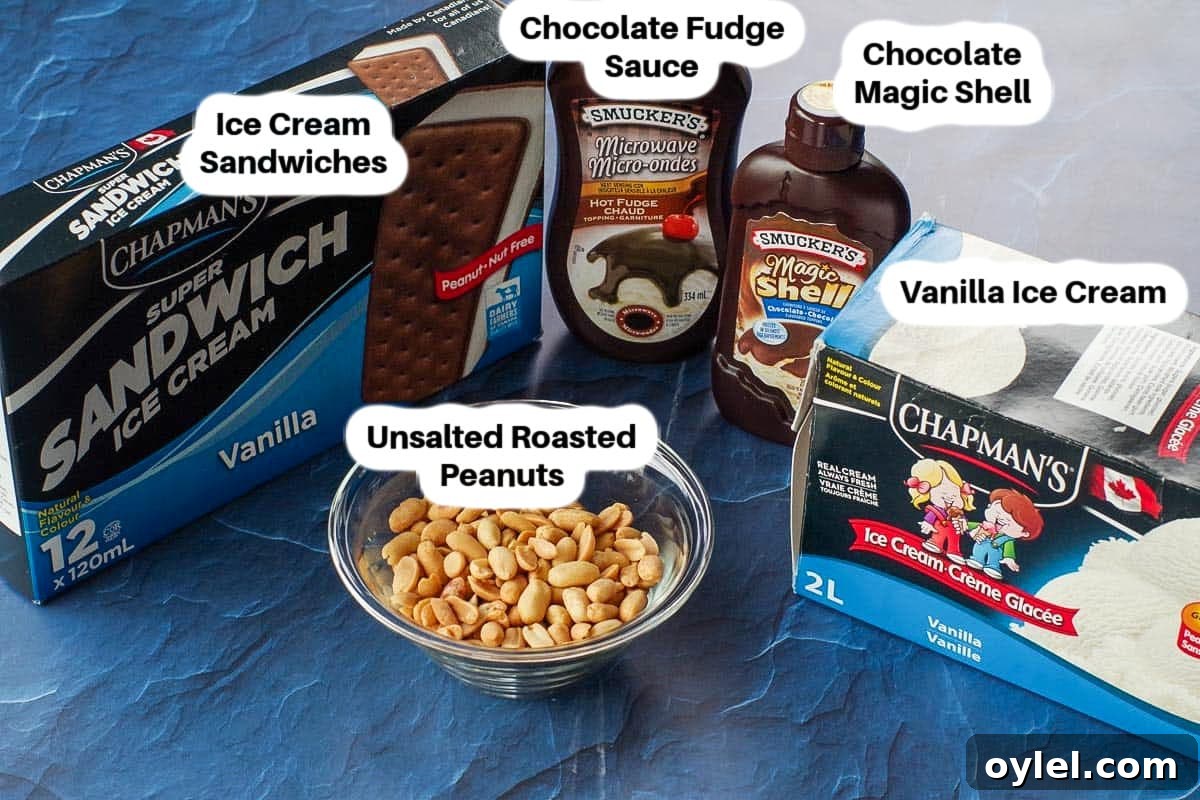
- Ice cream sandwiches and vanilla ice cream. Use your favorite brand. Ice cream sandwiches form the quick base layer while softened vanilla ice cream makes a smooth top layer.
- Hot fudge sauce (chocolate fudge). Use a fudge-style sauce rather than thin chocolate syrup so the middle layer stays rich and not runny.
- Unsalted peanuts. Regular roasted unsalted peanuts give the classic crunch without overpowering the sweet layers. Roughly chop if you prefer smaller pieces.
- Chocolate magic shell. The magic shell provides the signature crackly topping and helps hold the peanuts in place.
See the recipe card below for exact measurements and an easy printable version.
📖 Variations & Substitutions
- Gluten-free: Choose gluten-free ice cream sandwiches and verify sauces are labeled gluten-free.
- Nut swaps: Use Spanish (red-skin) peanuts or chopped almonds for a different texture.
- Fudge: Homemade hot fudge or high-quality store-bought will both work.
- Ice cream: Swap vanilla for chocolate or another favorite flavor for a twist.
- Presentation: Use different ice cream sandwich flavors or add sprinkles before freezing for celebrations.
🔪 Step-by-Step: How to Make Buster Bar Ice Cream Cake
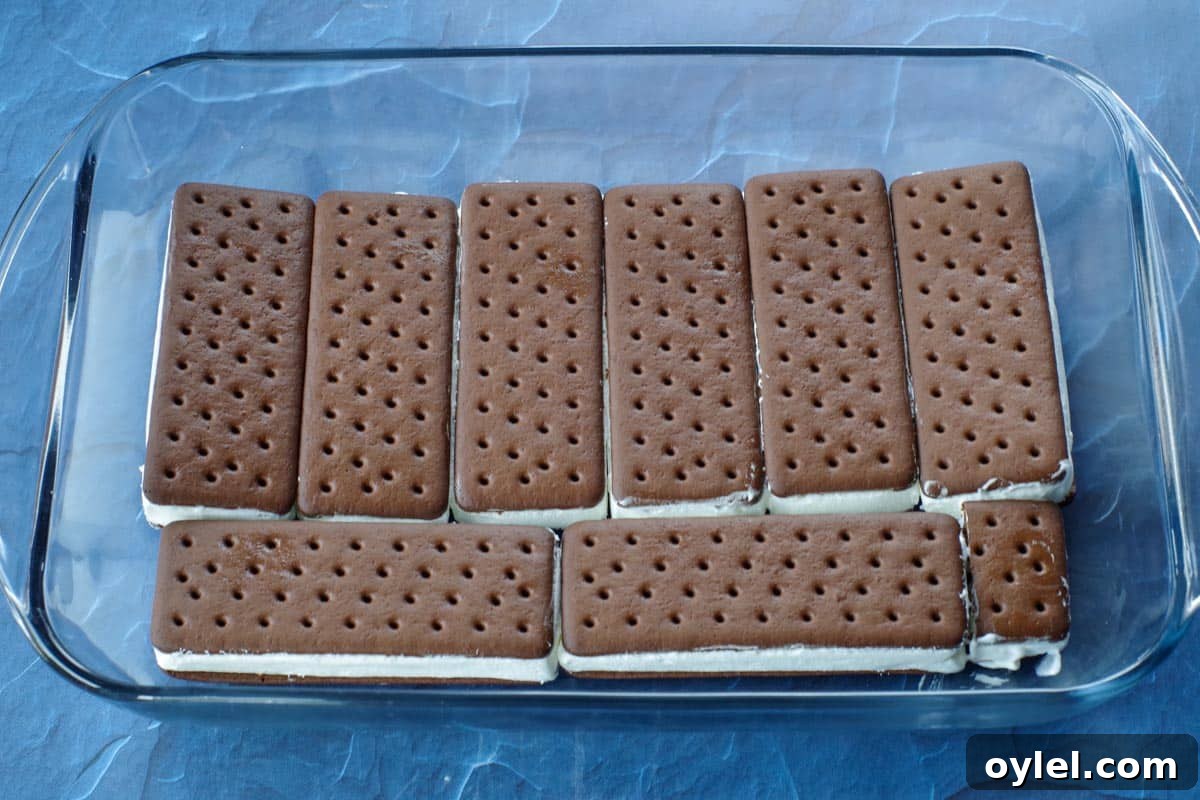
Line the bottom of a 9×13-inch pan with ice cream sandwiches. Trim as needed to fit snugly.
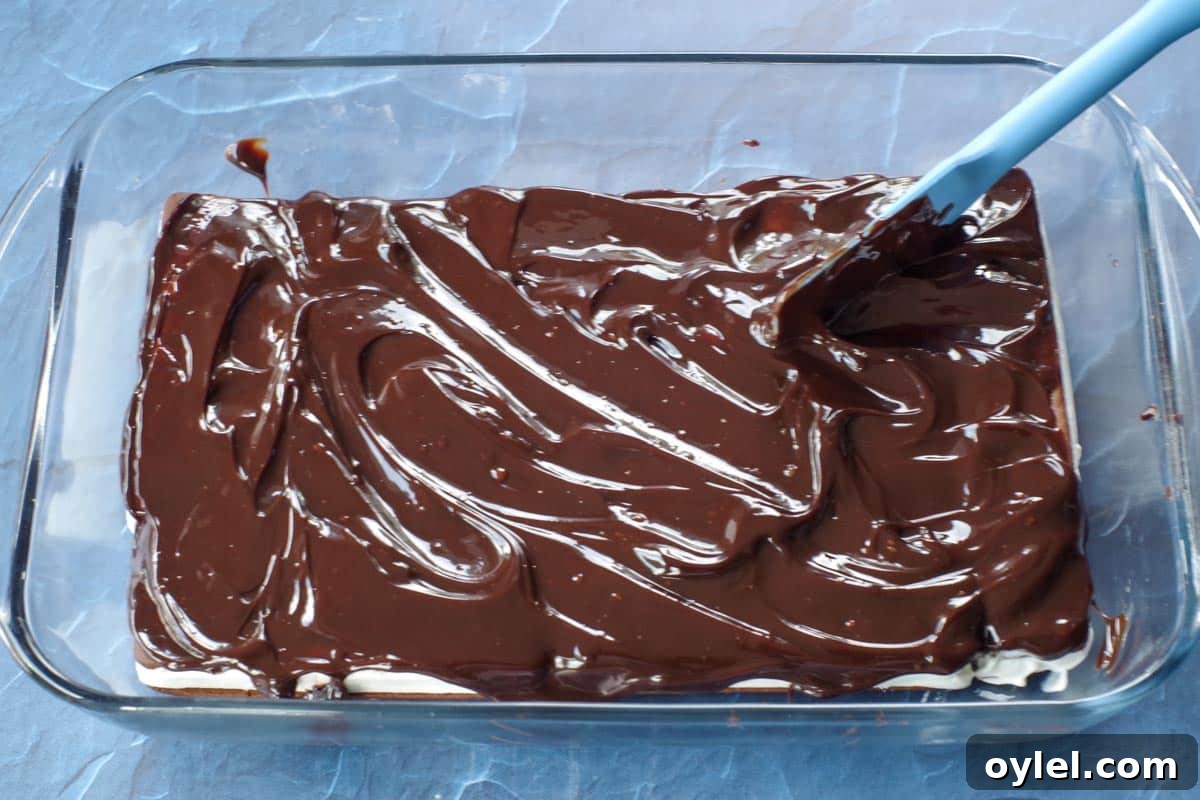
Pour and spread hot fudge evenly over the ice cream sandwich layer, creating a uniform chocolate layer.
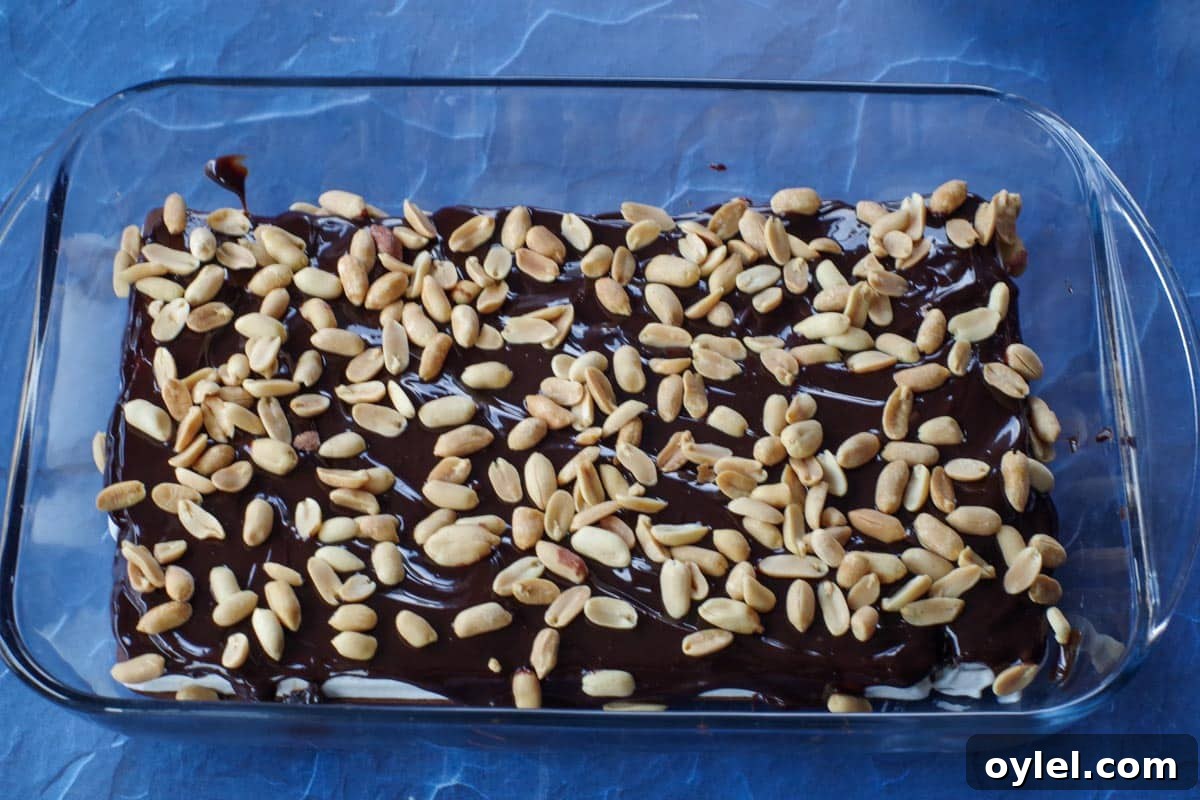
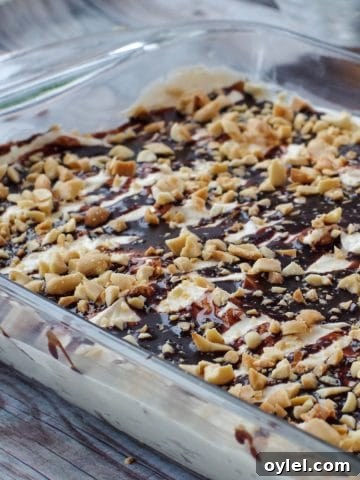
Sprinkle half the peanuts over the fudge layer for texture and flavor contrast.
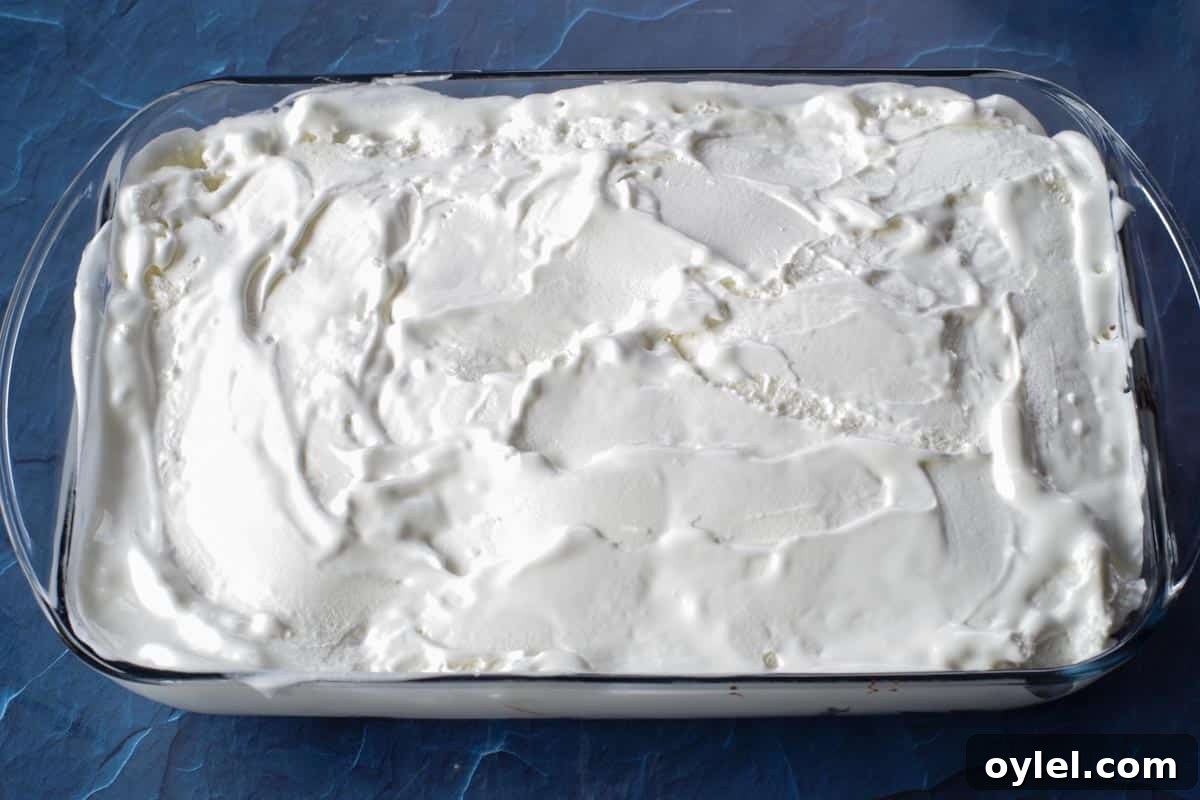
Scoop softened vanilla ice cream over the peanuts and spread into a smooth, even layer to seal in the fudge.
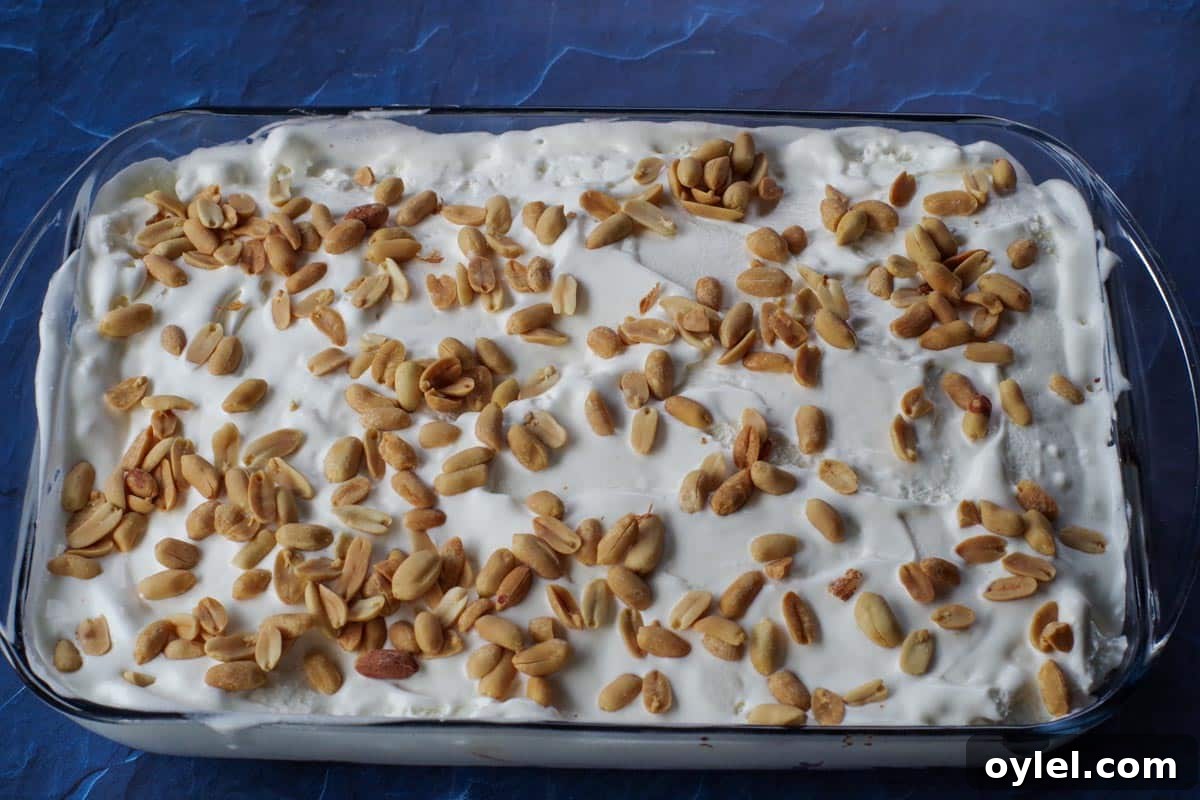
Sprinkle the remaining peanuts over the vanilla ice cream.
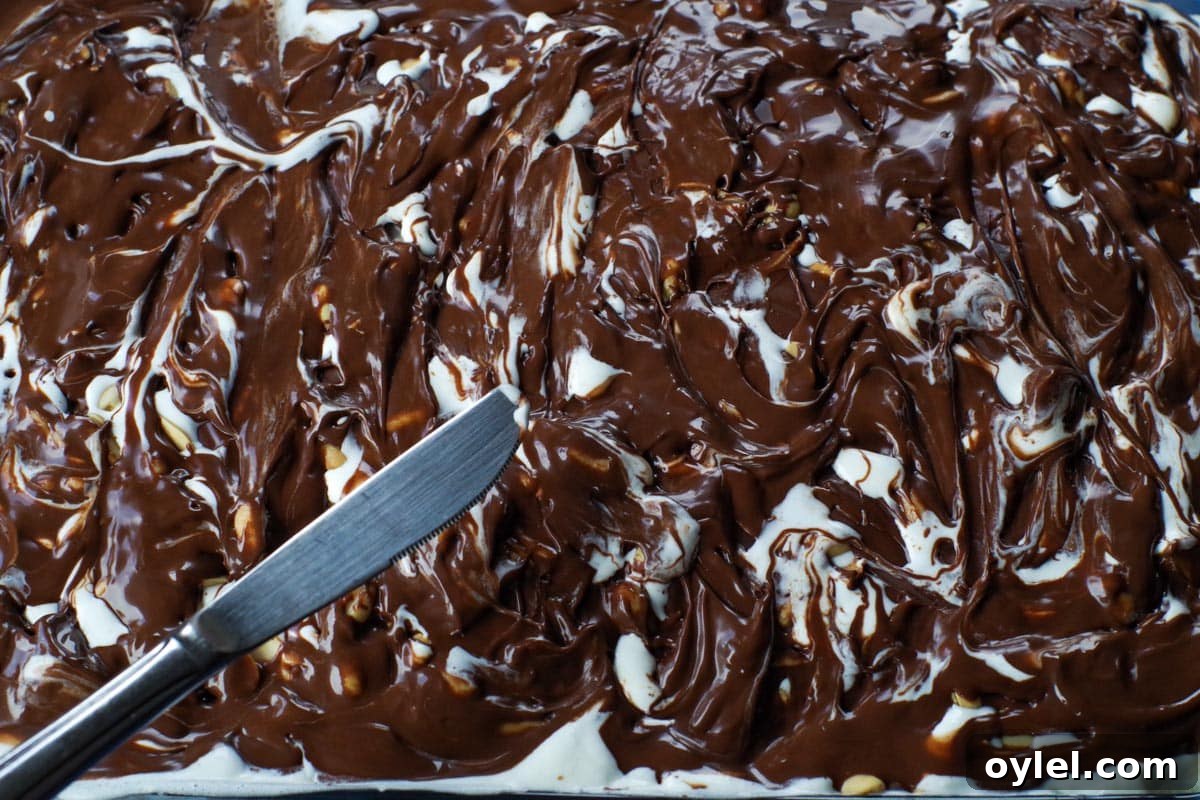
Drizzle the chocolate magic shell over the peanuts. If desired, swirl lightly with a knife to create a marbled finish.
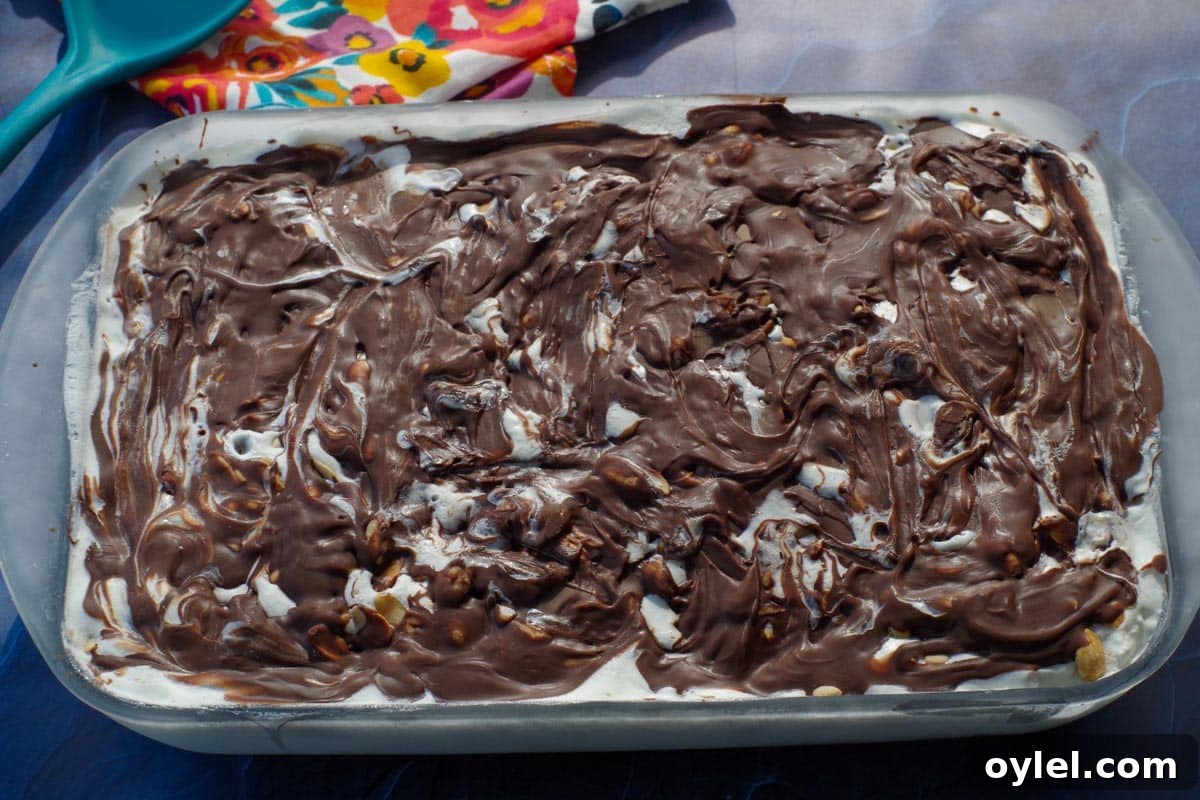
Freeze the cake for at least 3 hours, preferably overnight, until fully firm. After about 1–2 hours, once the top is set, cover with plastic wrap or a lid for the remainder of the freezing time.
Hint: Let the vanilla ice cream soften at room temperature for 5–10 minutes before spreading to make a smooth, easy-to-work-with layer.
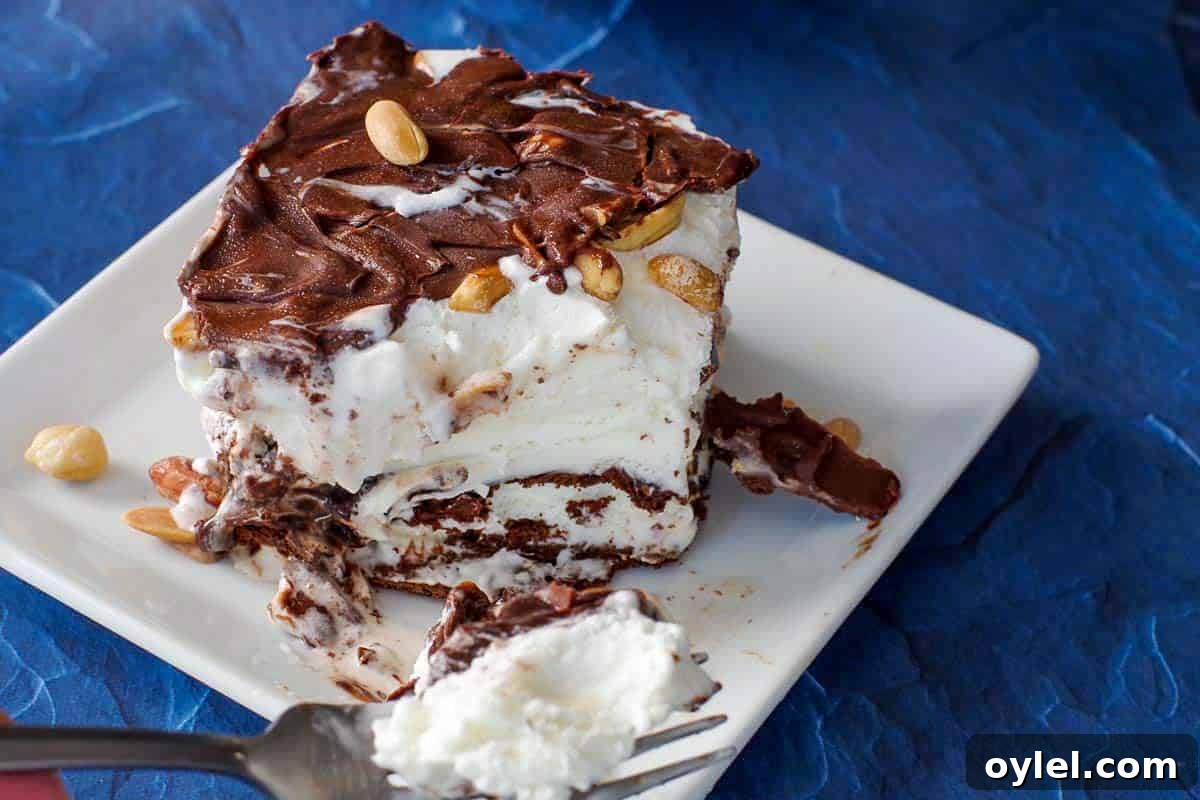
Expert Recipe Tips
- Soften ice cream carefully: Leave vanilla ice cream out for 5–10 minutes so it spreads smoothly but isn’t melted.
- Clean slices: For neat pieces, let the cake sit 5–10 minutes at room temperature, then dip a sharp knife in hot water, wipe it dry, and slice. Repeat between cuts.
- Line the pan: Lining with parchment or plastic wrap makes lifting and presenting the cake easier.
- Chop peanuts if desired: Roughly chop for a less chunky texture and more even distribution.
- Work quickly: Assemble efficiently to avoid unnecessary melting and refreezing, which affects texture.
- Customize toppings: Add sprinkles, mini chips, or crushed cookies over the magic shell before freezing for parties.
- Freeze overnight: While 3 hours will set the cake, overnight freezing gives the best slicing and texture.
🌡️ Storage
Store the cake in an airtight container or tightly wrapped in the freezer for up to 3 months. For best texture, cover well to prevent freezer burn.
👪 Serving Size
This recipe yields about 10–12 servings in a 9×13 pan. Cut portions smaller or larger depending on your crowd and occasion.
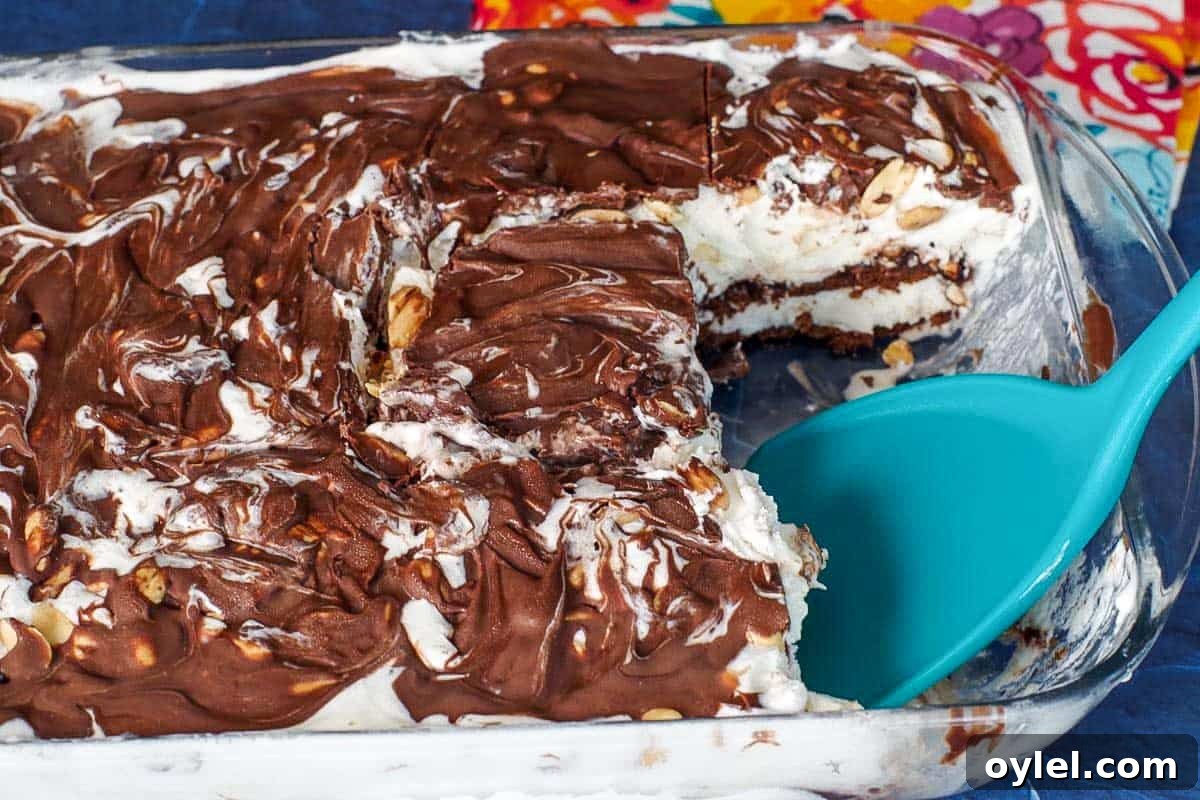
🥗 What to Eat with Buster Bar Dessert
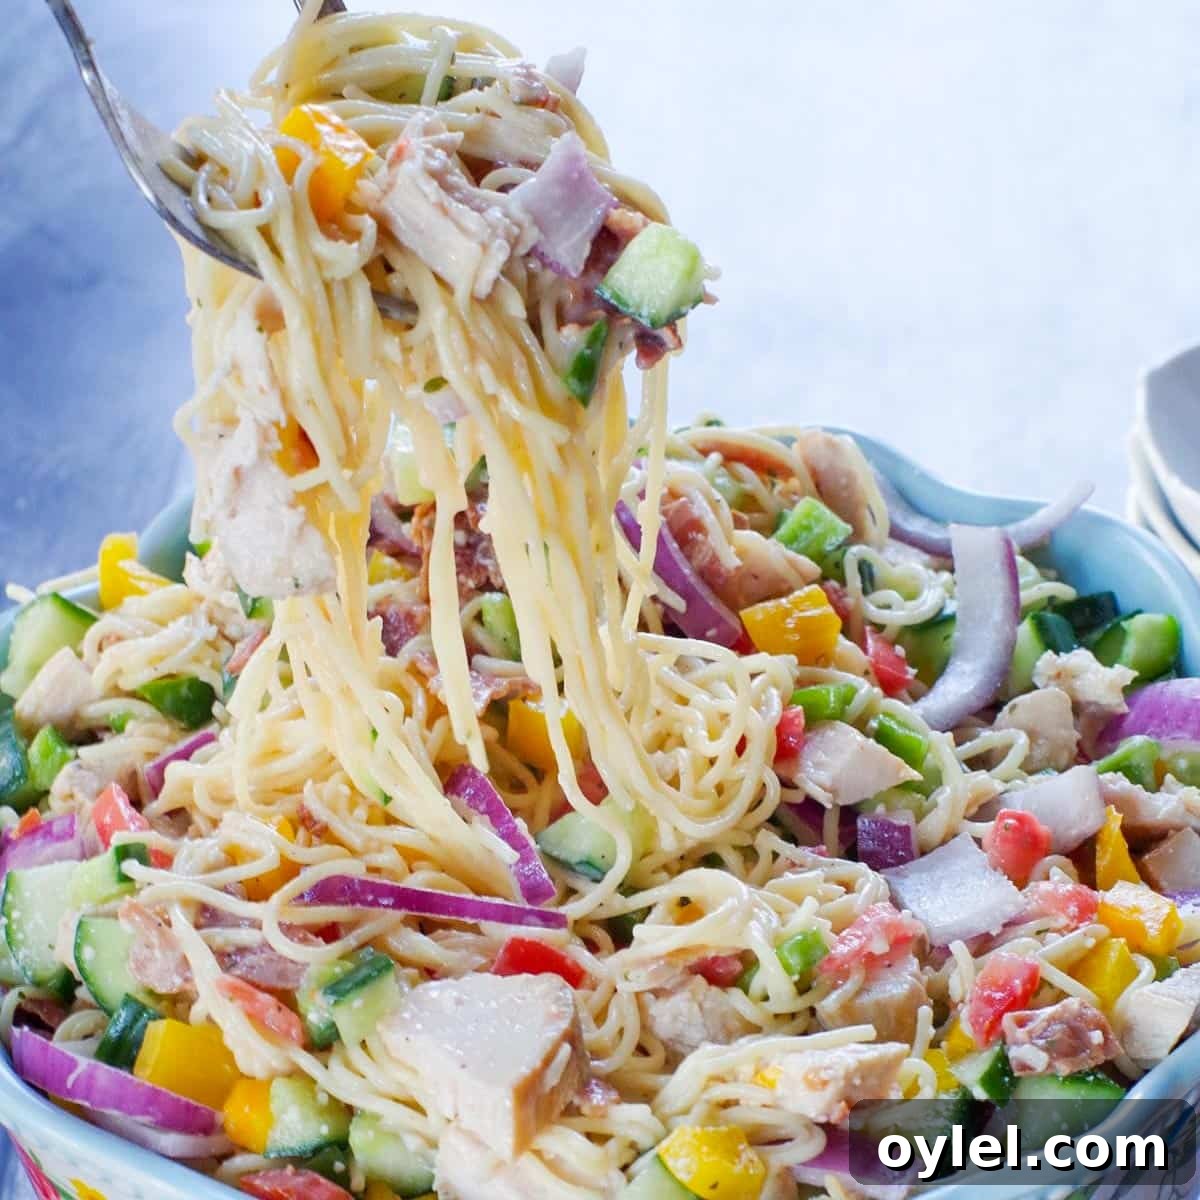
This ice cream cake is perfect after casual BBQ mains and salads. It pairs well with pulled pork, pasta salads, grilled chicken, or any simple summer meal where a cool, sweet finish is welcome.
❔ Recipe FAQs
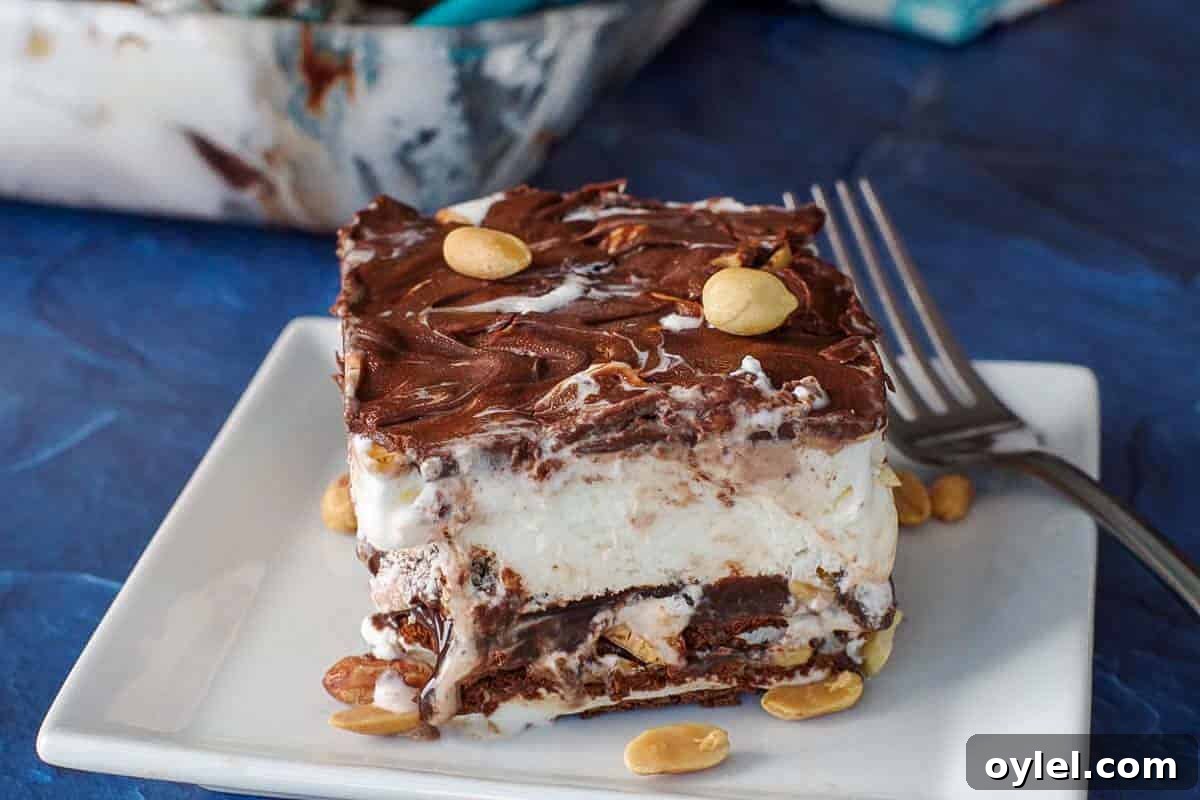
If you’re after a simple, nostalgic summer dessert that disappears fast at any gathering, this Easy Buster Bar Ice Cream Cake is an excellent choice. Minimal prep, maximum payoff—your guests will be asking for the recipe.
📋 More Summer Dessert Recipes
-
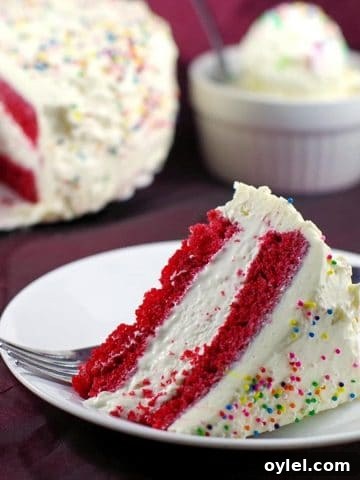
Red Velvet Ice Cream Cake Recipe
-
No Bake Drumstick Dessert
-
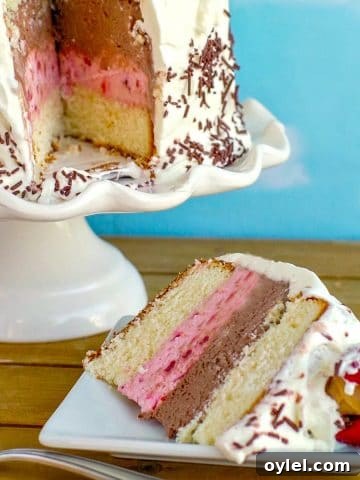
Neapolitan Ice Cream Cake
-
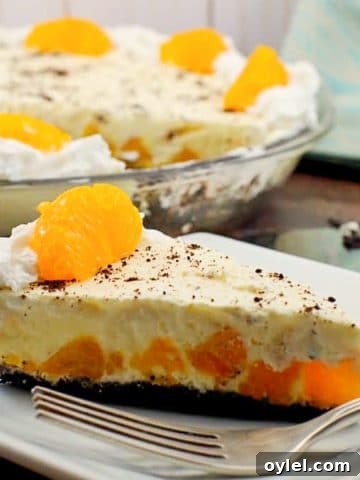
Dairy-free Orange Creamsicle Pie
Did your family love this recipe? If you made it, please leave feedback and a rating where you found this recipe—comments and photos help others enjoy it too.

📋 Easy Buster Bar Ice Cream Cake Recipe
This easy Buster Bar Ice Cream Cake tastes like a Dairy Queen Buster Bar. Layers of ice cream sandwiches, hot fudge, vanilla ice cream, peanuts, and magic shell make a quick, nostalgic summer dessert.
Ingredients
- 8–10 ice cream sandwiches
- 2 litres (about 2 quarts) vanilla ice cream
- 14 ounces hot fudge sauce
- 1½ cups unsalted peanuts
- Two 15-ounce bottles chocolate magic shell (or equivalent)
Instructions
- Set the ice cream out to soften slightly. Line the bottom of a 9×13 pan with ice cream sandwiches.
- Pour hot fudge sauce over the sandwiches and spread evenly.
- Sprinkle half the peanuts over the fudge.
- Scoop softened vanilla ice cream over the peanuts and press into a smooth, even layer to seal in the fudge.
- Sprinkle the remaining peanuts over the ice cream.
- Drizzle the magic shell over the top. Lightly swirl if desired.
- Freeze 1–2 hours, then cover and freeze at least another hour, preferably overnight, until firm. Allow 5–10 minutes at room temperature before slicing.
Notes & Tips
- Soften ice cream 5–10 minutes for spreadable consistency.
- Use a hot, dry knife and wipe between cuts for clean slices.
- Line the pan for easy lifting and presentation.
- Chop peanuts for a finer crunch distribution.
- Freeze overnight for best results and easier slicing.
Nutrition (approximate per serving)
Calories: 631 kcal | Carbohydrates: 77 g | Protein: 13 g | Fat: 32 g