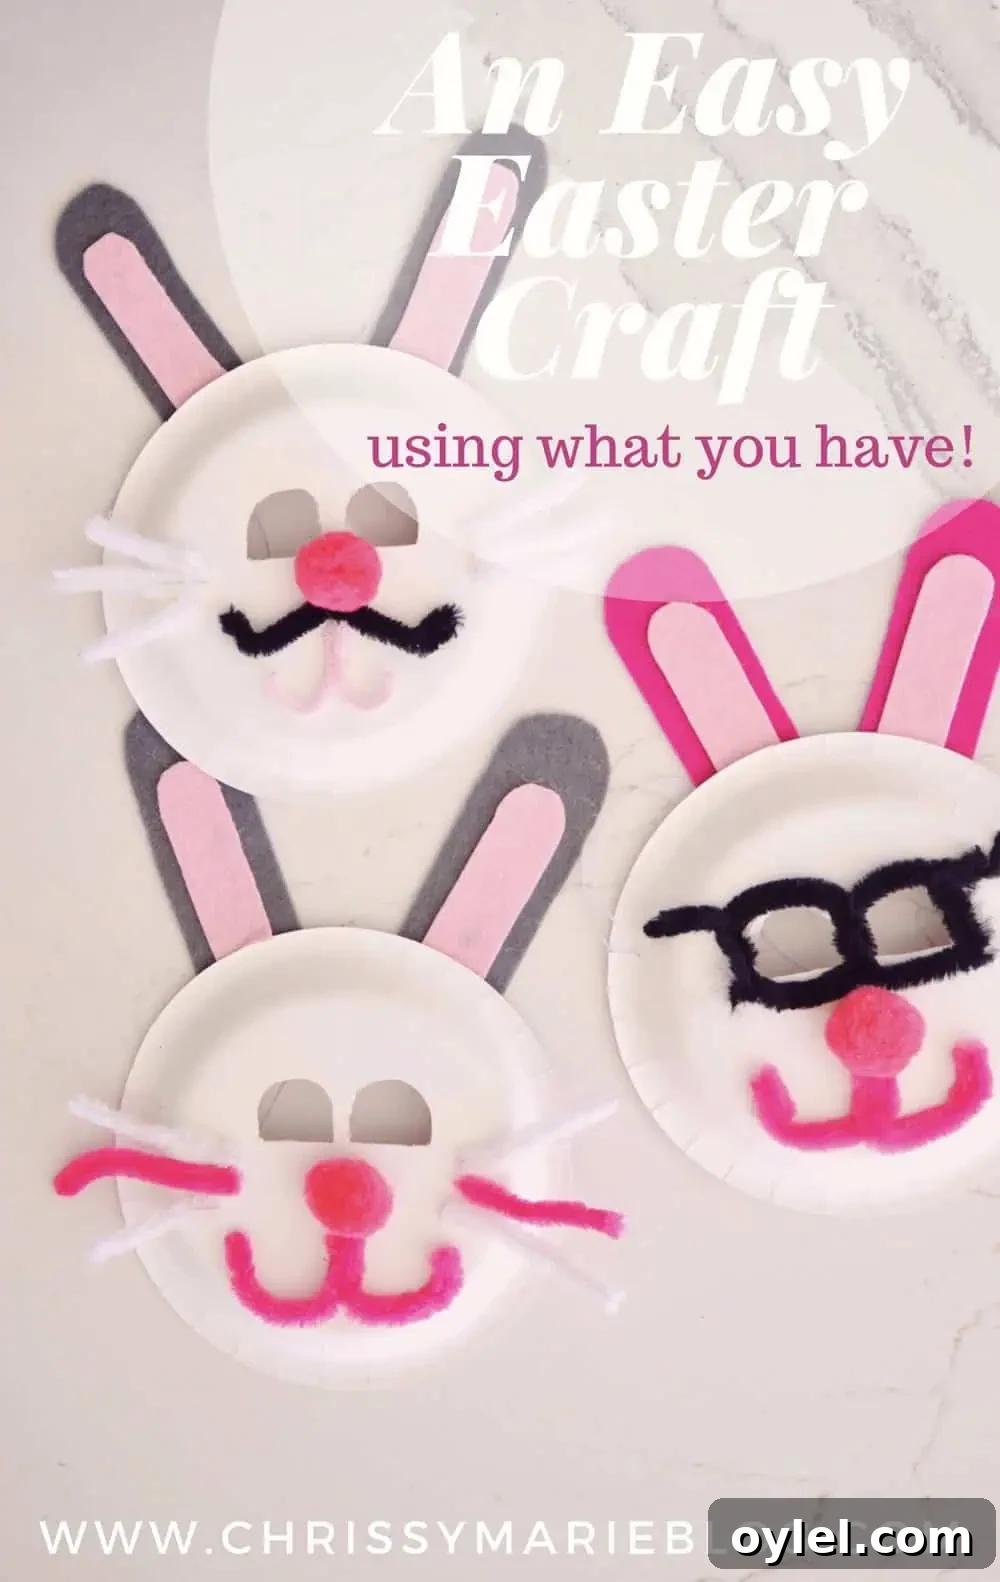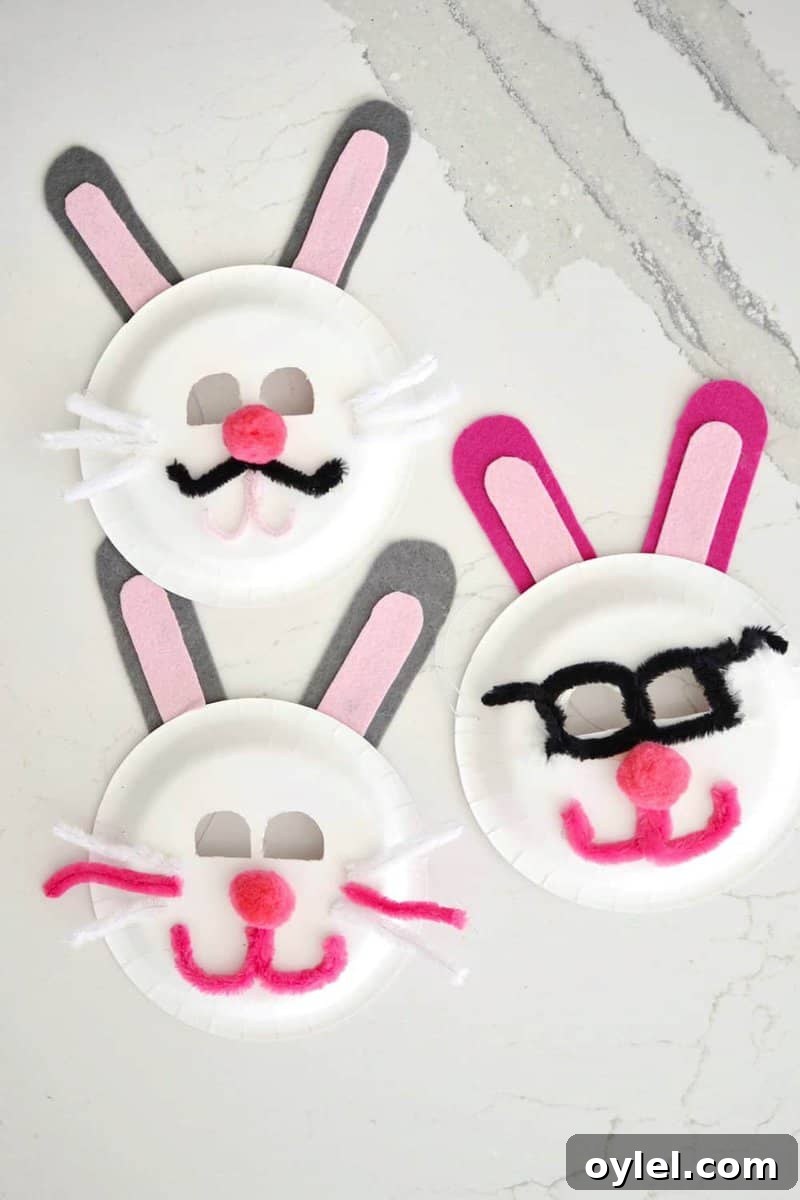
These delightfully simple Easter Bunny Masks capture everything I love about the best kids’ crafts: quick, made from things you already have, and pure fun for little hands.
This spring break felt especially long for our family — four kids spread across three different schools means three different weeks off. On day three of week one we had already done puzzles, bike rides, TV time, small adventures, a museum visit and a library stop. So, while still in pajamas and with no plan, we pulled out craft supplies and made masks. The first round was a goofy, imperfect mess (you might have seen the chaos in my Instagram stories), but the kids adored them. Then we dug a little deeper into the craft cabinet and made a better second round that I actually wanted to share.
Easter Bunny Masks
Here’s how we made our second round of Easter Bunny Masks — an easy, roughly 20-minute activity that can usually be done with items at home. It’s great for a busy morning, an afternoon project, or a last-minute party craft. Kids get to personalize every detail, and adults can keep it simple or get a little fancier.
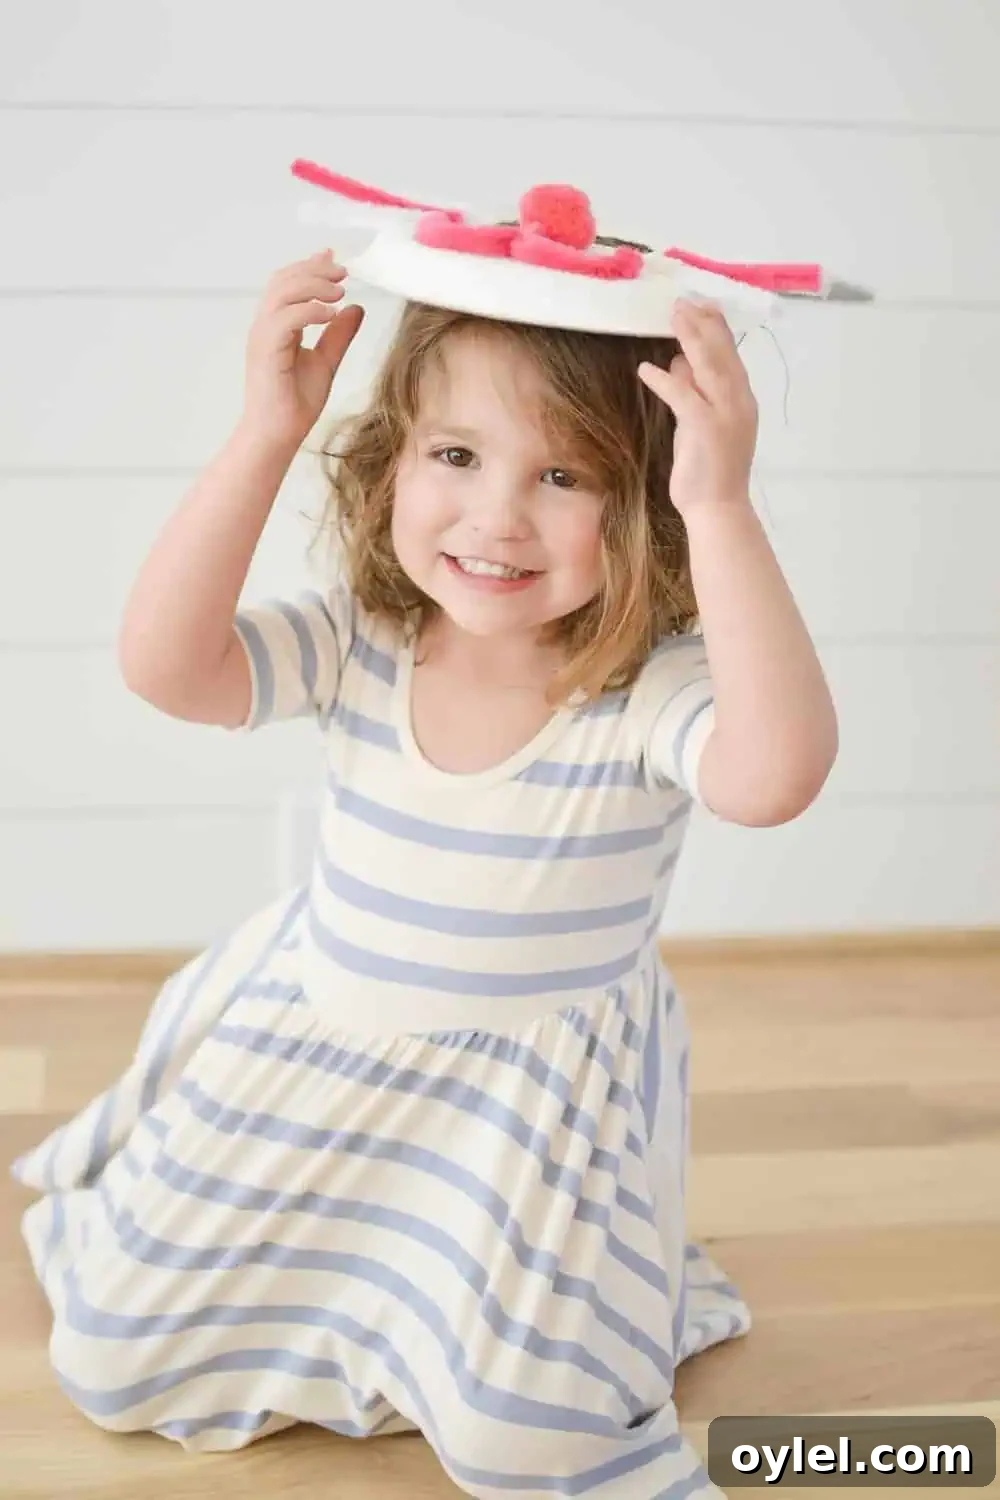
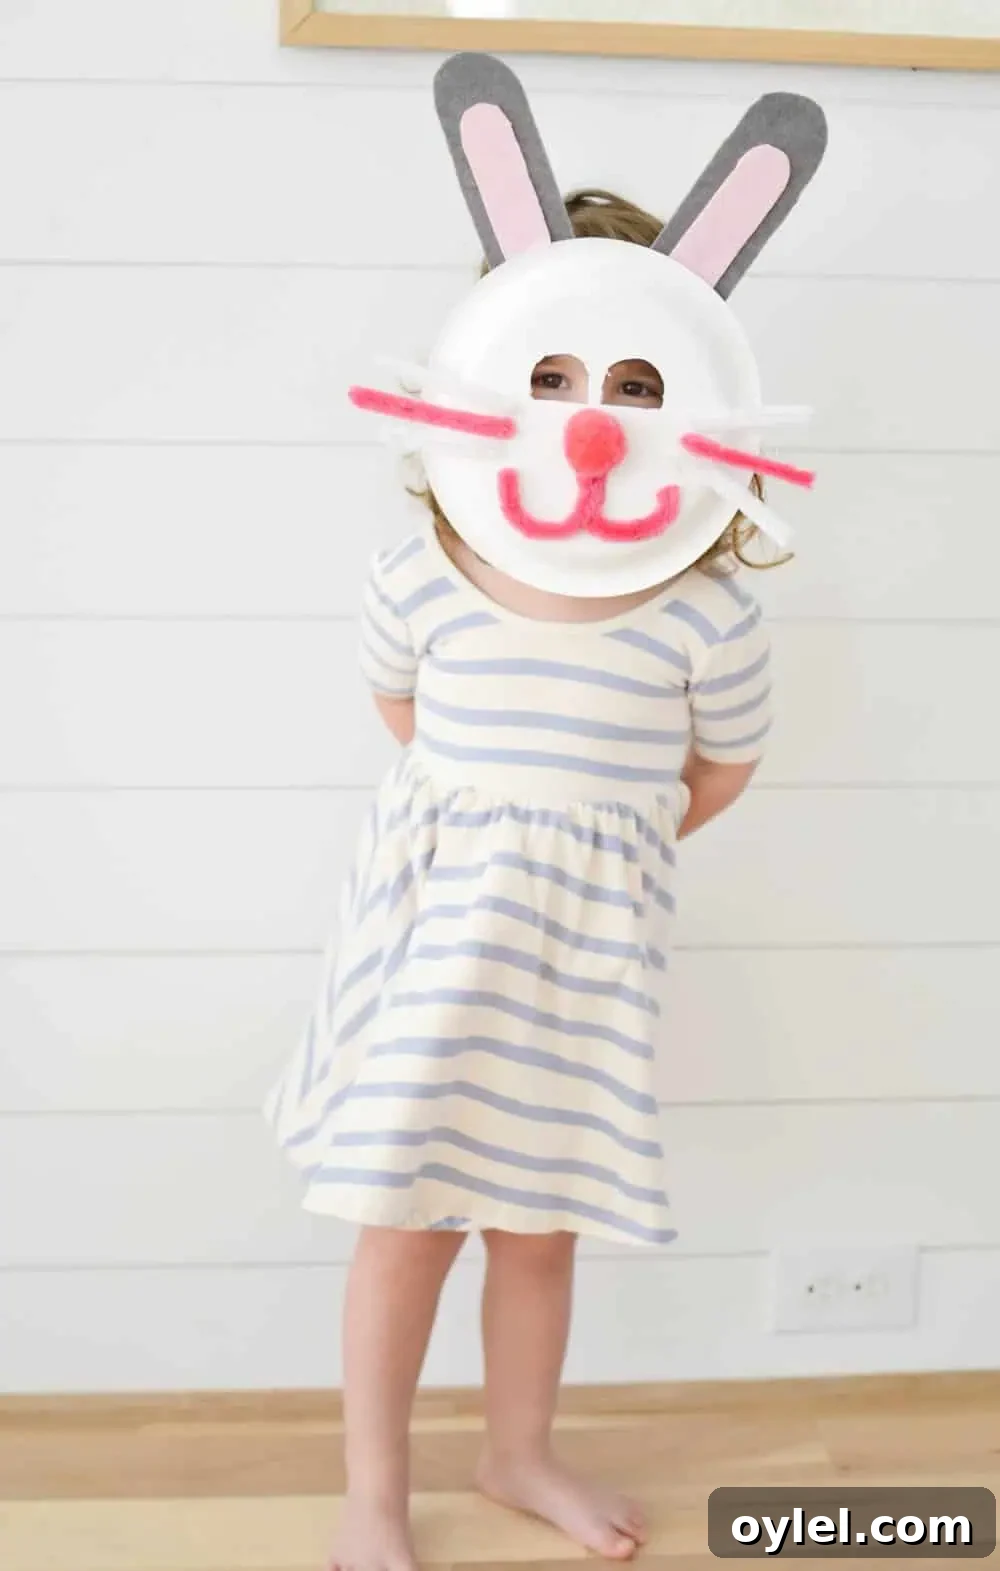
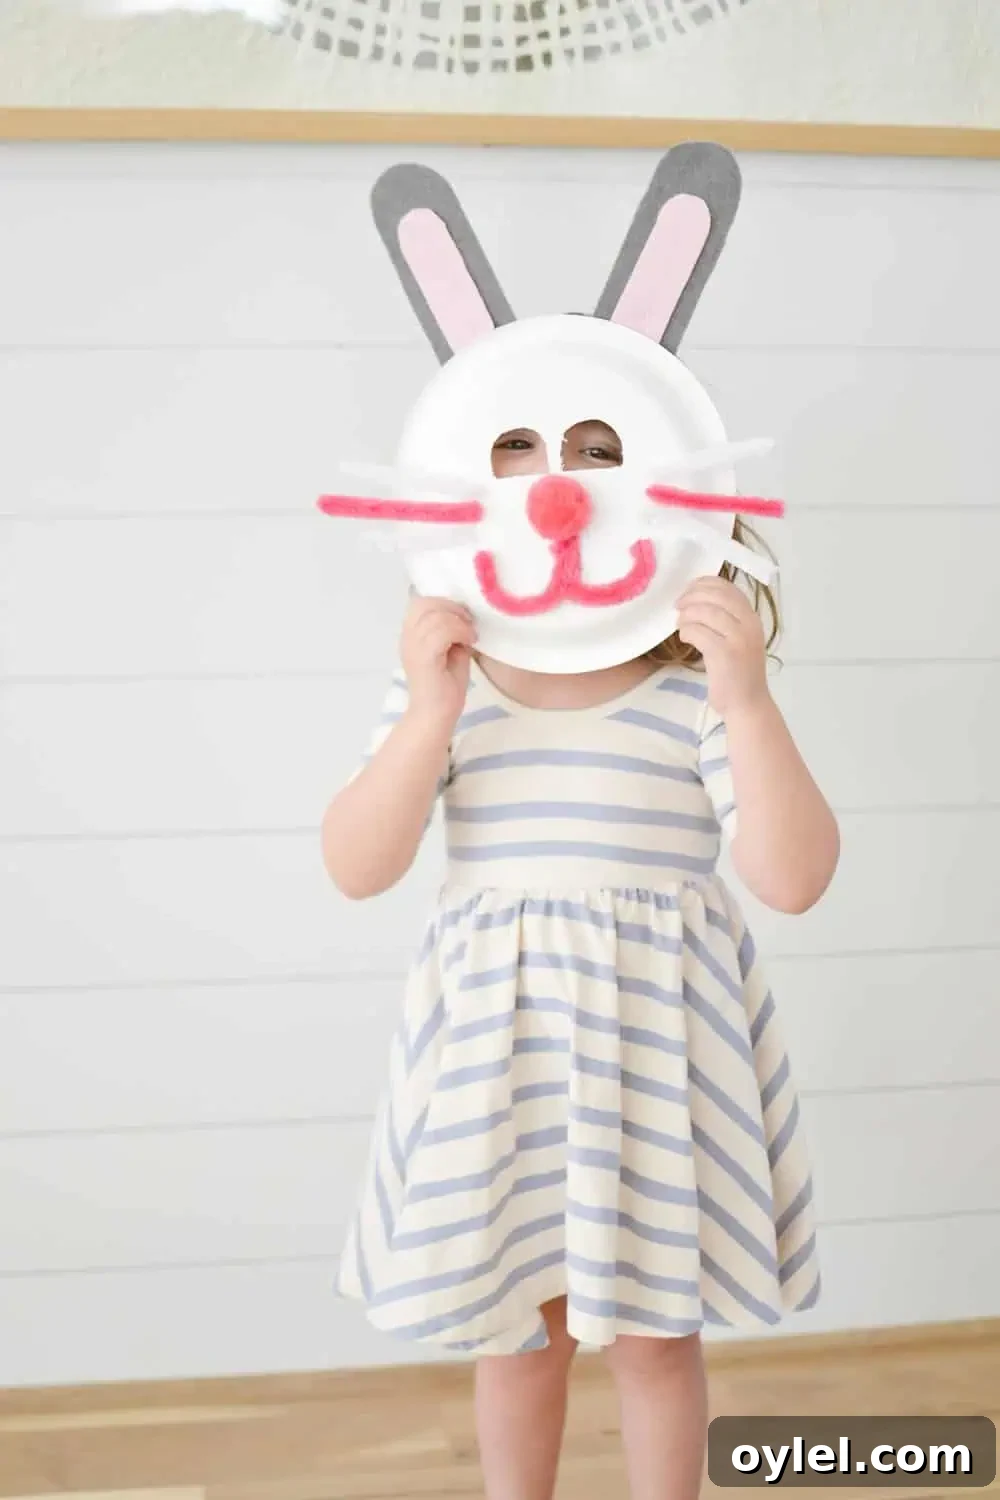
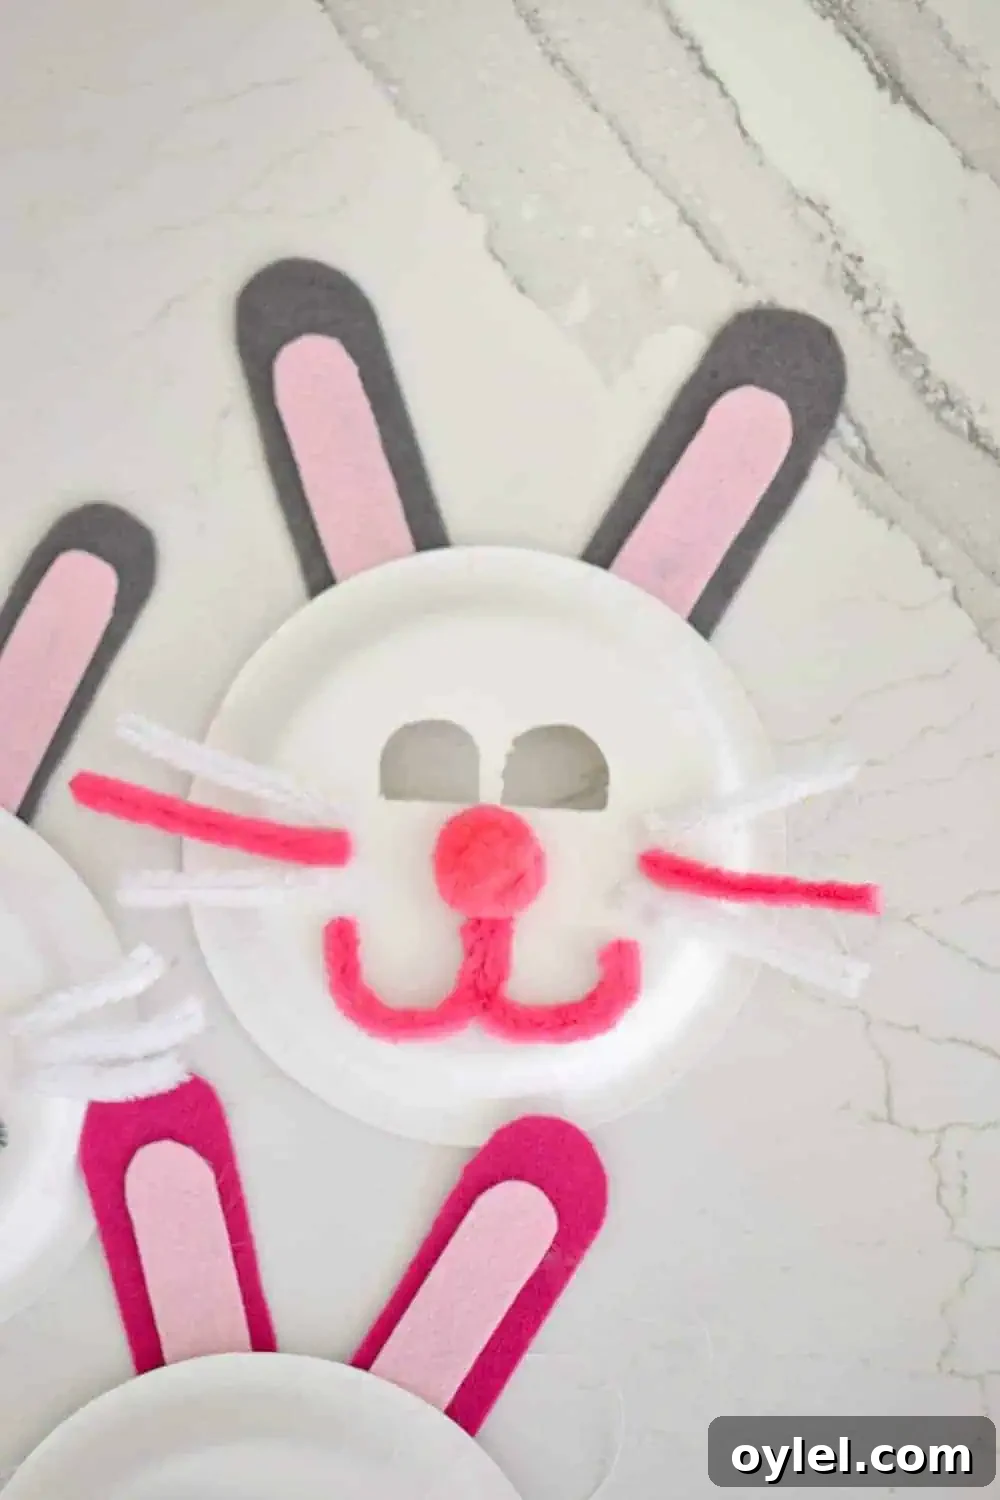
These masks are intentionally imperfect — that’s part of the charm. They make a fast, budget-friendly craft for toddlers through early elementary ages and are perfect for group activities, classroom parties, or sticky-fingered mornings at home.
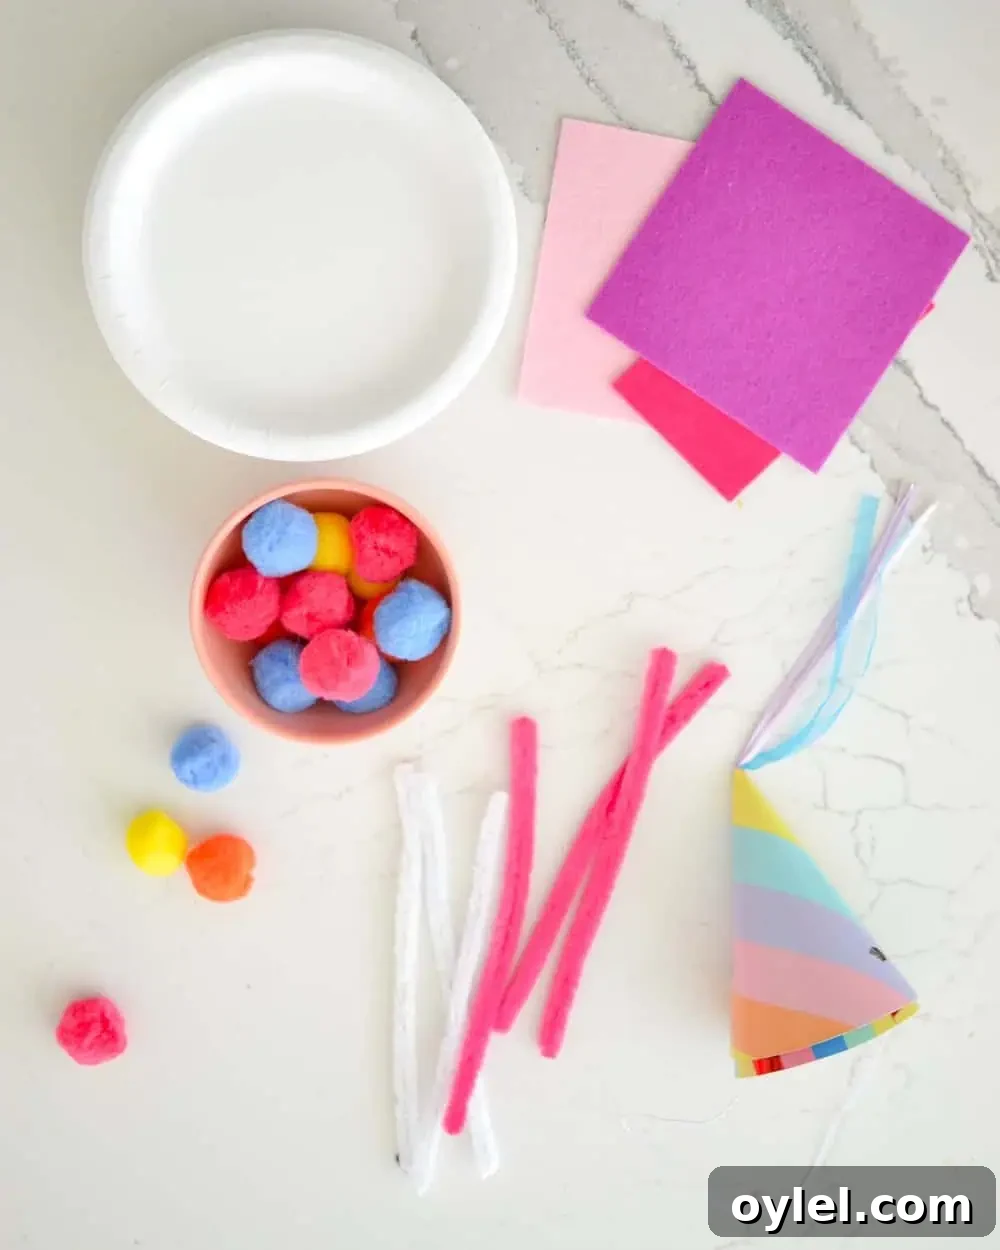
Easter Bunny Mask Supplies:
- Paper plates (use the back if they have a print)
- Felt in assorted colors (for ears and accents)
- Pipe cleaners
- Pink pom-poms for noses
- Elastic or ribbon (you can repurpose elastic from party hats)
- Scissors or a precision cutter, plus hot glue or craft glue
Instructions:
1. Turn a paper plate over and plan the face area on the back so any printed pattern won’t show on the front.
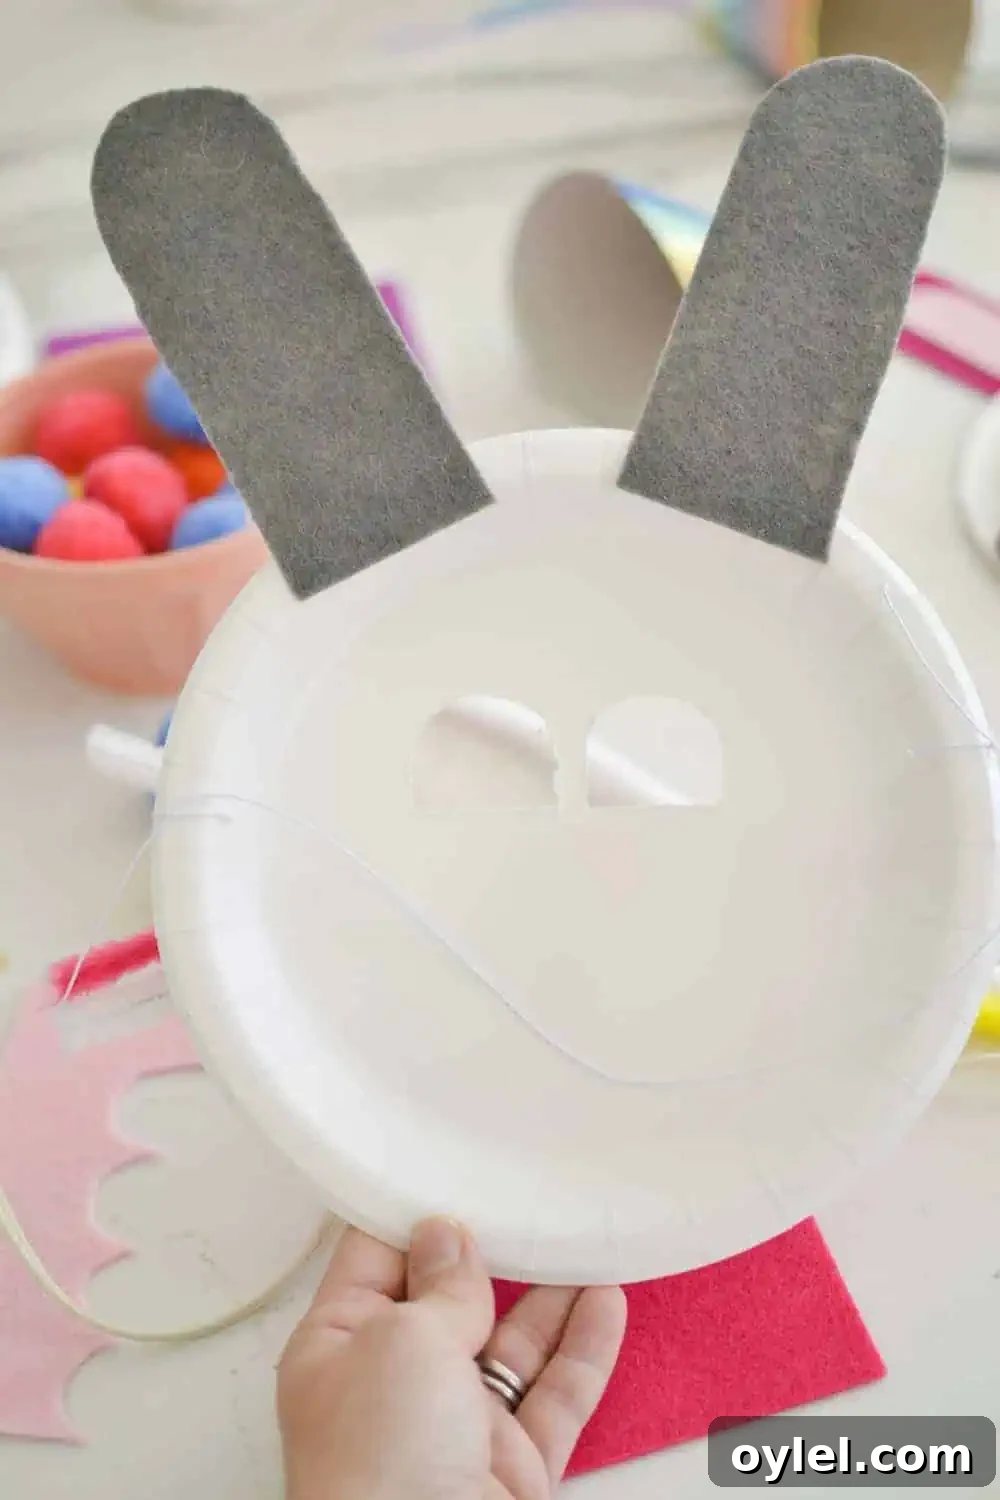
2. Make small holes on each side of the plate near the midpoint for the elastic. A precision cutter works well; you can cut a small “X” and thread the elastic through, tying a knot on each side to secure it.
3. Cut two eye holes. For children, place the holes a bit closer together than you might expect to make the mask fit their face better.
4. Cut two large ear shapes from felt and two slightly smaller ear shapes from a coordinating color for the inner ear. You’ll have four pieces total — two large and two small.
5. Glue the smaller inner ear pieces to the larger outer ears. Flip the plate so it’s right-side-up and attach the ears to the top edge on the back of the plate, so they stand up when worn.
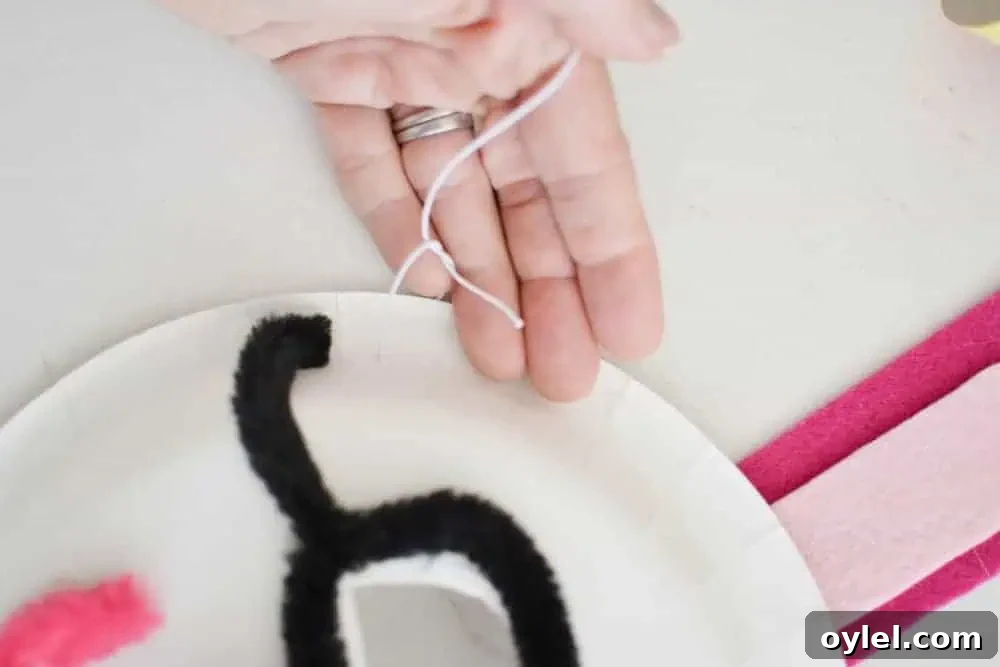
6. Glue a pink pom-pom beneath the eye holes as the nose. Twist a pipe cleaner into a small smile or mouth shape and secure it with glue.
7. Add whiskers with pipe cleaners, or decorate the mask with felt shapes, foam stickers, glasses, or even a mustache for a playful twist. Encourage kids to personalize their bunnies — that’s the best part.
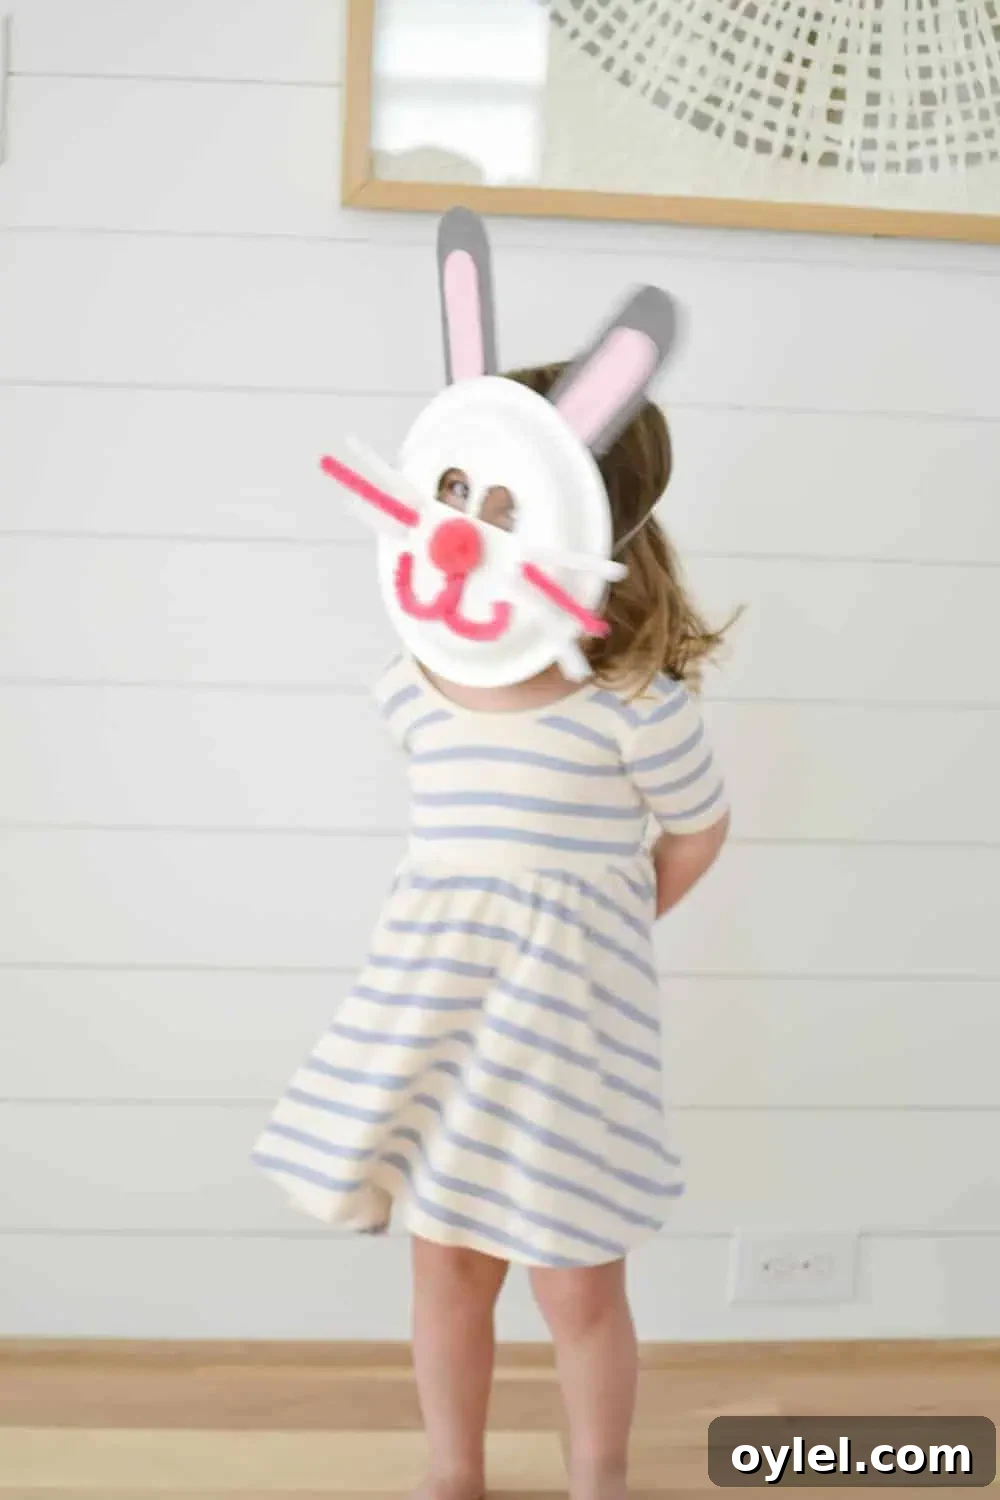
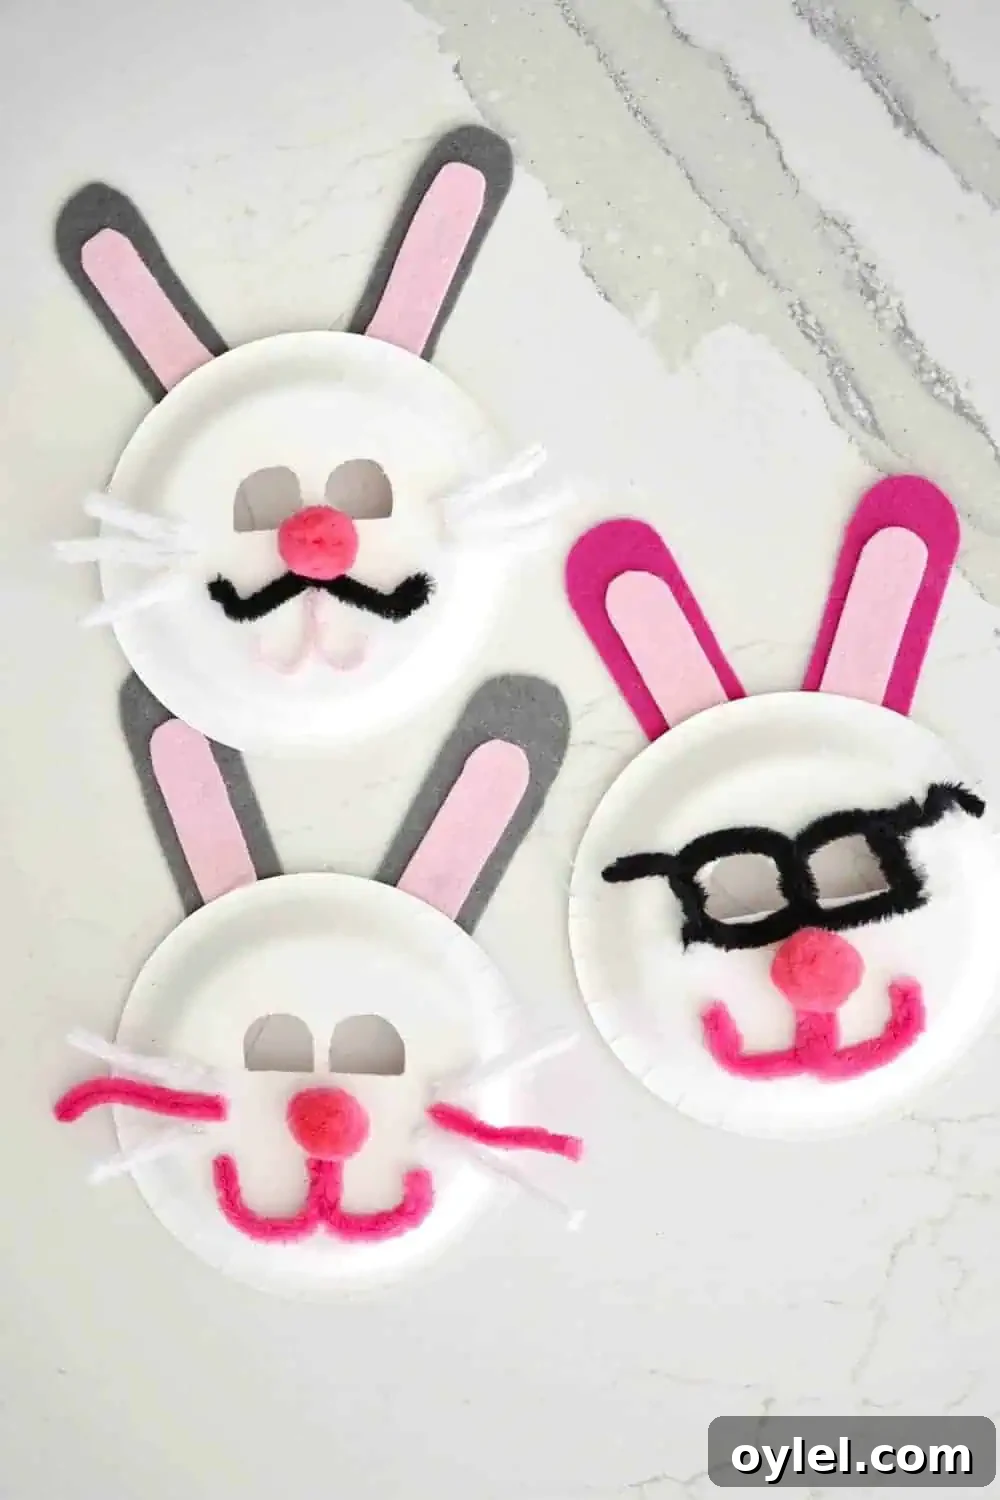
This craft is flexible: swap materials based on what you have, scale the ears up or down, or skip the hot glue for younger children and use glue sticks or craft glue instead. It’s a great way to use up scrap felt and leftover party elastic, and kids love the instant wearable result.
You Will Also Like:
Rice Krispie Bird Nests — a simple spring treat to make with kids
Mom Hacks for Big Families — quick ideas and shortcuts that save time and sanity