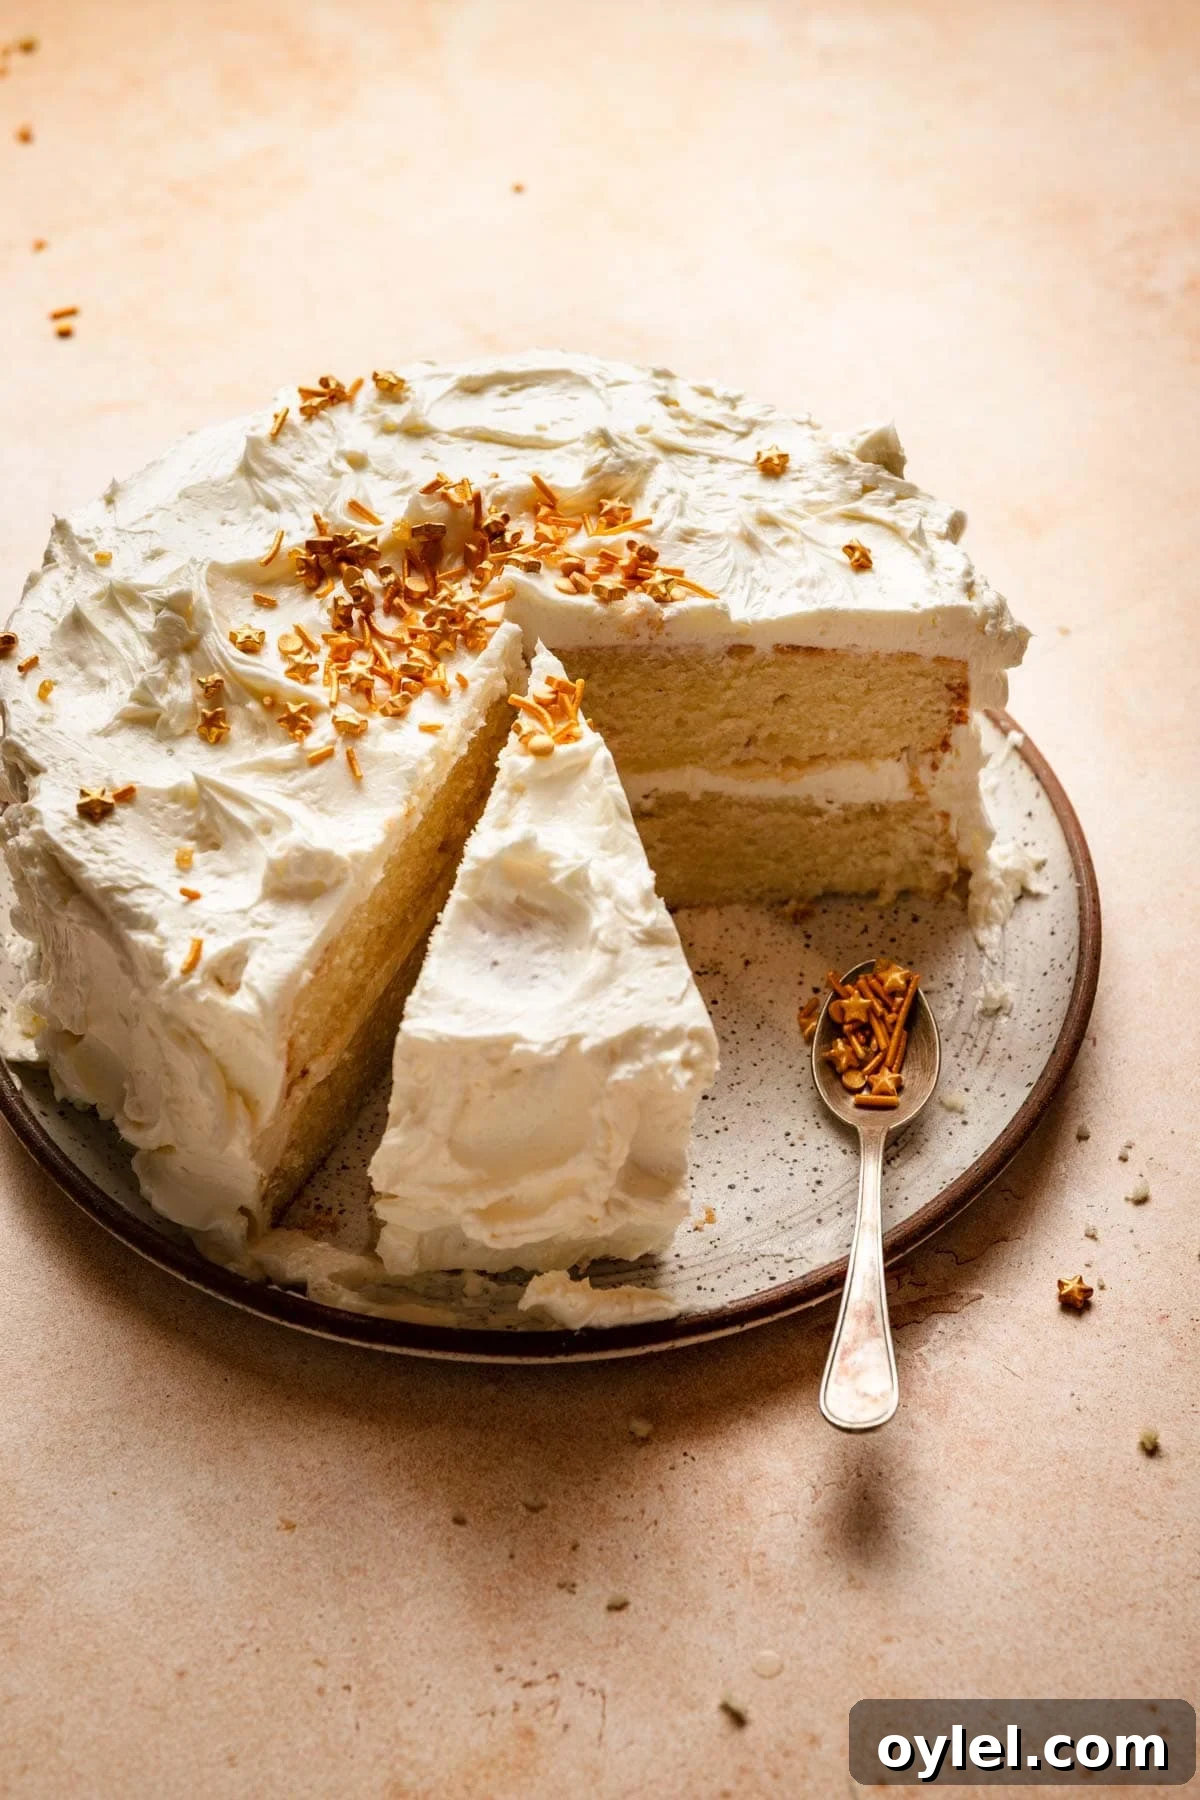
This soft, fluffy, tender, and buttery Vanilla Bean Cake is perfect for any celebration — birthdays, anniversaries, or simply as a comforting dessert. The recipe uses a two-stage method: first cut the fats into the dry ingredients, then add the wet ingredients for a reliably tender result.
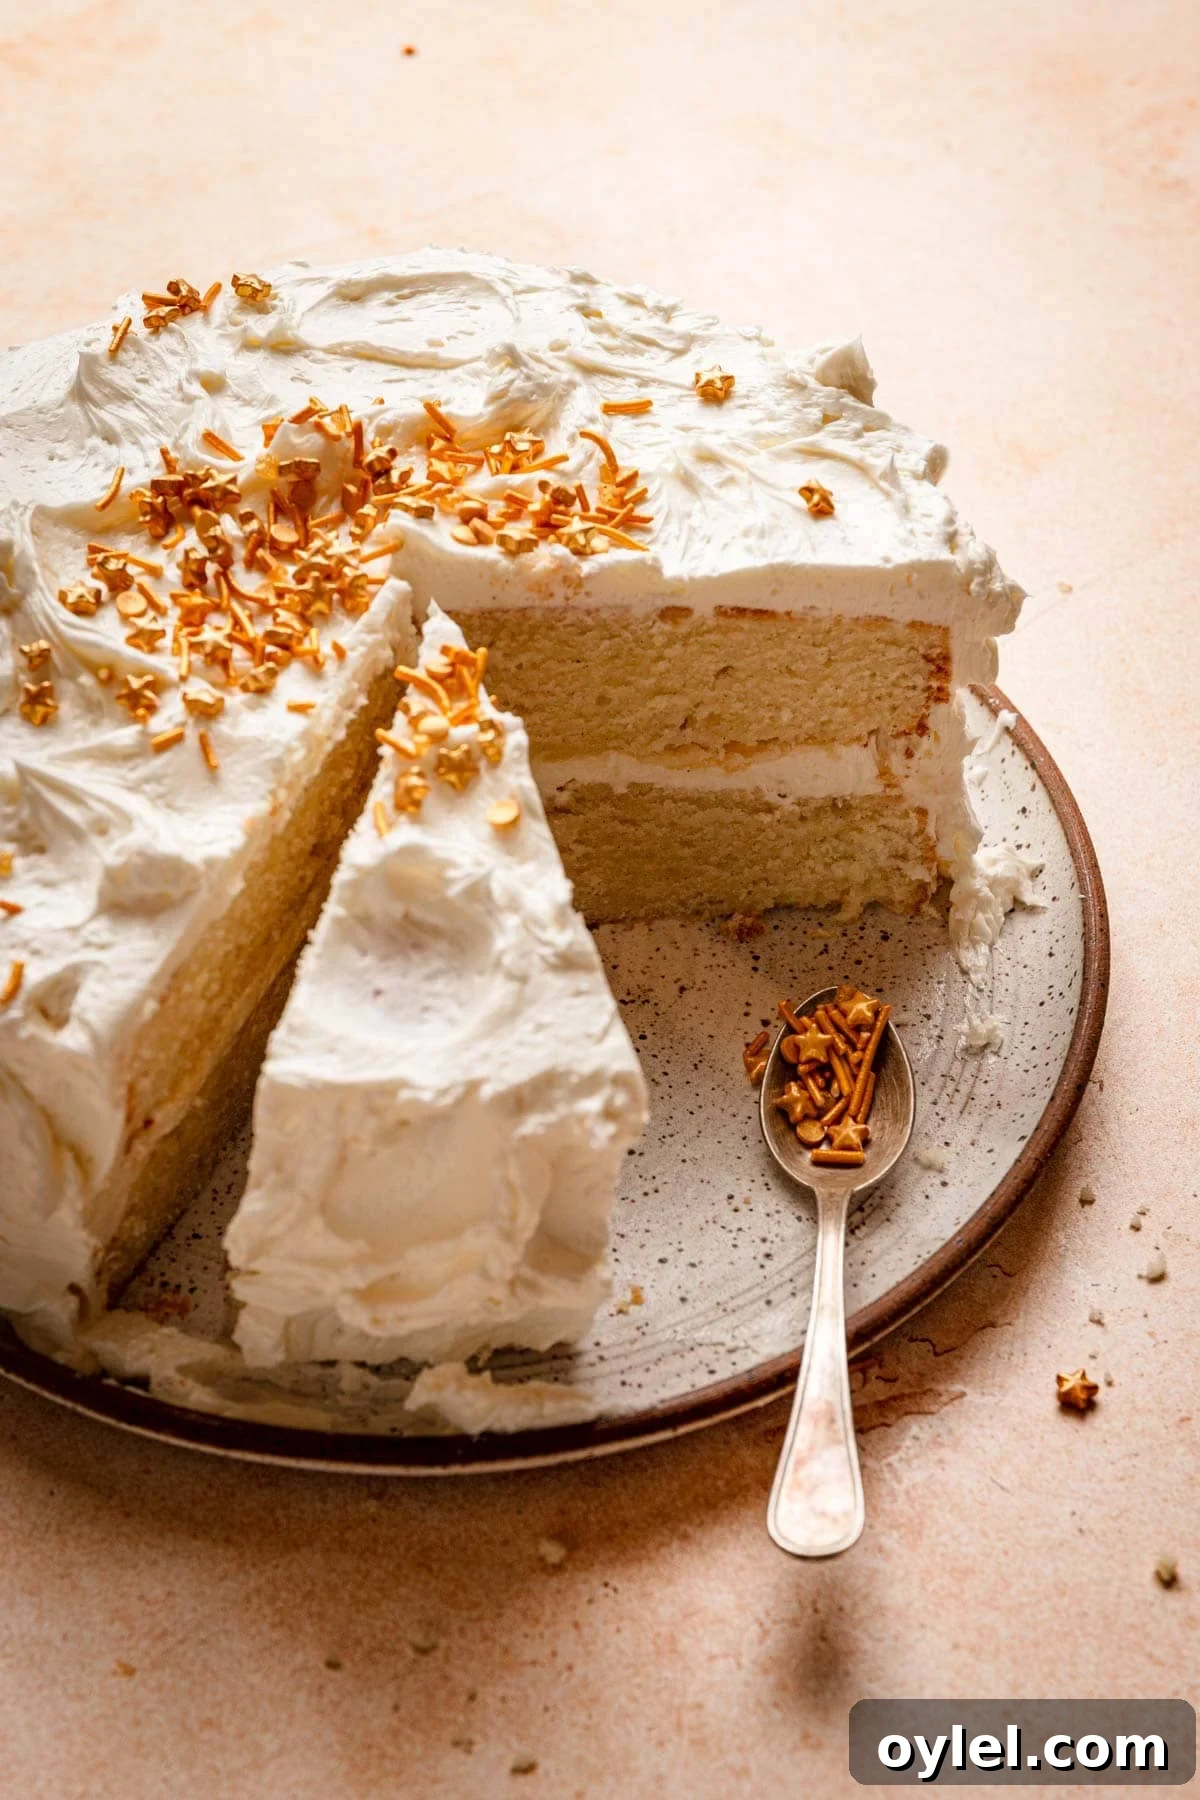
Think of this cake as the little black dress of desserts: simple, classic, and always appropriate. When I’m not in the mood for rich chocolate, this vanilla bean cake is my go-to. It’s easy to make, looks beautiful, and appeals to a wide range of tastes. Real vanilla bean — whether scraped from a pod or from a high-quality paste — gives the cake its fragrant aroma and tiny, attractive speckles. I usually pair the cake with Swiss meringue buttercream for a silky, celebratory finish that balances the cake’s light crumb with creamy richness.
Key Ingredients
The full recipe with measurements appears in the recipe card below. Here’s a concise look at the ingredients that make this cake stand out:
- Cake flour. Cake flour has lower protein and higher starch, which yields a taller cake with a finer, more tender crumb. If you don’t have cake flour, bleached all-purpose flour is the next best option.
- Unsalted butter and oil. Using both gives you the best of both worlds: butter provides flavor, and oil helps keep the cake moist because it remains liquid at room temperature.
- Heavy cream. Adds richness and a slight tang that complements the vanilla while contributing to a tender texture.
- Apple cider vinegar. Just a tablespoon helps balance sweetness and reacts with the leavening to improve rise and tenderness. It keeps the cake moist by reducing needed baking time slightly.
- Vanilla bean. The star ingredient. Scraping a vanilla pod yields the best aroma and visible speckles in the batter, but quality vanilla bean paste works well too.
Make The Cake
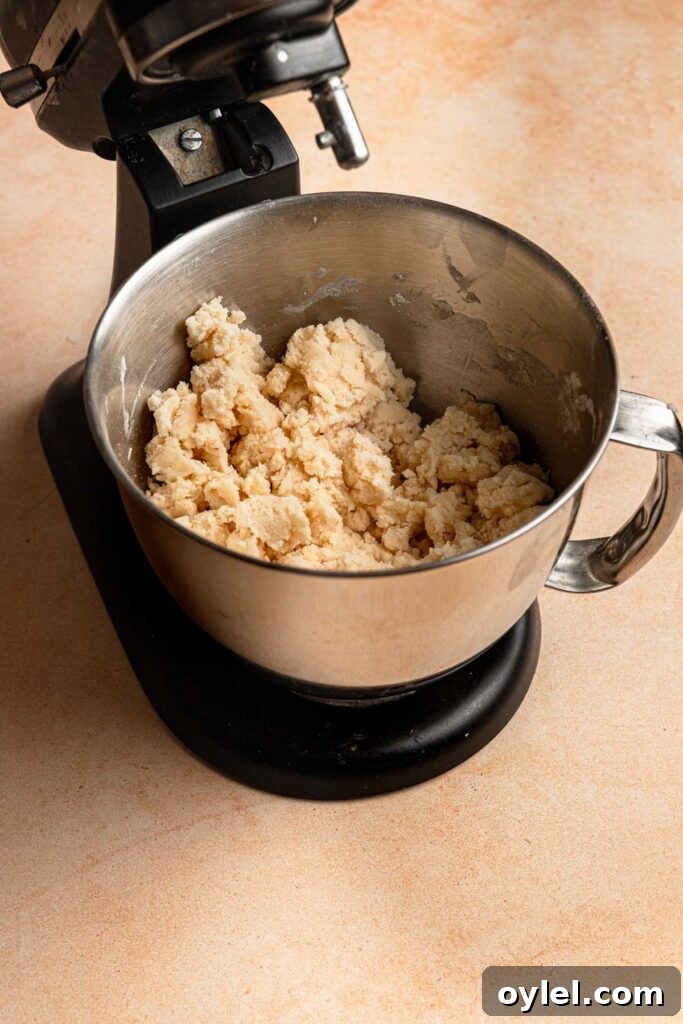
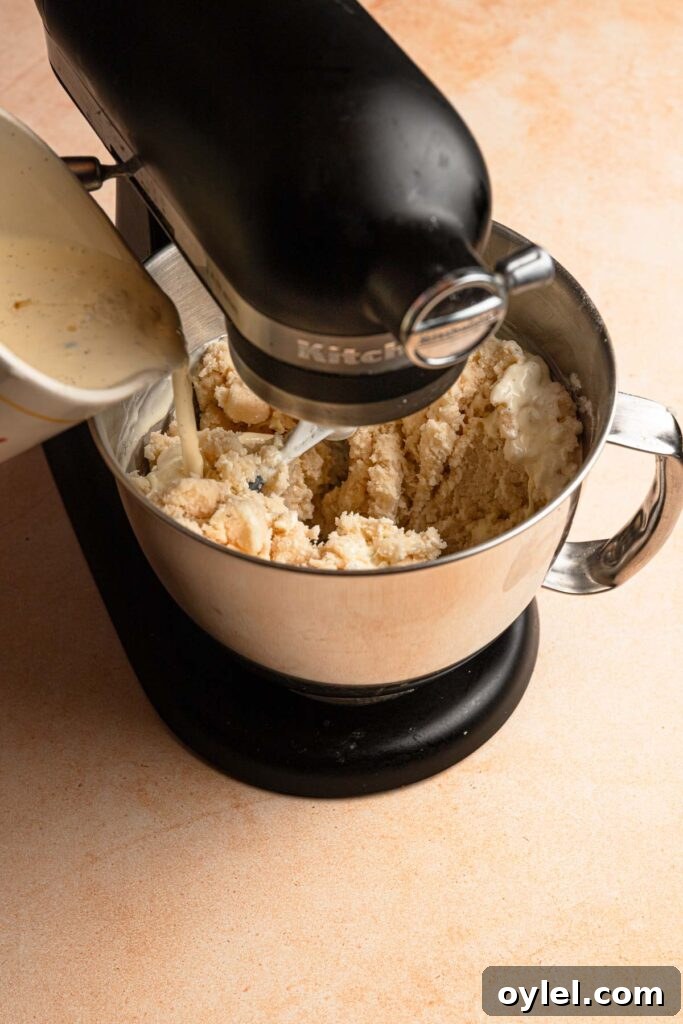
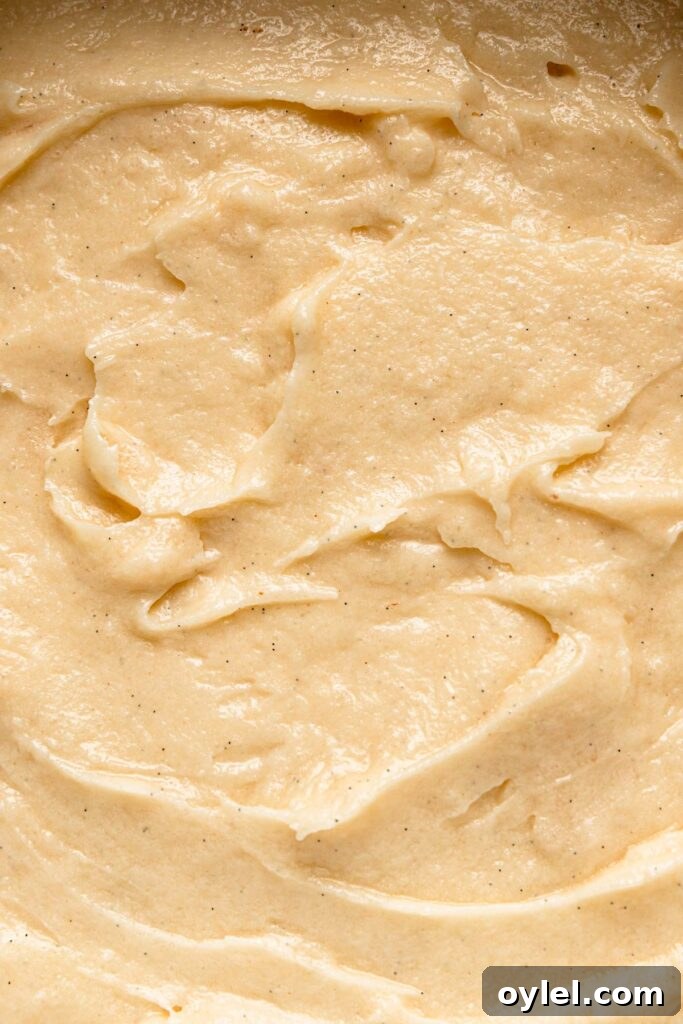
This recipe follows a reverse or two-stage method: the fat is cut into the flour mixture first, then the liquid ingredients are added. The result is a dense, tender batter that bakes into a moist cake. Below are practical tips to improve your outcome.
- Use room-temperature ingredients. Cold eggs, cream, or butter will not blend smoothly and can produce a dense or chewy crumb.
- When baking layered cakes, grease only the bottom of the pans and line with parchment paper. If you grease the sides, cakes can pull away as they cool and lose tall, clean edges. Leaving the sides ungreased helps the cake cling to the pan and rise with sharp edges. After chilling, run a sharp knife around the sides to release the cake cleanly.
Layering and Decorating the Cake
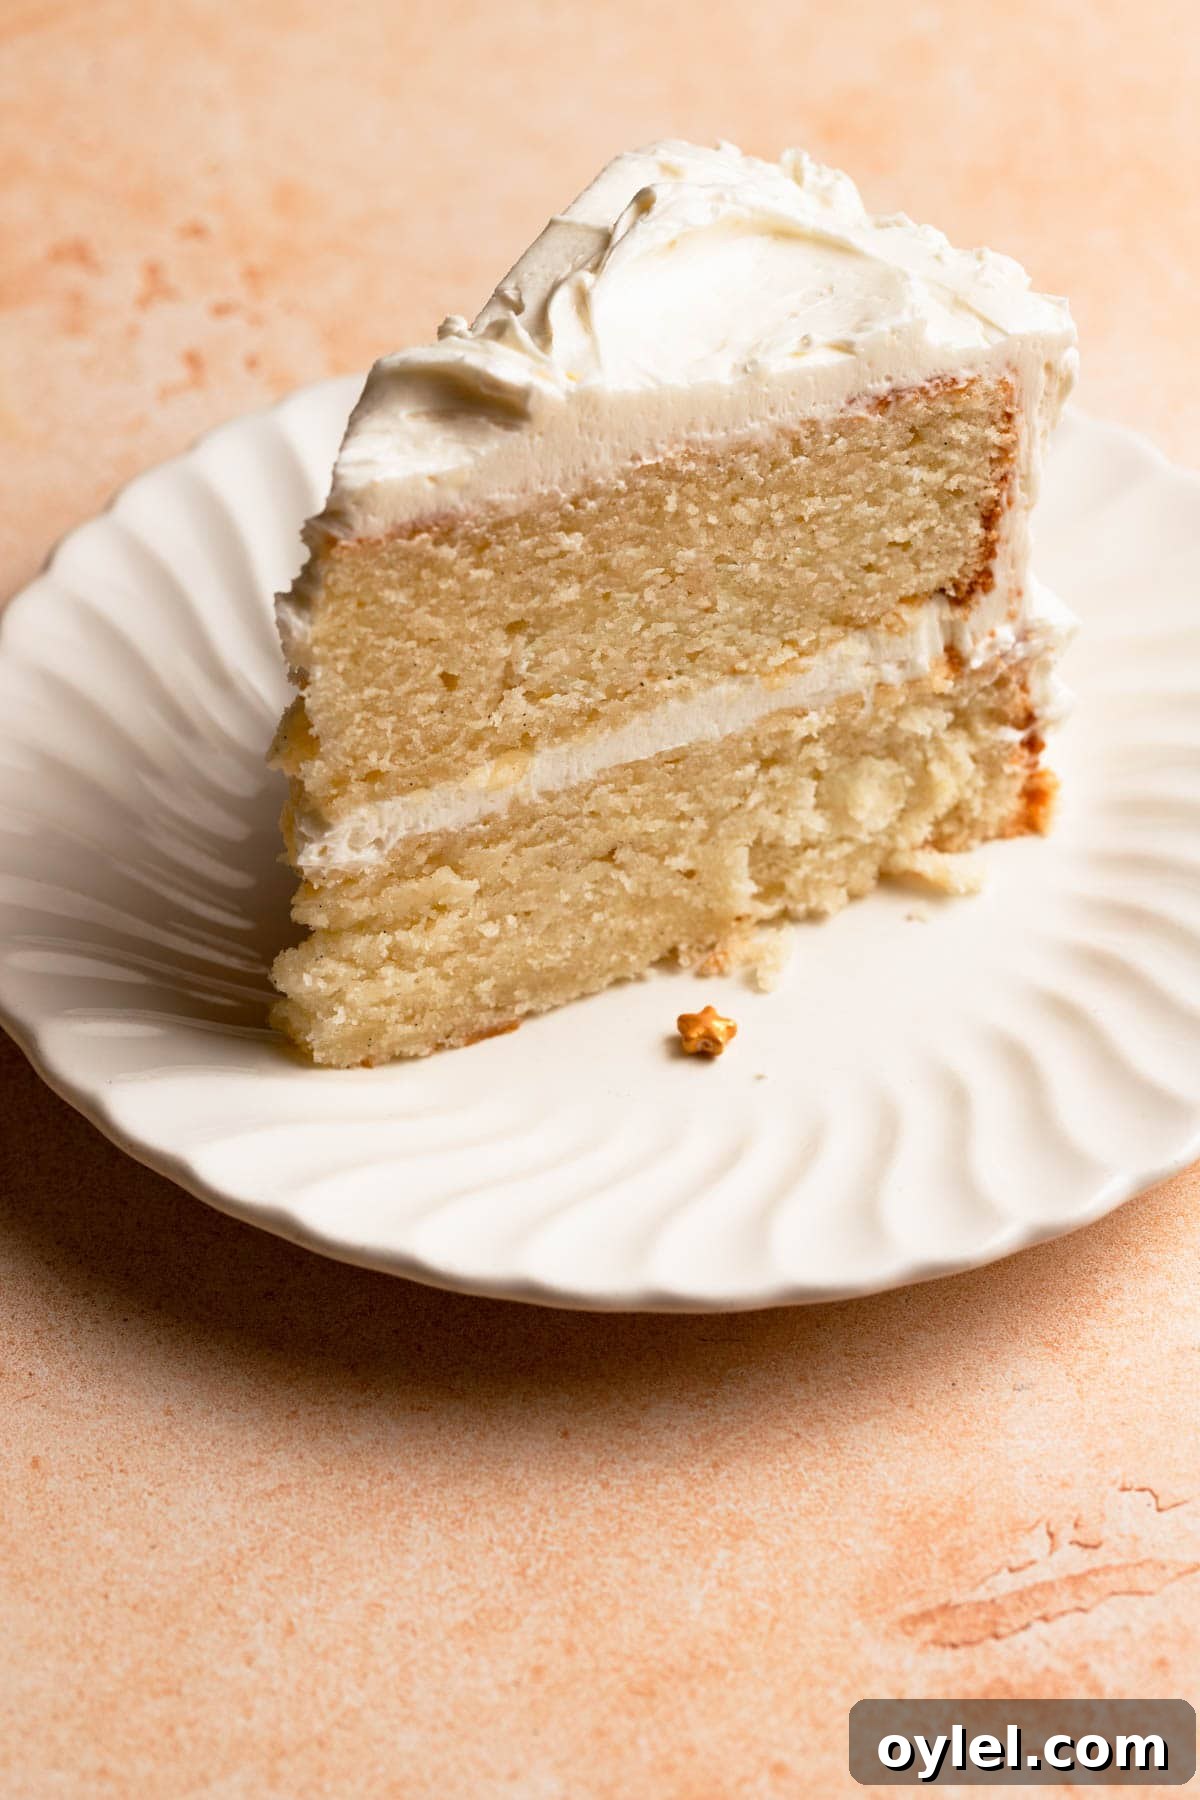
You don’t need to be a professional to make the cake look proud on the table. All you need is an offset spatula or a butter knife and a spoon for texture:
- Place one cake layer on your serving plate. For a smoother top, place the layer top-down.
- Spread 1/2–3/4 cup of buttercream evenly over the layer using your spatula.
- Place the second cake layer on top.
- Frost the top and sides with a thick layer of buttercream using the offset spatula.
- To create a simple textured pattern, press the back of a spoon gently against the frosting to form half-circle impressions and lift away. Finish with sprinkles or fresh fruit if desired.
Yields
This recipe makes two 8-inch layers (serves about 10–12) or one 13×9-inch sheet cake (serves roughly 12–16). Serving counts vary with portion size.
Store and Make Ahead
Serve the cake at room temperature, whether frosted or unfrosted. Store at room temperature up to 48 hours depending on the frosting and filling used. If you use a perishable frosting such as whipped cream or cream cheese, refrigerate the cake.
To make ahead: After baking, wrap slightly warm layers gently in plastic wrap, place in a plastic bag, and freeze for up to four weeks. Remove from the freezer, unwrap, and let come to room temperature before decorating.
Moist and Tender Vanilla Bean Cake
Ingredients
Vanilla Bean Cake
- 3 Cups (360g) Cake flour
- 2 teaspoons Baking powder
- 2 Cups (400g) Granulated sugar
- 1 cup (225g) Unsalted butter, room temperature, cut into 1/4-inch pieces
- 1/4 Cup (60ml) Vegetable oil (canola or neutral oil)
- 1 1/2 Cups (360ml) Heavy cream, room temperature
- 3 Large eggs, room temperature
- 1 1/2 Tablespoons Vanilla bean paste (or scraped vanilla seeds from 1–2 pods)
- 1 Tablespoon Apple cider vinegar
Buttercream
- Swiss meringue buttercream (use your preferred recipe)
Instructions
Make the cake
- Preheat the oven to 340°F (170°C). Grease the bottom of two 8-inch pans and line the bottoms with parchment paper.
- In a large measuring cup or bowl, whisk together the heavy cream, eggs, vanilla paste (or seeds), and apple cider vinegar until just blended.
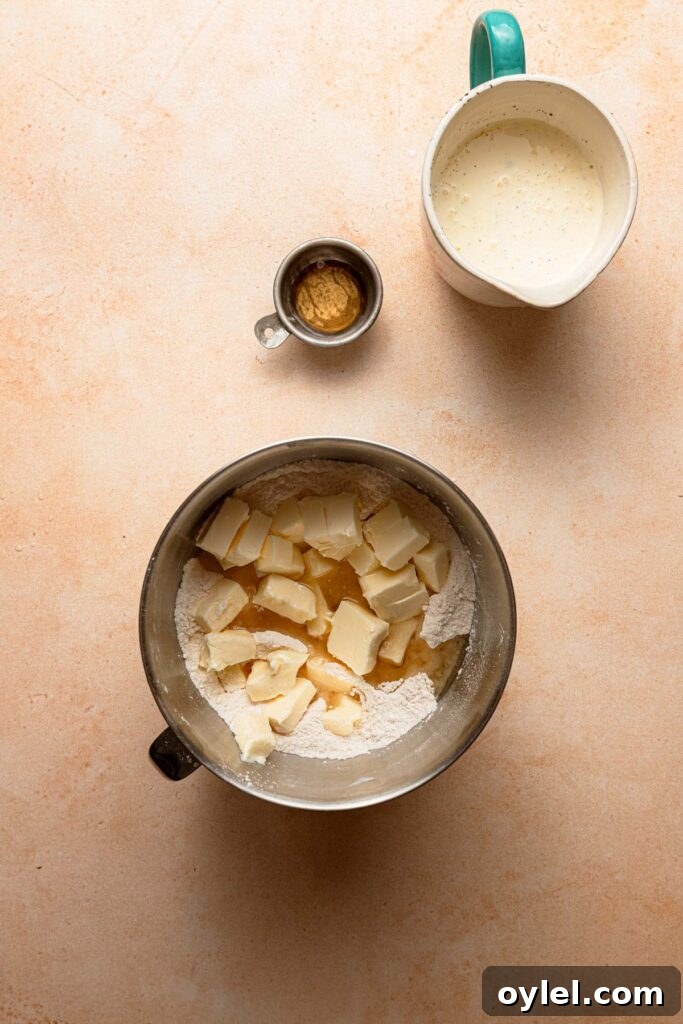
- In the bowl of a stand mixer, combine the cake flour, baking powder, and sugar. Mix briefly with the paddle attachment on low speed to distribute the ingredients.
- Stop the mixer, add the vegetable oil and butter pieces, then mix on low until the fat is incorporated and the mixture resembles moist, coarse sand.
- With the mixer running at medium-low, pour the cream-and-egg mixture into the flour mixture and mix until just combined into a thick, smooth batter.
- Divide the batter evenly between the prepared pans (each pan will hold about 750g of batter). Bake for 33–37 minutes, or until a toothpick inserted in the center comes out with a few moist crumbs but no wet batter.
- Remove cakes from the oven and allow them to cool completely on a wire rack before decorating.
Layering and frosting the cake
- Invert the cooled cakes out of their pans. Place one layer on your serving plate, top-side down for a smooth surface if desired.
- Spread 1/2–3/4 cup of Swiss meringue buttercream over the layer using an offset spatula to create an even filling.
- Set the second layer on top and apply a crumb coat of buttercream if you prefer, then chill to set for easier finishing.
- Frost the top and sides with a thicker coat of buttercream. Smooth with the offset spatula.
- Create a simple texture by pressing and lifting the back of a spoon to form gentle half-circle shapes. Decorate with sprinkles or fresh fruit to finish.
- Slice and serve at room temperature for the best flavor and texture.
Notes
- Always use room-temperature ingredients for even mixing and a tender crumb.
- Ovens vary. Rely on visual cues and the toothpick test rather than the clock. The cake is done when a toothpick inserted in the center comes out with a few moist crumbs but no wet batter.
- Cake size options: Two 8-inch round layers (serves 10–12) or one 13×9-inch sheet cake (serves 12–16). Final servings depend on portion size.
- Storing: Serve frosted or unfrosted at room temperature. Store at room temperature up to 48 hours depending on the frosting. Refrigerate if using perishable fillings or frostings.
- Make ahead: Wrap layers gently in plastic while slightly warm, place in a plastic bag, and freeze up to four weeks. Thaw and bring to room temperature before decorating.
- Substitutions: If you don’t have cake flour, bleached all-purpose flour can be used, though the texture will be slightly different. If using vanilla pods, scrape the seeds for maximum flavor and visual appeal.